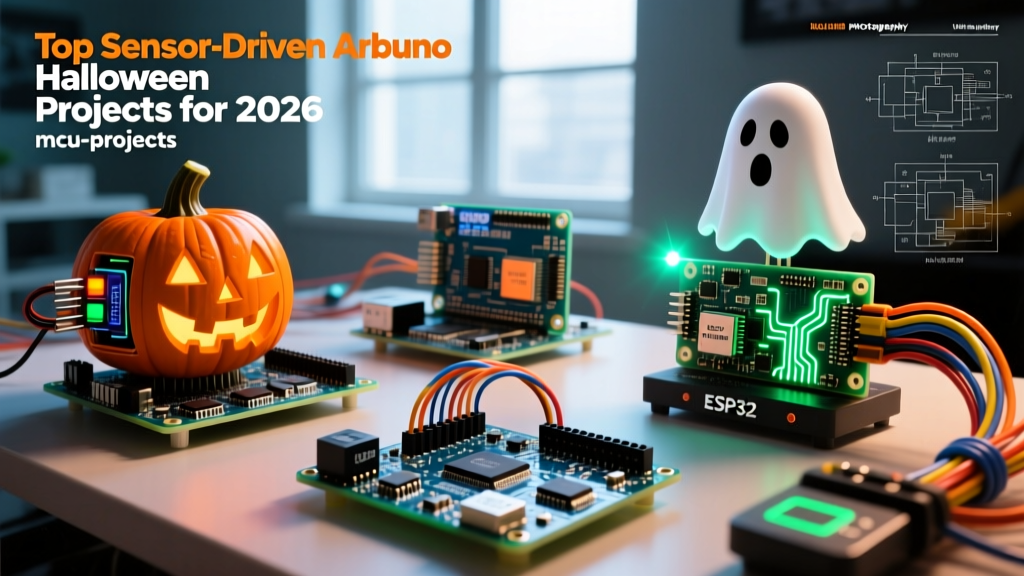

Timed animatronics are a relic of the past. If a prop activates on a rigid 60-second loop, trick-or-treaters quickly learn the pattern, and the scare factor evaporates. When designing advanced arduino halloween projects, the shift from time-based triggers to reactive, sensor-driven environments is what separates amateur yard displays from professional-grade haunted attractions. By leveraging modern microcontrollers and solid-state sensors, you can create props that react to a victim's exact proximity, movement, and even physical touch.
In 2026, the barrier to entry for high-end sensor integration has never been lower. Solid-state LiDAR modules that once cost hundreds of dollars are now available for under $15, and microwave radar sensors can detect human presence through solid wood and drywall. This guide dives deep into the technical execution of three sensor-driven builds, covering exact component models, wiring topologies, power management, and the edge-case troubleshooting required to keep your props running flawlessly on a cold, damp October night.
The 2026 Sensor Arsenal for Reactive Props
Choosing the right sensor is critical. Passive Infrared (PIR) sensors like the classic HC-SR501 are notoriously unreliable outdoors due to ambient temperature fluctuations and wind-blown debris. Instead, modern builders rely on Doppler radar, Time-of-Flight (ToF) LiDAR, and capacitive touch. Below is a comparison of the most effective sensors for reactive Halloween builds.
| Sensor Model | Technology | Range / Detection | Avg Cost | Best Use Case |
|---|---|---|---|---|
| RCWL-0516 | 5.8 GHz Doppler Radar | 5 - 7 Meters (Omnidirectional) | $1.50 | Through-wall motion detection |
| VL53L1X | ToF LiDAR (I2C) | 4 cm - 400 cm (Directional) | $12.00 | Precision proximity mapping |
| TTP223 | Capacitive Touch | 1 - 5 mm (Through non-metal) | $0.60 | Hidden touch-activated artifacts |
| HC-SR04 | Ultrasonic (40 kHz) | 2 cm - 400 cm (Directional) | $2.00 | Basic indoor distance triggering |
Project 1: The 'Through-Wall' Radar Poltergeist
One of the most unsettling effects in a haunted house is an object that reacts to you before you even enter the room. The RCWL-0516 microwave radar sensor operates at 5.8 GHz, allowing its signal to penetrate up to 15mm of non-metallic materials like plywood, PVC, and drywall. This allows you to hide the sensor and the Arduino Uno R4 Minima completely inside a sealed wooden prop box, protecting the electronics from weather and curious hands.
Wiring and Logic
The RCWL-0516 outputs a simple HIGH/LOW digital signal. Connect the sensor's OUT pin to Digital Pin 2 on the Arduino. Power it via the 5V and GND pins. When the sensor detects motion, it triggers a DFPlayer Mini MP3 module to play a low-frequency rumble, while an SG90 micro-servo violently shakes a physical object mounted on the box's exterior.
Critical Edge Case: Rear-Shielding
The default detection pattern of the RCWL-0516 is omnidirectional. If you mount it against an exterior wall of your house, it will detect cars driving by or trees blowing in the wind on the other side of the wall. To fix this, you must apply aluminum foil tape to the backside of the sensor's PCB. This creates a Faraday-like shield that blocks the rearward microwave emissions, focusing the detection cone entirely forward into your yard. Additionally, soldering a 1MΩ resistor across the CDS pads allows you to wire in a Light Dependent Resistor, disabling the prop entirely during daylight hours to save servo life.
Project 2: LiDAR-Measured Creeping Shadow
Ultrasonic sensors (HC-SR04) suffer from 'cone blindness' and specular reflection issues when angled slightly off-center. For a prop that needs to react smoothly as a person walks toward it—such as a glowing set of eyes that get brighter and a whispering audio track that gets louder—precision is mandatory. The VL53L1X Time-of-Flight LiDAR sensor emits an invisible 940nm infrared laser and measures the photon return time, providing millimeter-accurate distance readings via I2C.
Proximity Mapping to NeoPixels
Using a carrier board like the Pololu VL53L1X carrier, wire the SDA and SCL lines to the Arduino's I2C pins (A4 and A5 on older Nanos, or the dedicated I2C header on the Uno R4). The sensor's default I2C address is 0x29. In your Arduino sketch, map the distance reading (from 4000mm down to 500mm) to the brightness of a WS2812B NeoPixel ring. As the trick-or-treater steps closer, the 500mm threshold triggers a sudden strobe effect and a high-decibel jump-scare audio file.
Expert Tip: The VL53L1X receiver can be 'blinded' by direct sunlight or heavy ambient IR from incandescent floodlights. If testing outdoors during the day, you must 3D-print a shroud with a 15mm lip around the sensor window to block off-axis IR noise. At night, this is rarely an issue.
Project 3: The Cursed Capacitive Touch Artifact
Physical interaction elevates a prop from a visual display to an immersive experience. The TTP223 capacitive touch sensor is incredibly sensitive and can detect the human body's electrical capacitance through up to 5mm of solid material. This means you can cast a 'cursed skull' or 'ancient tomb' out of epoxy resin or PLA, embed the TTP223 sensor just beneath the surface, and trigger a hidden solenoid lock or a burst of compressed air when the victim touches the object.
Calibration and False Triggers
The TTP223 features an 'A' and 'B' pad that can be bridged with solder to change the output mode from momentary to toggle. For Halloween props, always bridge the pads for toggle mode or use a momentary software timer in your Arduino code to prevent the prop from getting stuck in an 'on' state if a user keeps their hand on it. Be aware that heavy rain or thick morning dew will alter the dielectric constant of the prop's outer shell, potentially causing false triggers. Coat the exterior of your prop with a hydrophobic clear-coat spray like Rust-Oleum NeverWet to repel moisture and maintain capacitive baseline stability.
Power Delivery & Outdoor Weatherproofing
The number one cause of prop failure on Halloween night is voltage sag and water ingress. Running 144 LEDs on a WS2812B strip requires significant current. According to the Adafruit NeoPixel Uberguide, each LED can draw up to 60mA at full white brightness. A standard 1-meter strip of 60 LEDs will pull 3.6 Amps. Powering this directly from the Arduino's 5V pin will instantly fry the onboard voltage regulator.
The High-Current Power Topology
- Power Supply: Use a dedicated 5V 10A (50W) switching power supply (Mean Well LRS-50-5) housed in an IP65-rated plastic junction box.
- Power Injection: Inject 5V and GND into the NeoPixel strip every 50 LEDs to prevent voltage drop and color shifting (where reds appear at the end of the strip but blues/greens fail).
- Logic Level Shifting: The Arduino outputs 5V logic, but WS2812B data lines are highly susceptible to high-frequency noise over long wire runs. Use a 74AHCT125 level shifter or place a 330Ω resistor on the data line and a 1000µF capacitor across the power supply terminals to absorb startup surges.
Troubleshooting Sensor False Triggers
Even with the right sensors, the chaotic environment of a Halloween yard introduces variables that can break your code. Here is how to handle the most common edge cases:
- Wind-Blown Debris (Ultrasonic/LiDAR): Falling leaves or swinging cobwebs will register as sudden proximity spikes. Implement a software debounce in your Arduino code. Require the sensor to read a distance of less than 100cm for at least three consecutive loops (approx. 50ms) before triggering the scare. This filters out transient noise.
- EMI from Fog Machines: Cheap DMX fog machines use high-voltage piezoelectric pumps that generate massive Electromagnetic Interference. If your Arduino resets randomly when the fog machine kicks on, you are experiencing EMI on the power rail. Isolate the Arduino's power supply using a ferrite bead choke and ensure your sensor signal wires are not routed parallel to the fog machine's AC power cables.
- Spider Webs on Radar: While the RCWL-0516 ignores small insects, a dense spider web vibrating in the wind directly against the sensor housing can cause Doppler shifts. Always mount radar sensors at least 2 inches behind the outer cosmetic shell of your prop.
Final Thoughts for the 2026 Season
Building reactive arduino halloween projects requires a blend of embedded programming, electrical engineering, and theatrical timing. By abandoning basic PIR sensors in favor of through-wall radar and millimeter-accurate LiDAR, you create an unpredictable, deeply unsettling environment. Focus your efforts on robust power delivery and moisture mitigation, and your sensor-driven props will terrify the neighborhood reliably from dusk until dawn.