
Why Ditch the DHT11 for the Bosch BME280?
If you are searching for how to create a weather station with Arduino, you will inevitably encounter tutorials using the DHT11 or DHT22 sensors. While fine for basic classroom demonstrations, these capacitive humidity sensors suffer from severe hysteresis, slow response times, and poor long-term stability. For a reliable, real-world meteorological build in 2026, the Bosch BME280 is the undisputed standard for DIY enthusiasts. It provides compensated temperature, barometric pressure, and relative humidity via a single I2C bus, boasting a ±1 hPa pressure accuracy that rivals commercial-grade equipment.
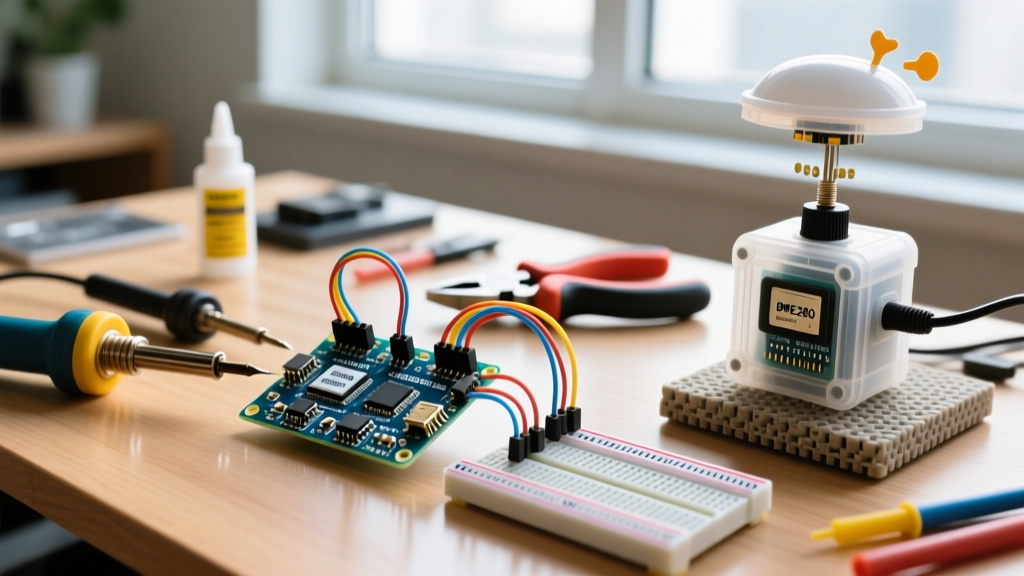
In this step-by-step build tutorial, we will pair the BME280 with the Arduino Nano 33 IoT. We chose the Nano 33 IoT over the classic Uno R3 because it operates natively at 3.3V (matching the BME280's strict voltage requirements without needing a bi-directional logic level shifter) and includes an onboard ESP32-based NINA-W102 module for future WiFi data logging.
Bill of Materials (BOM) & Pricing
Below is the exact hardware list required for this build. Prices reflect average market rates for genuine components as of early 2026. Avoid unbranded clone sensors if you require precise barometric readings, as they often lack the factory-calibrated compensation data stored in the onboard NVRAM.
| Component | Model / Part Number | Est. Price | Notes |
|---|---|---|---|
| Microcontroller | Arduino Nano 33 IoT (ABX00027) | $22.50 | Native 3.3V logic, SAMD21 Cortex-M0+ |
| Sensor | Adafruit BME280 Breakout (2652) | $14.95 | Genuine Bosch chip, 5V tolerant I/O pins |
| Display | 1.3" I2C OLED (SH1106 Driver) | $8.00 | 128x64 resolution, high contrast |
| Passives | 4.7kΩ Pull-up Resistors (x2) | $0.10 | Required for I2C bus stability |
| Enclosure | Stevenson Screen (3D Printed or Kit) | $15.00 | Prevents solar radiation heating |
Hardware Wiring & I2C Bus Constraints
The BME280 and the SH1106 OLED both communicate via I2C. A common failure mode in DIY weather stations is I2C bus capacitance exceeding the 400pF limit specified by the NXP I2C standard, leading to corrupted data packets. To prevent this, keep your I2C wire runs under 30cm and use 4.7kΩ pull-up resistors on the SDA and SCL lines.
Wiring Matrix
| Arduino Nano 33 IoT Pin | Component | Function |
|---|---|---|
| 3.3V | BME280 VIN / OLED VCC | Power |
| GND | BME280 GND / OLED GND | Common Ground |
| A4 (SDA) | BME280 SDI / OLED SDA | I2C Data (via 4.7kΩ pull-up to 3.3V) |
| A5 (SCL) | BME280 SCK / OLED SCL | I2C Clock (via 4.7kΩ pull-up to 3.3V) |
Note: If you are using a generic, unbranded BME280 module from Amazon or AliExpress, verify the voltage regulator on the back. Many cheap modules route 5V directly to the Bosch chip, which will destroy the sensor within minutes. Always measure the breakout board's voltage output with a multimeter before connecting.
Firmware: Mitigating BME280 Self-Heating
This is where most online tutorials fail. The BME280 contains internal circuitry that generates a small amount of heat. If left in 'Continuous Mode', the sensor will read temperatures 1.0°C to 2.5°C higher than the ambient air. To achieve accurate readings, we must configure the sensor in Forced Mode or use aggressive oversampling duty cycles. Furthermore, we must configure the IIR (Infinite Impulse Response) filter to handle sudden pressure spikes caused by wind gusts or door slams.
You will need to install the Adafruit BME280 Library and the Adafruit SH110X library via the Arduino Library Manager.
Core Initialization Code
#include <Wire.h>
#include <Adafruit_BME280.h>
#include <Adafruit_SH110X.h>

Adafruit_BME280 bme;
Adafruit_SH1106G display = Adafruit_SH1106G(128, 64, &Wire);

void setup() {
  Serial.begin(115200);
  Wire.begin();

  // Initialize OLED
  display.begin(0x3C, true);
  display.clearDisplay();

  // Initialize BME280 with custom oversampling to prevent self-heating
  Adafruit_BME280::sensor_mode mode = Adafruit_BME280::MODE_FORCED;
  Adafruit_BME280::sensor_sampling tempSampling = Adafruit_BME280::SAMPLING_X1;
  Adafruit_BME280::sensor_sampling pressSampling = Adafruit_BME280::SAMPLING_X1;
  Adafruit_BME280::sensor_sampling humSampling = Adafruit_BME280::SAMPLING_X1;
  Adafruit_BME280::sensor_filter filter = Adafruit_BME280::FILTER_OFF;

  bme.setSampling(mode, tempSampling, pressSampling, humSampling, filter, 1000);

  if (!bme.begin(0x77)) { // 0x77 for Adafruit, 0x76 for most generic clones
    Serial.println("Could not find a valid BME280 sensor!");
    while (1);
  }
}

void loop() {
  // Must call takeForcedReading() in Forced Mode
  bme.takeForcedReading();

  float tempC = bme.readTemperature();
  float pressureHPa = bme.readPressure() / 100.0F;
  float humidity = bme.readHumidity();

  // Output to OLED
  display.clearDisplay();
  display.setTextSize(1);
  display.setTextColor(SH110X_WHITE);
  display.setCursor(0,0);
  display.print("Temp: "); display.print(tempC); display.println(" C");
  display.print("Pres: "); display.print(pressureHPa); display.println(" hPa");
  display.print("Hum:  "); display.print(humidity); display.println(" %");
  display.display();

  delay(10000); // 10-second polling interval
}
For deeper insights into I2C bus management and timing, refer to the official Arduino Wire Library Documentation.
Calibration & NWS Siting Standards
Building the circuit is only 20% of the project; proper siting is the remaining 80%. If you mount your Arduino weather station on a south-facing brick wall in direct sunlight, your temperature data will be useless due to radiant heat absorption. According to the National Weather Service (NWS) Cooperative Observer Program standards, temperature sensors must be mounted between 4 and 6 feet (1.2 to 1.8 meters) above the ground, over a natural surface (grass or dirt), and shielded from direct solar radiation.
"The thermometer should be placed in an instrument shelter... The shelter should be located over a level, open, natural surface such as grass, and away from trees, buildings, and other obstructions that might block the wind or cast shadows." — NWS siting guidelines.
To achieve this, house your Arduino Nano and BME280 inside a Stevenson Screen. You can 3D print a louvered enclosure using UV-resistant ASA filament (PLA will warp and degrade in the sun within weeks). Ensure the BME280 breakout board is mounted at the very top of the enclosure to avoid any residual heat rising from the microcontroller.
Barometric Pressure Calibration (QNH vs. QFE)
The BME280 outputs absolute station pressure (QFE). However, meteorologists and weather apps report Mean Sea Level Pressure (QNH) so that readings can be compared globally regardless of altitude. You must apply an altitude correction factor. Use the barometric formula:
P_sea = P_station / (1 - (altitude / 44330.0)) ^ 5.255
Find your exact GPS elevation using a topographical map, not a smartphone GPS, as phone GPS elevation can be off by ±20 meters, which translates to a ~2.4 hPa error in your sea-level pressure calculation.
Troubleshooting Matrix
| Symptom | Probable Cause | Resolution |
|---|---|---|
| BME280 returns NaN or -1.70°C | I2C Address mismatch | Run the I2CScanner sketch. Change 0x77 to 0x76 in bme.begin(). |
| Temperature reads 2°C too high | Self-heating / Continuous mode | Switch to Forced Mode or increase delay between readings to >5 seconds. |
| OLED flickers or drops out | I2C Bus Capacitance / Voltage sag | Add 4.7kΩ pull-up resistors to SDA/SCL. Check USB power supply amperage. |
| Humidity reads 100% constantly | Sensor membrane contamination | Replace sensor. PTFE membrane was likely breached by liquid water or flux. |
Next Steps: IoT Integration
Now that you know how to create a weather station with Arduino using reliable hardware and proper meteorological siting, the next phase is data logging. The Arduino Nano 33 IoT allows you to push your calibrated QNH pressure, temperature, and humidity data to an MQTT broker or a dashboard like Grafana via WiFi. For comprehensive sensor integration guides, the Adafruit BME280 Learning System remains an excellent reference for advanced register manipulation.