
The Evolution of the Arduino Project Hub for IoT
If you have spent any time browsing the official Arduino Project Hub, you already know it is a goldmine for standalone sensor nodes, automated plant waterers, and single-purpose robotics. However, as we move deeper into 2026, the paradigm of Internet of Things (IoT) development has shifted away from isolated, cloud-dependent nodes toward localized, edge-computing gateways. Relying entirely on cloud brokers for every smart home sensor introduces unacceptable latency, privacy vulnerabilities, and single points of failure.
To build a truly resilient smart home or industrial monitoring system, you need a centralized hub. This guide explores how to leverage the architectural concepts found on the Arduino Project Hub to construct a robust, local MQTT gateway using modern Arduino hardware. By adapting community-driven IoT blueprints, we can create a hub-and-spoke topology that processes telemetry at the edge before selectively bridging critical data to the cloud.
Selecting the Right Silicon for Your Hub
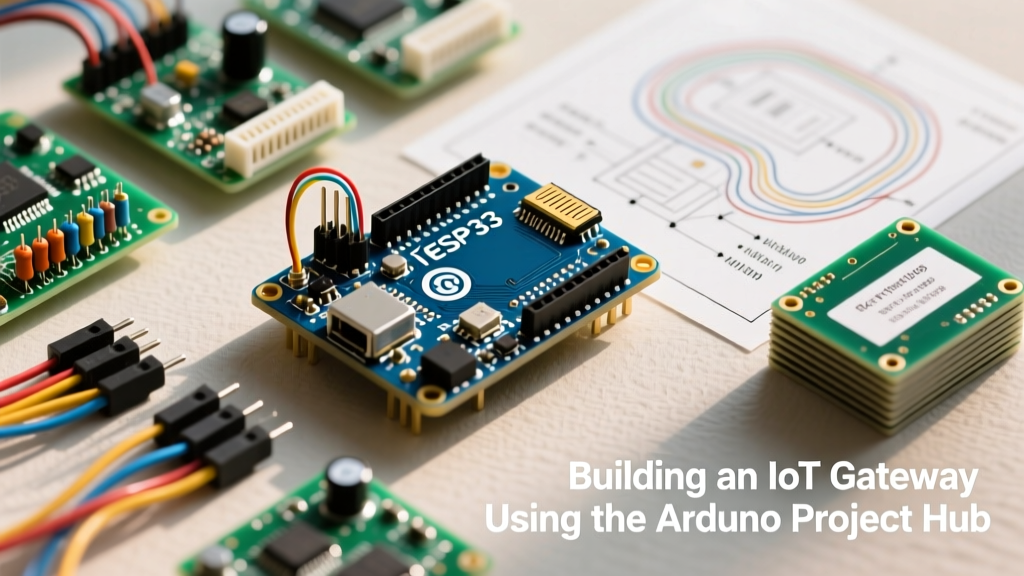
The first step in adapting any Arduino Project Hub tutorial is evaluating the hardware. A true gateway requires high SRAM for managing multiple MQTT client connections, robust Wi-Fi/BLE radios, and enough processing overhead to handle JSON parsing without blocking.
| Board Model | MCU Architecture | SRAM / Flash | 2026 Est. Price | Best Hub Use-Case |
|---|---|---|---|---|
| Arduino Nano ESP32 | ESP32-S3 (Dual-Core 240MHz) | 512KB / 8MB | $28.50 | Budget Local MQTT Broker & BLE Gateway |
| Arduino Portenta H7 | STM32H747 (M7 @ 480MHz + M4) | 1MB / 2MB | $115.00 | Industrial Edge AI & Vision Processing |
| Arduino Nicla Vision | STM32H747 | 1MB / 2MB | $132.00 | Computer Vision IoT Node (Not a Hub) |
For 90% of smart home automation projects sourced from the Arduino Project Hub, the Arduino Nano ESP32 is the undisputed champion for hub duties. The ESP32-S3 chip features native Wi-Fi 4 and Bluetooth 5.0 LE, alongside vector instructions that accelerate lightweight machine learning tasks at the edge. While the Portenta H7 offers immense raw power, its $115 price tag and lack of native Wi-Fi (requiring an external Murata 1DX module) make it overkill for standard telemetry routing.
Architecting the Hub-and-Spoke IoT Topology
Most beginner tutorials on the Arduino Project Hub hardcode Wi-Fi credentials and cloud API keys directly into individual sensor nodes. This is an anti-pattern for scalable deployments. Instead, we implement a hub-and-spoke model:
- The Spokes (Nodes): Low-power sensors (e.g., BME280, SCD41) running on battery-powered ESP32-C3s. They wake up, connect via BLE or local Wi-Fi, publish a payload to the hub, and immediately enter deep sleep (drawing ~10µA).
- The Hub (Gateway): The Nano ESP32 runs a lightweight local MQTT broker (like uMQTT) or acts as a persistent client to a local Raspberry Pi running Mosquitto. It aggregates data, applies edge-logic (e.g., triggering a local relay if temperature exceeds 35°C), and forwards only aggregated or critical alerts to the cloud.
'Edge computing in IoT is no longer a luxury; it is a necessity. By processing telemetry locally, developers reduce cloud ingress costs by up to 60% and eliminate latency in critical safety automations.' — 2026 Industrial IoT Architecture Report.
When designing your topology, understanding MQTT Quality of Service (QoS) levels is critical. According to the HiveMQ MQTT Essentials guide, QoS 0 (At most once) is sufficient for ambient temperature readings, but QoS 1 (At least once) must be enforced for security alerts, such as a water leak detector triggering a shut-off valve.
Step-by-Step: Building the Local MQTT Gateway
Let us walk through the physical and logical setup of the Nano ESP32 as a local gateway, bridging local sensor nodes to the Arduino IoT Cloud.
Step 1: Provisioning the Nano ESP32 and Network
Install the latest Arduino ESP32 Boards package (v3.0 or higher via the Boards Manager). The v3.0 core is mandatory for 2026 deployments because it includes critical patches for Protected Management Frames (PMF), which prevent the Wi-Fi deauthentication loops common on modern WPA3 routers.
Step 2: Implementing ArduinoJson v7 for Payload Parsing
Memory management is the primary cause of hub failure. Never use the native Arduino String class for manipulating JSON payloads; it causes severe heap fragmentation. Instead, use ArduinoJson v7. Unlike v6, v7 utilizes a unified JsonDocument that dynamically allocates memory pools, vastly reducing garbage collection overhead on the ESP32-S3.
#include <ArduinoJson.h>

void parseSensorPayload(const char* payload) {
  JsonDocument doc;
  DeserializationError error = deserializeJson(doc, payload);
  if (error) {
    Serial.print(F('deserializeJson() failed: '));
    Serial.println(error.f_str());
    return;
  }
  float temp = doc['temperature'];
  float humidity = doc['humidity'];
  // Edge logic routing here
}
Step 3: Bridging to the Cloud via Asynchronous MQTT
To prevent the hub from blocking while waiting for cloud acknowledgment, utilize the asynchronous MQTT API provided by Espressif. The Espressif ESP-IDF MQTT documentation details how to configure non-blocking event loops. This ensures that if the external internet connection drops, your local hub continues routing traffic between internal nodes without crashing or dropping local sensor packets.
Real-World Failure Modes and Edge Cases
When adapting projects from the Arduino Project Hub for production environments, you will inevitably encounter edge cases that hobbyist tutorials ignore. Here are the most common failure modes and their specific fixes:
- Wi-Fi Deauthentication Loops: If your hub constantly disconnects and reconnects every 45 seconds, your router likely enforces WPA3 PMF (802.11w). Fix: Update to ESP32 Core v3.0+ and explicitly enable PMF in the
WiFi.config()settings. - Heap Fragmentation Crashes: The hub reboots randomly after 48 hours of uptime. Fix: Audit your code for
Stringconcatenations inside theloop(). Replace them with character arrays (char[]) or pre-allocatedJsonDocumentbuffers. - MQTT Broker Connection Exhaustion: If using the Nano ESP32 to host a micro-broker (via uMQTT), it will choke if more than 10 nodes connect simultaneously. Fix: Offload the broker to a Raspberry Pi Zero 2 W running Mosquitto, and use the Nano ESP32 strictly as a BLE-to-Wi-Fi bridge and edge-logic controller.
- Brownout Detector Resets: When the hub triggers a 5V relay module simultaneously with a Wi-Fi transmission, the voltage drops and triggers the ESP32 brownout detector. Fix: Add a 470µF electrolytic capacitor across the 5V and GND rails of the relay module, and power the relay via a dedicated buck converter rather than the Nano's onboard 5V pin.
Advanced Telemetry: Moving Beyond Basic JSON
As your network scales past 20 nodes, JSON overhead becomes a bandwidth and processing bottleneck. A standard JSON payload for a BME280 sensor might consume 120 bytes. By switching to MessagePack or Protobuf (Protocol Buffers), you can compress that same telemetry down to 15 bytes. The Arduino Project Hub is slowly seeing more advanced implementations of Protobuf via the nanopb library, which is highly recommended for battery-operated spoke nodes where every transmitted byte costs precious milliamp-hours.
Final Thoughts on Edge Autonomy
The true value of the Arduino Project Hub is not just in copying code, but in studying the architectural evolution of community projects. By taking standard sensor tutorials and wrapping them in a robust, edge-computing hub topology using the Nano ESP32, you transform fragile hobbyist prototypes into resilient, autonomous smart home infrastructure. Prioritize local MQTT routing, enforce strict memory management with ArduinoJson v7, and design for offline survivability. Your IoT network will be vastly superior to off-the-shelf commercial alternatives.