
The Evolution of Arduino LED Projects in the IoT Era
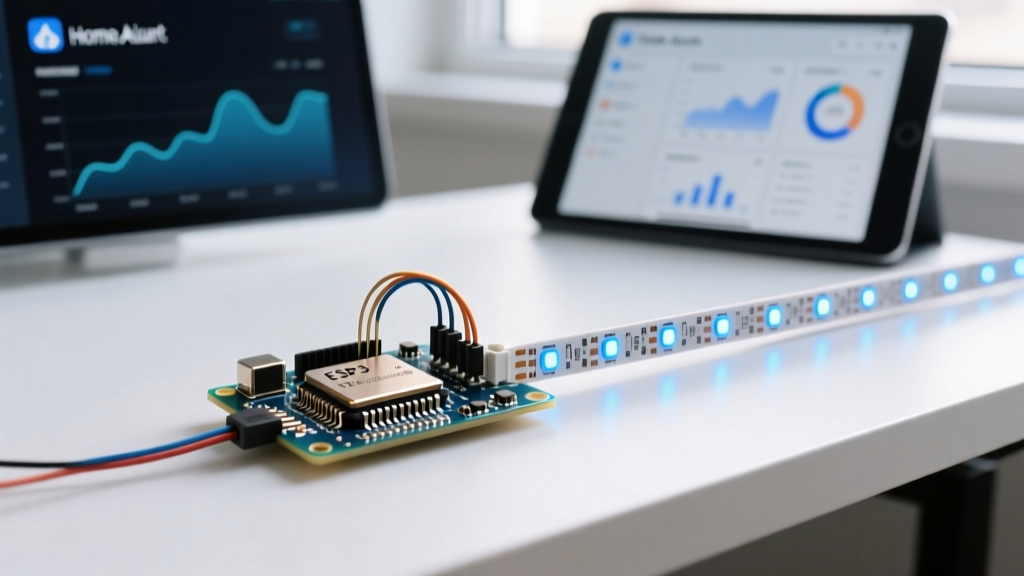
When most makers begin exploring arduino led projects, the journey inevitably starts with a simple 5mm through-hole LED blinking on pin 13. While foundational, the landscape of embedded systems in 2026 demands more. Modern IoT-connected devices require real-time visual feedback, networked status indicators, and dynamic data visualization. By upgrading from basic discrete LEDs to addressable WS2812B (NeoPixel) arrays controlled via an ESP32 and MQTT, you transform a simple desk toy into a powerful, network-aware IoT status dashboard.
This guide bridges the gap between traditional microcontroller tutorials and enterprise-grade IoT deployments. We will cover the exact hardware specifications, the notorious 3.3V logic level trap, power injection mathematics, and MQTT firmware architecture required to build a reliable, network-connected LED matrix.
Hardware BOM: Sourcing the Right Components
Reliability in IoT devices hinges on component quality. Avoid unbranded power supplies and counterfeit logic ICs. Below is the verified Bill of Materials (BOM) for a 2-meter, 120-LED IoT dashboard build, with estimated 2026 pricing.
| Component | Specific Model / Part Number | Purpose | Est. Cost |
|---|---|---|---|
| Microcontroller | ESP32-DevKitC V4 (WROOM-32U) | WiFi/MQTT processing & FastLED timing | $7.50 |
| LED Strip | WS2812B 60 LEDs/m (5V, IP30) | Addressable RGB visual output | $14.00 |
| Power Supply | Mean Well LRS-50-5 (5V 10A) | Stable DC power, prevents flicker | $18.50 |
| Logic Level Shifter | SN74HCT245N (Texas Instruments) | Converts 3.3V GPIO to 5V logic | $1.20 |
| Capacitor | 1000µF 16V Electrolytic | Smooths PSU transient spikes | $0.80 |
Total Build Cost: ~$42.00 (excluding wiring and 3D printed enclosure).
Critical Edge Case: The 3.3V vs 5V Logic Level Trap
Expert Warning: The most common point of failure in ESP32-based WS2812B projects is ignoring logic level thresholds. Feeding 3.3V directly into a 5V data line will result in random color noise, flickering, or complete failure.
The ESP32 operates at 3.3V logic. However, according to the FastLED hardware guidelines and the WS2812B datasheet, the High-Level Input Voltage ($V_{IH}$) requires a minimum of $0.7 \times V_{DD}$. For a 5V system, the data line must see at least 3.5V to register a logical HIGH. While some modern WS2812B clones might tolerate 3.3V, relying on this is a recipe for unstable IoT deployments.
The SN74HCT245N Solution
To guarantee signal integrity, use an SN74HCT245N octal bus transceiver. Unlike bi-directional MOSFET-based level shifters (like the BSS138) which can struggle with the high-frequency PWM signals required by FastLED, the SN74HCT245N pushes the 3.3V ESP32 signal up to a clean 5V square wave, ensuring perfect timing and color accuracy across hundreds of LEDs.
Wiring and Power Injection Mathematics
Addressable LEDs are essentially small computers that draw significant current. A single WS2812B LED at full white draws approximately 60mA. A 2-meter strip of 60 LEDs/m (120 LEDs total) can pull up to 7.2 Amps at peak brightness.
- Power Injection: Never power a 120-LED strip solely from the ESP32's 5V pin. You will fry the microcontroller's voltage regulator. Wire the Mean Well LRS-50-5 directly to the strip's VCC and GND pads.
- Voltage Drop: Copper traces on flexible PCBs have inherent resistance. If you only inject power at one end of a 2-meter strip, the LEDs at the far end will suffer from voltage drop, shifting from white to pink, and eventually to dim red. Rule of thumb: Inject 5V and GND at both ends of any strip exceeding 1.5 meters using 18 AWG silicone wire.
- Transient Protection: Solder a 1000µF 16V electrolytic capacitor directly across the VCC and GND terminals at the power injection point. This acts as a local energy reservoir, absorbing sudden current spikes when the LEDs transition from black to full white, protecting your power supply from tripping its over-current protection.
- Data Line Resistor: Place a 330Ω to 470Ω resistor in series with the data line, as close to the first LED's DIN pad as possible. This prevents high-frequency ringing and protects the first LED's internal logic IC from voltage spikes.
Firmware Architecture: FastLED Meets MQTT
To integrate this hardware into a smart home ecosystem, we utilize the ESP32's WiFi capabilities alongside the Home Assistant MQTT Light integration. The firmware relies on two core libraries: FastLED for hardware-level LED manipulation and PubSubClient for MQTT communication.
Non-Blocking LED Animations
A critical mistake beginners make is using delay() inside their LED animation loops. In an IoT device, blocking the main loop prevents the ESP32 from processing incoming WiFi packets, leading to MQTT disconnects and missed network alerts. Instead, use a state-machine approach driven by millis(). The MQTT callback function should only update a global state variable (e.g., currentPattern = ALERT_RED;), while the main loop continuously renders the animation and checks for non-blocking MQTT keep-alive packets.
JSON Payload Parsing
For advanced dashboarding, configure your MQTT broker to send JSON payloads. This allows a single topic (e.g., home/office/status_led) to carry multiple data points: color hex codes, brightness levels, and animation speeds. Utilizing the ArduinoJson library, the ESP32 can deserialize the payload in microseconds, allowing Home Assistant to seamlessly transition the LED strip from a slow-breathing blue (normal network status) to a rapid-strobe red (server ping failure) without firmware re-flashing.
Real-World Failure Modes and Troubleshooting
Even with perfect schematics, physical IoT deployments encounter environmental edge cases. Here is how to diagnose the most common issues:
- Random WiFi Disconnects Under Load: The ESP32's 2.4GHz antenna is highly susceptible to electromagnetic interference (EMI). The high-speed PWM data lines of the WS2812B can act as an antenna, broadcasting noise that jams the ESP32's WiFi receiver. Fix: Keep the data wire under 15cm, use twisted-pair wiring for the data and ground lines, and ensure your Mean Well PSU is properly earthed to drain high-frequency noise.
- First LED is Yellow/Green, Rest are Correct: This is almost always a failing data-in resistor or a cold solder joint on the DIN pad of the first LED. The internal IC of the first LED has been damaged by a voltage spike. Fix: Snip off the first LED, replace the 330Ω resistor, and re-solder the data line to the new first LED.
- MQTT Broker Rejection: If your ESP32 connects to WiFi but fails to maintain an MQTT session, check your keep-alive interval. The Espressif hardware design guidelines note that deep sleep and WiFi modem sleep cycles can disrupt TCP sockets. Ensure your MQTT keep-alive is set to 60 seconds and disable aggressive modem sleep in the ESP32 Arduino core settings.
Frequently Asked Questions
Can I use an Arduino Uno instead of an ESP32 for this IoT project?
While an Arduino Uno can drive WS2812B LEDs via FastLED, it lacks native WiFi and MQTT capabilities. You would need to add an ESP-01 module and use AT commands over Serial, which is highly unreliable for real-time IoT dashboards. The ESP32 is the undisputed standard for networked Arduino LED projects in 2026 due to its dual-core processing and native 2.4GHz radio.
How do I calculate the exact power supply wattage needed?
Multiply the total number of LEDs by 0.06A (60mA), then multiply by 5V. For 120 LEDs: 120 * 0.06 * 5 = 36 Watts. Always add a 20% safety margin to prevent the PSU from running at maximum thermal capacity. 36W + 20% = 43.2W. A 50W (10A) Mean Well power supply is the perfect choice.
Is it safe to leave the WS2812B strip on 24/7 as a network monitor?
Yes, provided you manage thermal output. Running the strip at 100% white brightness continuously will generate significant heat, potentially degrading the adhesive backing and the LED phosphors over time. For 24/7 IoT status monitoring, limit the global brightness to 30% via the FastLED FastLED.setBrightness(76); command. This drastically reduces heat while maintaining excellent color visibility in indoor environments.