
The Shift Toward Practical Maker Solutions
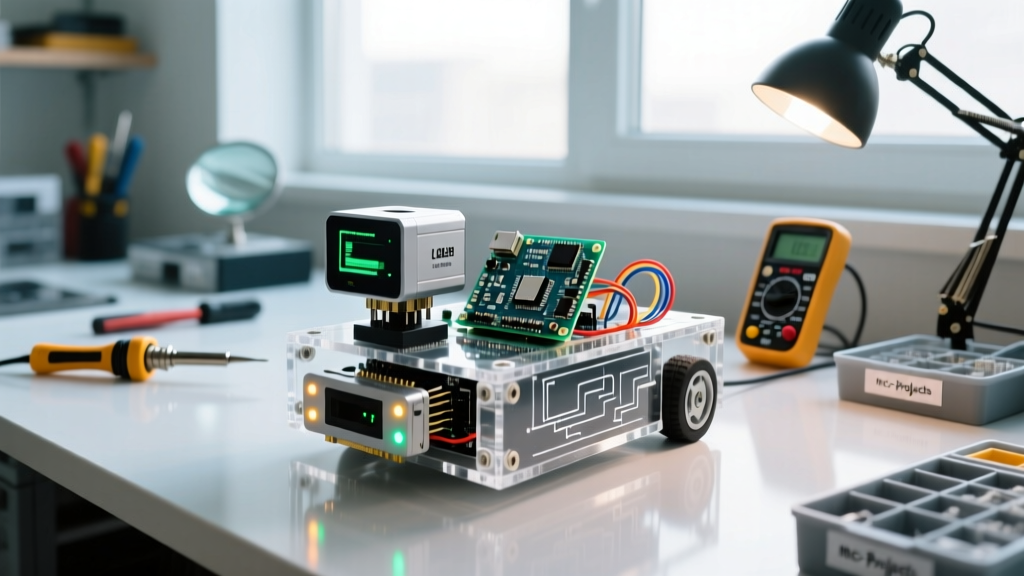
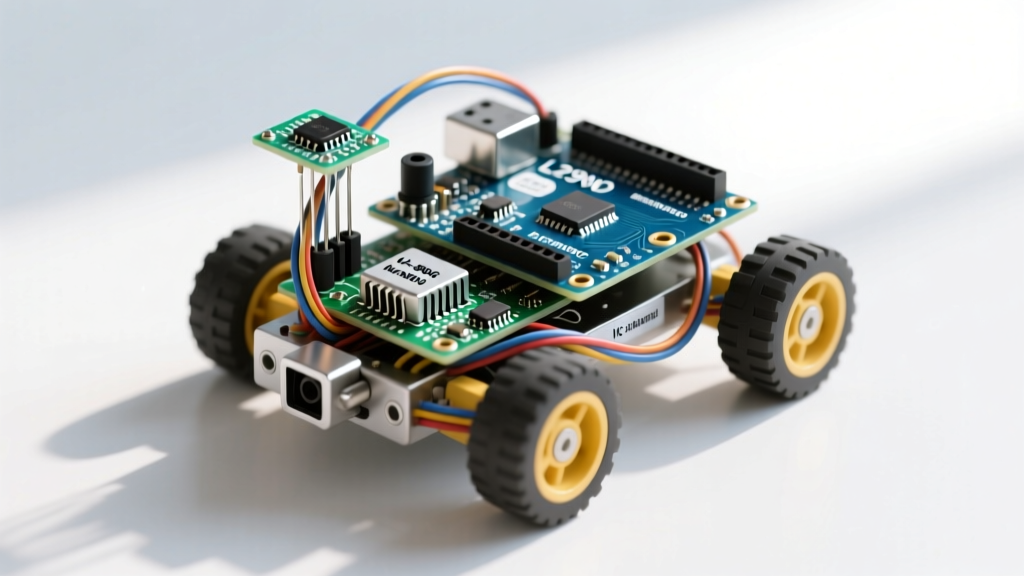
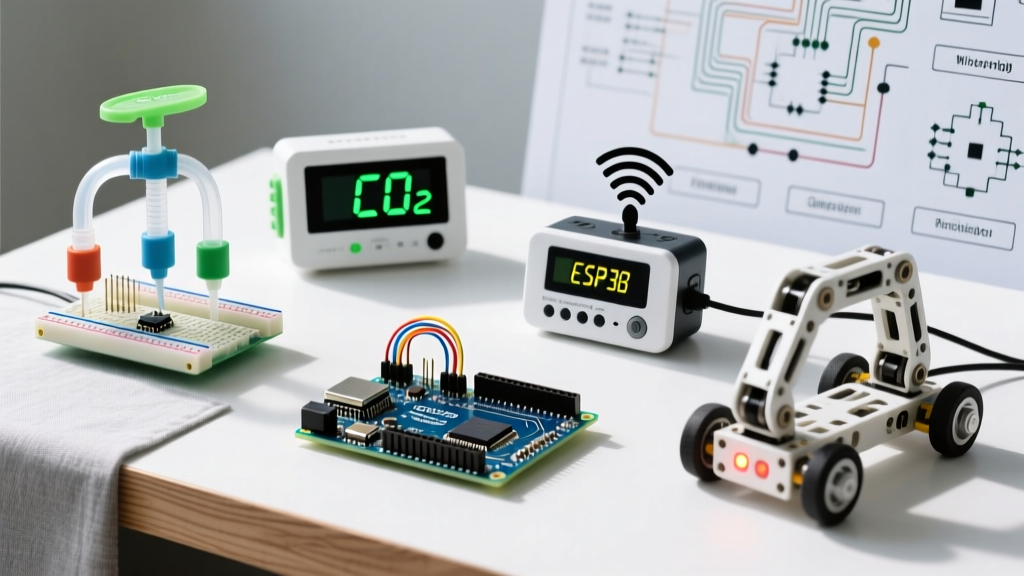
For years, the microcontroller community was dominated by blinking LEDs and basic weather stations. But as we move through 2026, the focus has shifted heavily toward utility. Our community forums are flooded with requests for helpful Arduino projects that solve actual daily friction points—automating chores, monitoring health metrics, and securing the home. In this showcase, we are highlighting four highly practical, community-vetted builds that move beyond the breadboard and into permanent home installations. We will cover exact hardware BOMs, real-world pricing, and the specific failure modes our members encountered during long-term testing.
1. The 'Never-Wilt' Deep-Sleep Irrigation Node
Traditional resistive soil moisture sensors corrode within weeks due to electrolysis. Our community's solution utilizes capacitive sensing paired with the ultra-low-power Arduino Nano ESP32 (retailing around $14.50 in 2026) to create a battery-operated irrigation node that lasts for months on a single 18650 lithium cell.
Hardware BOM & Cost Breakdown
- Microcontroller: Arduino Nano ESP32 ($14.50)
- Sensor: Capacitive Soil Moisture Sensor v1.2 ($2.10)
- Actuator: 12V Solenoid Valve with logic-level MOSFET (IRLZ44N) driver ($6.80)
- Power: 18650 Battery + TP4056 charging module ($4.20)
Community Insight: The Capacitive Calibration Trap
Unlike resistive sensors, the v1.2 capacitive sensor uses a 555 timer IC to output an analog voltage inversely proportional to soil moisture. The most common failure mode reported by our members is improper calibration. Out of the box, the analogRead() values range from roughly 850 (bone dry) to 420 (submerged in water) on a 12-bit ADC scale. You must map these values dynamically in your code rather than using hardcoded thresholds, as the baseline shifts depending on soil mineral density.
"I initially burned out three solenoid valves before realizing the ESP32's 3.3V logic wasn't fully triggering my standard IRLB8721 MOSFET. Switching to a true logic-level IRLZ44N and adding a 10k pull-down resistor to the gate completely eliminated the valve chatter." — @MakerDave, ElectricalFlux Forums
2. Hyper-Local Air Quality & CO2 Dashboard
With indoor air quality becoming a major health focus, monitoring CO2 levels is critical. According to the EPA's guidelines on indoor air quality, poor ventilation leads to cognitive fatigue and elevated pathogen transmission. Our community's flagship build uses the Arduino Uno R4 WiFi ($27.50) to push NDIR CO2 data to a local Home Assistant dashboard via MQTT.
Sensor Fusion: MH-Z19B + BME280
This project fuses data from a Winsen MH-Z19B NDIR CO2 sensor ($28.00) and a Bosch BME280 environmental sensor ($9.50). The MH-Z19B communicates via UART (using pins 0 and 1, or SoftwareSerial on other boards), while the BME280 uses the I2C bus (SDA/SCL).
⚠️ Critical Warning: The 3-Minute Preheat RuleThe MH-Z19B requires a minimum 3-minute preheat period before outputting reliable data. If you read the sensor immediately upon boot, it will default to 400ppm regardless of actual room conditions. Implement a non-blocking millis() timer in your setup loop to discard all UART payloads for the first 180,000 milliseconds.
3. Automated Gravity Pet Feeder with RTC Backup
Wi-Fi-dependent pet feeders are notorious for failing during internet outages, leaving pets hungry. To solve this, community member @SarahBuilds designed an offline-first gravity feeder using an Arduino Nano Every ($11.00) and a DS3231 Real Time Clock (RTC) ($2.50). The DS3231 features a built-in temperature-compensated crystal oscillator (TCXO), ensuring timing drift is limited to just a few minutes per year, even without Wi-Fi NTP sync.
Stepper Motor Integration
The dispensing mechanism uses a NEMA 17 stepper motor driven by an A4988 driver module. By setting the microstepping pins (MS1, MS2, MS3) to HIGH, the motor operates in 1/16th step mode, which drastically reduces the acoustic noise and vibration that typically scares pets away from automated feeders. The total BOM for this build comes in under $35, making it significantly cheaper than commercial smart feeders.
4. Smart Garage Door Auto-Close & Status Monitor
Leaving the garage door open overnight is a common security risk. This project uses an Arduino Nano ($15.00 for a clone, $24.00 for genuine), an HC-SR04 ultrasonic sensor, and a magnetic reed switch to monitor door state and vehicle presence.
The Optocoupler Isolation Necessity
The most critical engineering hurdle in this build is triggering the garage door opener. Most openers use a 12V to 24V DC trigger circuit. Directly wiring an Arduino relay to this circuit often results in back-EMF spikes that fry the microcontroller's voltage regulator. Our community standard is to use a PC817 optocoupler ($0.50) to provide complete galvanic isolation between the Arduino's 5V logic and the garage door's high-voltage trigger circuit.
Microcontroller Selection Matrix for Helpful Arduino Projects
Choosing the right board is critical for long-term reliability. Below is a comparison matrix based on our community's 2026 field data for home automation builds.
| Microcontroller | Best Use Case | Logic Level | Deep Sleep Current | Avg. Cost (2026) |
|---|---|---|---|---|
| Nano ESP32 | Battery-powered IoT, Wi-Fi/BLE nodes | 3.3V | ~8 µA | $14.50 |
| Uno R4 WiFi | Mains-powered dashboards, complex math | 5V (Tolerant) | N/A (Mains) | $27.50 |
| Nano Every | Offline timing, motor control, 5V sensors | 5V | ~15 µA | $11.00 |
| Nano (Classic) | Legacy shields, simple isolation circuits | 5V | ~8 mA (High) | $15.00 - $24.00 |
Real-World Failure Modes & Community Fixes
Building helpful Arduino projects isn't just about wiring; it's about anticipating edge cases. Here are the top three failure modes identified by our community over the last year, along with their definitive fixes:
- I2C Bus Capacitance Overload: When chaining multiple sensors (like the BME280, OLED display, and RTC on the same bus), the wire capacitance can exceed the 400pF I2C specification, causing data corruption. Fix: Reduce the I2C clock speed from 400kHz to 100kHz using
Wire.setClock(100000);or add 2.2kΩ active pull-up resistors to the SDA and SCL lines. - ESP32 Brownout Detector Triggering: When an ESP32 attempts to transmit via Wi-Fi while simultaneously driving a peripheral (like a relay or solenoid), the current spike causes a voltage drop, triggering the brownout detector and rebooting the board. Fix: Power high-draw peripherals from a separate buck converter (e.g., LM2596) and ensure the ground planes are tied together at a single star point.
- Ultrasonic Sensor Echo Ghosting: The HC-SR04 often returns '0' or '4000' when the sound wave scatters off angled surfaces (like a car windshield). Fix: Implement a rolling median filter in your code, taking 5 rapid readings, sorting them, and discarding the highest and lowest values before calculating the distance.
Further Reading and Documentation
To dive deeper into the specific microcontrollers and standards mentioned in this showcase, refer to the following authoritative resources:
- Arduino Nano ESP32 Official Documentation - Complete pinout and deep-sleep configuration guides.
- EPA Indoor Air Quality (IAQ) Guidelines - Standards for CO2 and VOC thresholds in residential spaces.
Conclusion
The era of novelty microcontroller builds is evolving into an era of genuine utility. By focusing on robust hardware selection, proper electrical isolation, and edge-case programming, these helpful Arduino projects transition from weekend experiments to permanent, reliable home infrastructure. Whether you are automating your garden irrigation or securing your garage, the ElectricalFlux community continues to prove that open-source hardware is the most adaptable tool in the modern maker's toolkit.