
Mastering Hardware-Software Synergy: The 3D IMU Visualizer
When engineers and makers discuss arduino processing projects, they are usually referring to the powerful combination of Arduino microcontrollers handling real-time sensor data, and the Processing IDE rendering that data into interactive desktop visualizations. While Python and web-based dashboards have gained traction in 2026, Processing remains an unmatched tool for rapid, high-performance 2D/3D creative coding and hardware prototyping.
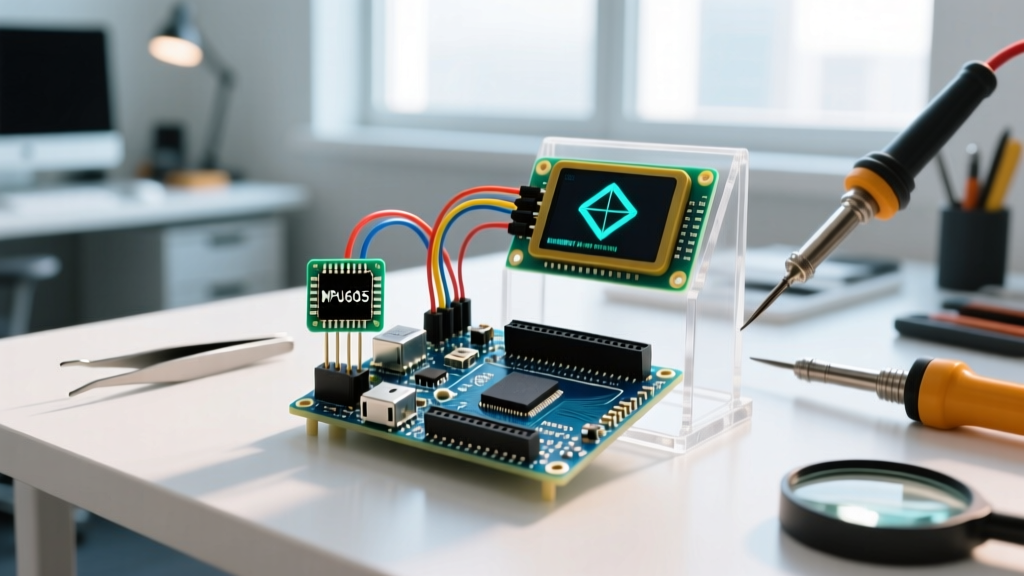
In this step-by-step build tutorial, we will construct a real-time 3D orientation visualizer using an Arduino Uno and the ubiquitous MPU6050 Inertial Measurement Unit (IMU). By offloading the complex quaternion math to the MPU6050's internal Digital Motion Processor (DMP) and streaming the parsed Yaw, Pitch, and Roll data over Serial, we will render a 3D object in Processing that perfectly mirrors the physical sensor's movement in real-time.
Bill of Materials (BOM) & 2026 Pricing
To follow along with this build, you will need a few specific components. Prices reflect average market rates for authentic or high-quality clone boards as of early 2026.
- Microcontroller: Arduino Uno R3 or Uno R4 Minima ($15.00 - $28.00)
- IMU Sensor: GY-521 Breakout Board featuring the TDK InvenSense MPU6050 ($4.50 - $9.00)
- Wiring: Male-to-Female and Male-to-Male jumper wires ($3.00)
- Passives: Two 4.7kΩ pull-up resistors (crucial for clone boards, see troubleshooting below) ($0.50)
- Software: Arduino IDE 2.x and Processing 4.x (Free)
Hardware Wiring Matrix
The MPU6050 communicates via the I2C protocol. On the standard Arduino Uno R3, the I2C lines are hardcoded to specific analog pins. Refer to the official Arduino Wire library documentation for pin variations on newer boards like the Uno R4.
| MPU6050 Pin (GY-521) | Arduino Uno R3 Pin | Function / Notes |
|---|---|---|
| VCC | 5V | Board has an onboard LDO regulator |
| GND | GND | Common ground reference |
| SCL | A5 | I2C Clock Line |
| SDA | A4 | I2C Data Line |
| INT | D2 | Interrupt pin for DMP data readiness |
Step 1: Flashing the Arduino Firmware
Calculating 3D orientation from raw accelerometer and gyroscope data requires complex sensor fusion algorithms (like Madgwick or Mahony filters). Fortunately, the MPU6050 features an onboard DMP that handles this natively. We will use the industry-standard I2Cdevlib created by Jeff Rowberg to extract Yaw, Pitch, and Roll (YPR) in degrees.
Configuring the Serial Output
Once the I2Cdevlib is installed via the Arduino Library Manager and the MPU6050_DMP6 example is loaded, we must modify the serial output to be easily parsable by Processing. Locate the output section in the Arduino sketch and format it as a comma-separated string terminated by a newline character.
// Inside the main loop, after DMP data is ready:
float ypr[3];
Quaternion q = dmpGetQuaternion();
dmpGetGravity(&gravity, &q);
dmpGetYawPitchRoll(ypr, &q, &gravity);

// Convert radians to degrees and format for Processing
Serial.print(ypr[0] * 180/M_PI); // Yaw
Serial.print(',');
Serial.print(ypr[1] * 180/M_PI); // Pitch
Serial.print(',');
Serial.println(ypr[2] * 180/M_PI); // Roll
Pro-Tip: Set your baud rate to
115200in both the ArduinoSerial.begin()and the Processing sketch. Lower baud rates (like 9600) will introduce noticeable latency and buffer overflow in high-frequency 3D rendering loops.
Step 2: Setting Up the Processing Environment
Processing uses Java under the hood, making it incredibly fast for desktop rendering. For this project, we need to import the Serial library to read the COM port, and we will use Processing's native 3D primitives (P3D) to draw our object.
According to the Processing Serial Library Reference, utilizing the bufferUntil() method is the most robust way to handle incoming microcontroller data without fragmenting strings.
The Processing Visualizer Code
Create a new Processing sketch and paste the following foundational code. Ensure you replace 'COM3' with your specific Arduino serial port.
import processing.serial.*;

Serial myPort;
String inString;
float yaw = 0.0, pitch = 0.0, roll = 0.0;

void setup() {
  size(800, 600, P3D);
  // Replace COM3 with your actual port
  myPort = new Serial(this, 'COM3', 115200);
  myPort.bufferUntil('\n');
  smooth();
}

void draw() {
  background(30);
  lights();

  translate(width/2, height/2, -300);

  // Rotate based on incoming IMU data
  rotateZ(-roll);
  rotateX(-pitch);
  rotateY(-yaw);

  // Draw a 3D representation (e.g., a breadboard or box)
  fill(0, 150, 255);
  box(200, 50, 300);

  // Add directional indicator
  fill(255, 0, 0);
  box(20, 20, 350);
}

void serialEvent(Serial p) {
  inString = p.readString();
  if (inString != null) {
    inString = trim(inString);
    String[] data = split(inString, ',');
    if (data.length == 3) {
      yaw = radians(float(data[0]));
      pitch = radians(float(data[1]));
      roll = radians(float(data[2]));
    }
  }
}
Step 3: Calibration and Edge Case Troubleshooting
Building arduino processing projects is rarely plug-and-play. Hardware quirks often arise, especially when dealing with I2C communication and 3D spatial math. Below are the most common failure modes and their exact solutions.
1. The I2C Bus Hangs on Startup
Symptom: The Arduino serial monitor outputs nothing, or the setup loop freezes indefinitely at dmpInitialize().
Root Cause: Most inexpensive GY-521 clone boards manufactured post-2022 omit the 4.7kΩ I2C pull-up resistors to save costs. Without them, the SDA and SCL lines float, causing the MPU6050 I2C handshake to fail.
Solution: Solder or breadboard a 4.7kΩ resistor between VCC (3.3V) and SDA, and another between VCC (3.3V) and SCL.
2. Severe Yaw Drift Over Time
Symptom: Pitch and Roll are stable, but the 3D model continuously spins on the Z-axis (Yaw) even when the sensor is stationary.
Root Cause: The MPU6050's DMP relies heavily on the gyroscope for Yaw, as the accelerometer cannot measure rotation around the gravity vector. Gyroscopes inherently suffer from integration drift.
Solution: Implement a software deadband in your Processing code. If the delta change in Yaw is less than 0.05 degrees per frame, lock the value. Alternatively, upgrade to a 9-DOF sensor (like the BNO085) which includes a magnetometer to provide absolute heading reference.
3. Processing 'Port Busy' Error
Symptom: Processing throws a SerialException: Port is busy when you hit 'Run'.
Root Cause: The Arduino IDE Serial Monitor is still open and holding the COM port lock.
Solution: Always close the Arduino IDE Serial Monitor before launching the Processing sketch. Only one application can bind to a serial port at a time in Windows/Linux environments.
Technology Comparison: Processing vs. Alternatives
Is Processing the right choice for your specific visualization needs in 2026? Compare it against modern alternatives before scaling your project.
| Feature | Processing (Java) | Python (PyQt / Matplotlib) | Web Sockets (Node.js + Three.js) |
|---|---|---|---|
| Setup Time | Very Fast (Native Serial) | Moderate (Requires venv/pip) | Slow (Requires server setup) |
| 3D Rendering | Excellent (OpenGL native) | Poor (Matplotlib is slow) | Superior (WebGL hardware accel) |
| Latency | < 10ms | 15ms - 40ms | 20ms+ (Network stack overhead) |
| Best Use Case | Desktop art, rapid IMU testing | Data logging, ML integration | Remote IoT dashboards, mobile |
Next Steps and Expanding Your Project
Once you have the basic 3D box rotating in sync with your physical MPU6050, the possibilities for arduino processing projects expand dramatically. You can map the IMU data to control a virtual robotic arm, build a DIY motion-capture glove using flex sensors alongside the IMU, or create an interactive digital art installation that reacts to the tilt and velocity of the sensor.
Remember to always prioritize clean serial protocols. As your sensor array grows to include temperature, humidity, or biometric data, transition from simple comma-separated strings to structured JSON packets or binary byte arrays to maintain the high framerates required for smooth 3D visualization.