
The Microcontroller vs. Microprocessor Divide
When diving into electronics, beginners often conflate microcontrollers (MCUs) and single-board computers (SBCs). Understanding this distinction is the foundational step in selecting the right hardware for your build. If you are looking for the best arduino and raspberry pi projects, you must first match the board to the task. Microcontrollers like the Arduino excel at real-time, low-level hardware control, reading raw sensor data, and driving motors with microsecond precision. Conversely, Raspberry Pi single-board computers run full Linux operating systems, making them ideal for heavy computational tasks, local AI processing, database management, and hosting web dashboards.
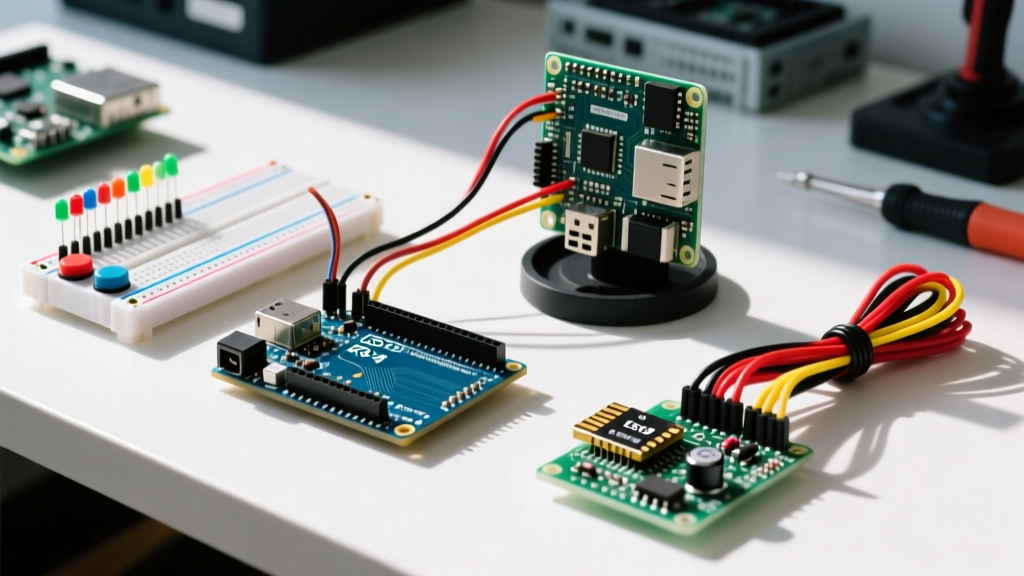
In 2026, the hardware landscape has matured significantly. The legacy Arduino Uno R3 has been largely superseded by the ARM-based Uno R4, while the Raspberry Pi Pico W bridges the gap by offering a 3.3V microcontroller with built-in WiFi. Meanwhile, the Raspberry Pi 5 dominates the SBC space for edge computing. Below, we break down three distinct, highly practical beginner projects that leverage the unique strengths of each platform.
Core Hardware Matrix: Uno R4 vs. Pico W vs. Pi 5
Before writing a single line of code, review this comparison matrix to ensure your project requirements align with the hardware capabilities.
| Board | Architecture & Processor | Logic Level | Approx. Price (2026) | Best Use Case |
|---|---|---|---|---|
| Arduino Uno R4 Minima | Renesas RA4M1 (ARM Cortex-M4 @ 48MHz) | 5V | $27.50 | Real-time actuation, analog sensor reading |
| Raspberry Pi Pico W | RP2040 (Dual ARM Cortex-M0+ @ 133MHz) | 3.3V | $6.00 | Low-power IoT telemetry, WiFi nodes |
| Raspberry Pi 5 (4GB) | BCM2712 (Quad Cortex-A76 @ 2.4GHz) | 3.3V | $60.00 | Home Assistant hubs, local LLMs, vision |
Project 1: Automated Smart Plant Waterer (Arduino Uno R4 Minima)
The smart irrigation system is a rite of passage for hardware beginners. However, most online tutorials recommend resistive soil moisture sensors, which suffer from rapid electrolysis and corrode within 48 hours of being powered in damp soil. For a reliable, long-term build, we use a capacitive sensor.
Bill of Materials & Wiring
- MCU: Arduino Uno R4 Minima
- Sensor: Capacitive Soil Moisture Sensor v1.2 (Analog Output)
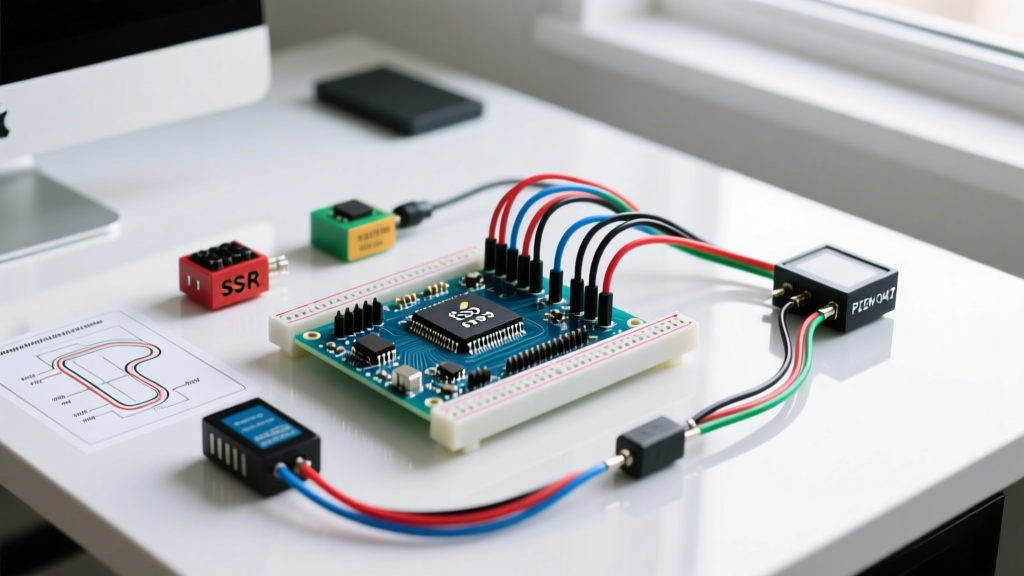
- Actuator: 5V SRD-05VDC-SL-C Relay Module with optocoupler isolation
- Power: 12V DC Submersible Water Pump
Wire the capacitive sensor's analog out to pin A0 on the Uno R4. The relay module's IN pin connects to digital pin 8. Because the Uno R4 Minima operates at 5V logic, it can directly drive standard 5V relay modules without logic translation.
Critical Failure Mode: Back-EMF Spikes
When a relay coil de-energizes, it generates a reverse voltage spike (Back-EMF) that can permanently damage the Renesas RA4M1 microcontroller. Always verify that your relay module includes a flyback diode (usually a 1N4148) soldered across the coil. If you are building the relay circuit from scratch on a breadboard, you must wire a diode in reverse bias across the coil terminals to protect your board.
Project 2: MQTT-Enabled Weather Node (Raspberry Pi Pico W)
While the Arduino handles physical actuation beautifully, the Raspberry Pi Pico W is the undisputed king of budget IoT telemetry. By pairing the Pico W with a Bosch BME280 environmental sensor, you can build a node that publishes temperature, humidity, and barometric pressure to an MQTT broker like Mosquitto or HiveMQ every 60 seconds.
Sensor Integration via I2C
The BME280 communicates via the I2C protocol. Connect the sensor's SDA pin to the Pico's GP4 (Pin 6) and SCL to GP5 (Pin 7). Power the sensor using the Pico's 3V3(OUT) pin (Pin 36). Never connect the BME280 VCC to the Pico's VBUS (5V), as this will destroy the sensor's internal ASIC.
Troubleshooting I2C Bus Errors
Beginners frequently encounter the OSError: [Errno 5] EIO in MicroPython when scanning the I2C bus. This almost always indicates missing pull-up resistors. The I2C protocol requires the SDA and SCL lines to be pulled high. While some premium breakout boards include 4.7kΩ surface-mount pull-up resistors, cheap generic clones often omit them to save fractions of a cent. If your bus scan fails, solder a 4.7kΩ resistor between SDA and 3.3V, and another between SCL and 3.3V. For a comprehensive breakdown of I2C wiring, refer to the Adafruit BME280 Wiring Guide.
Project 3: Local Smart Home Dashboard (Raspberry Pi 5)
Microcontrollers gather the data, but you need a central hub to visualize it and automate responses. The Raspberry Pi 5 (4GB model) is currently the most cost-effective platform for running Home Assistant OS locally, ensuring your smart home remains functional even if your internet connection drops.
Thermal Management is Mandatory
Unlike previous generations, the BCM2712 chipset in the Pi 5 generates significant heat under load. Running Home Assistant with multiple ESPHome integrations and MQTT brokers will push the CPU to its limits. Without active cooling, the Pi 5 will aggressively thermal throttle at 80°C, causing system lockups and corrupted SD card partitions. You must install the official Raspberry Pi Active Cooler ($5) or utilize an aluminum passive-cooling case like the Argon ONE V3. For official thermal specifications, consult the Raspberry Pi Hardware Documentation.
The Golden Rule: Logic Level Translation
WARNING: The Arduino Uno R4 operates at 5V logic, while the Raspberry Pi Pico W and Pi 5 SBCs operate at 3.3V logic. Connecting a 5V Arduino TX pin directly to a 3.3V Pico RX pin will overvoltage and permanently destroy the RP2040's GPIO bank. Always use a bi-directional logic level converter (such as the Adafruit 757 featuring BSS138 MOSFETs) when bridging serial or I2C communication between 5V and 3.3V ecosystems.
Frequently Asked Questions
Can I power a Raspberry Pi Pico W directly from an Arduino Uno R4?
Yes, but with caveats. The Uno R4's 5V output pin can supply power to the Pico W's VBUS pin. However, the Pico W will draw its operating current from the Uno's onboard 5V regulator. If your Arduino is powered via USB, the total combined current draw must not exceed the USB port's limit (typically 500mA for USB 2.0). If you are driving relays or motors alongside the Pico, use a dedicated external 5V power supply with a common ground.
Which platform is better for learning C++ vs Python?
If your goal is to learn embedded C++, the Arduino ecosystem (via the Arduino IDE or PlatformIO) remains the industry standard for beginners, abstracting away complex register configurations while teaching memory management and hardware interrupts. If you prefer Python, the Raspberry Pi Pico W running MicroPython is vastly superior, allowing you to write networked IoT scripts in minutes. For full desktop Python, data science, and AI libraries like TensorFlow, the Raspberry Pi 5 SBC is required.
Where can I find official pinout diagrams for these boards?
Always rely on primary sources for pinouts to avoid wiring errors. The Arduino Uno R4 Minima Documentation provides interactive, web-based pinout charts that detail PWM capabilities and ADC resolution limits, which are critical for precise sensor calibration.