
The Evolution of Great Arduino Projects in Home Automation
When makers search for great Arduino projects, the results often skew toward basic weather stations or Bluetooth-controlled cars. However, as we move through 2026, the DIY smart home ecosystem has matured significantly. The shift toward the Matter protocol and Wi-Fi 6 compatibility means that modern home automation builds require more than just a basic Arduino Uno and a 433MHz RF transmitter. Today, the most impactful projects leverage the computational power of the Arduino Uno R4 Wi-Fi, the ESP32-S3, and the Raspberry Pi Pico W to create secure, local-first smart home nodes.
This guide details five high-impact, technically rigorous home automation projects. We will cover exact component selections, circuit protection strategies, and the specific failure modes that separate amateur prototypes from reliable, 24/7 smart home infrastructure.
The 2026 Microcontroller Landscape for Smart Homes
Before diving into the builds, selecting the right brain for your project is critical. The classic ATmega328P is no longer sufficient for encrypted IoT traffic. Here is how the top contenders compare for home automation in 2026:
| Microcontroller | Core / Architecture | Wireless Protocols | Approx. Cost (2026) | Best Use Case |
|---|---|---|---|---|
| Arduino Uno R4 Wi-Fi | Renesas RA4M1 (Cortex-M4) | Wi-Fi (ESP32-S3 coprocessor) | $27.50 | HVAC Controllers, High I/O Hubs |
| ESP32-C3 SuperMini | RISC-V Single Core | Wi-Fi 4, Bluetooth 5 (LE) | $4.50 | Matter Relays, Sensor Nodes |
| Raspberry Pi Pico W | Dual-core Cortex-M0+ | Wi-Fi 4, Bluetooth 5.2 | $6.00 | MicroPython Automation, Motor Control |
| Arduino Nano Matter | MGM240S (Cortex-M33) | Thread, Zigbee, BLE | $18.99 | Low-Power Mesh Sensor Networks |
5 High-Impact Great Arduino Projects for Your Home
1. Matter-Compatible ESP32-C3 Smart Relay Node
The holy grail of DIY smart home integration is native Matter support, allowing your custom builds to appear directly in Apple Home, Google Home, and Home Assistant without custom MQTT bridges. Using the $4.50 ESP32-C3 SuperMini, you can build a compact, wall-mountable relay node.
Hardware Specifics:
- Microcontroller: ESP32-C3 SuperMini (RISC-V, supports Matter over Wi-Fi/Thread).
- Switching Component: Fotek SSR-25DA Solid State Relay (for silent, spark-free switching of inductive loads up to 25A).
- Isolation: PC817 optocoupler to physically separate the 3.3V logic from the 5V relay trigger circuit.
Expert Insight: Never drive a mechanical relay directly from an ESP32 GPIO. The 3.3V logic lacks the current sourcing capability (GPIOs are limited to ~40mA total per bank), and the coil collapse generates back-EMF that will instantly fry the ESP32's silicon. Always use a logic-level MOSFET (like the IRLZ44N) or an optocoupler, and place a 1N4007 flyback diode in reverse bias across any mechanical relay coil.
2. Non-Invasive Whole-Home Energy Monitor
Understanding your home's energy consumption at the breaker level is a cornerstone of advanced automation. This project uses an Arduino Nano 33 IoT to sample current and voltage waveforms, calculating real-time power factor and apparent power.
Circuit Design & Calibration:
- Current Sensing: Use the YHDC SCT-013-000 (100A) split-core current transformer. Because it outputs an AC current, you must use a burden resistor to convert it to a measurable voltage. For a 3.3V logic board, the calculation is:
Burden Resistor = (V_ref / 2) / (I_max / Turns). With a 1.65V midpoint and 2000 turns, a 33-ohm 1% metal film resistor is required. - Voltage Sensing: The ZMPT101B voltage sensor module steps down 120V/240V AC to a safe 0-3.3V AC signal.
- Calibration: Do not rely on library defaults. Plug in a purely resistive load with a known draw (e.g., a 1500W space heater drawing exactly 12.5A at 120V) and adjust the calibration constant in the EmonLib library until the serial monitor matches the physical draw.
3. 24VAC HVAC Zoning Controller
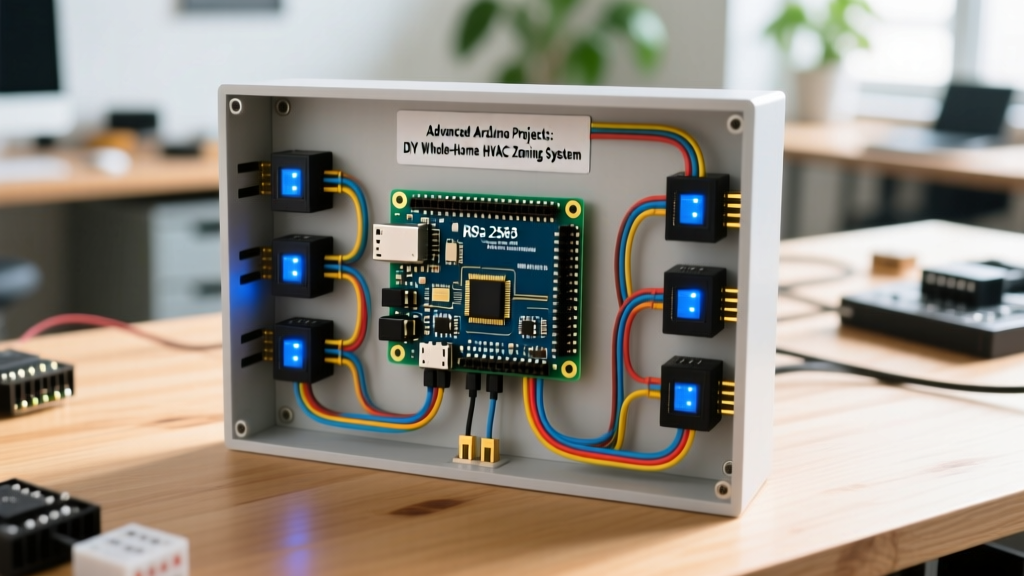
Most smart thermostats only control a single stage of heating/cooling. If you have a multi-zone home with motorized duct dampers or hydronic zone valves (like the Honeywell V8043), an Arduino Uno R4 Wi-Fi can act as a central zoning logic controller.
The Triac Switching Challenge:
Zone valves typically run on 24VAC. Switching AC voltage with standard DC relays causes severe contact arcing and electromagnetic interference (EMI) that can disrupt your home's Wi-Fi mesh. Instead, build a zero-cross switching circuit using a MOC3021 optocoupler and a BT136 triac. The MOC3021 detects the zero-crossing point of the AC sine wave, triggering the triac only when the voltage is at zero, eliminating inrush current spikes and EMI.
4. Automated Hydroponic Nutrient Doser
For indoor agriculture automation, maintaining precise pH and Electrical Conductivity (EC) is critical. This build utilizes a Raspberry Pi Pico W running MicroPython to manage peristaltic dosing pumps.
- Sensors: Atlas Scientific EZO pH and EC circuits (I2C). Avoid cheap analog pH probes; they drift by up to 0.5 pH within 48 hours and lack temperature compensation.
- Actuators: 12V Kamoer peristaltic pumps.
- Logic: The Pico W reads the I2C sensor data every 15 minutes. If EC drops below 1.2 mS/cm, it triggers a ULN2803 Darlington transistor array to pulse the nutrient A and B pumps for exactly 4.5 seconds (delivering ~3ml per pulse).
5. Sun-Tracking Smart Blinds with Acoustic Dampening
Automating window treatments based on solar azimuth and interior lux levels reduces HVAC loads by up to 18% in the summer.
Mechanical & Electronic Specifics:
Use a NEMA 17 stepper motor paired with an A4988 driver. To prevent the blinds from sounding like a 3D printer, configure the A4988 for 1/16 microstepping by bridging the MS1, MS2, and MS3 pins to VDD. Power the motor with a 12V 2A supply, but ensure you use a logic level shifter to feed the 3.3V step/direction signals from your ESP32-S3. For light tracking, integrate a BH1750 digital ambient light sensor via I2C; it provides calibrated lux readings without the analog drift common in cheap LDR photoresistors.
Critical Failure Modes and Hardware Protection
When deploying great Arduino projects into a permanent home automation role, prototype code and breadboard wiring will fail. Address these three edge cases before enclosing your builds:
The Wi-Fi Brownout Loop: When an ESP32 transmits a high-power Wi-Fi burst (especially during MQTT reconnections), it can draw upwards of 350mA for a few milliseconds. If powered by a standard AMS1117-3.3 linear regulator, the voltage will sag below 2.8V, triggering the brownout detector (BOD) and causing an infinite reboot loop. Solution: Always use a switching buck converter (like the MP1584EN) set to 3.3V, and place a 470µF low-ESR tantalum capacitor directly across the ESP32's VCC and GND pins.
Inductive Load Snubbing
If your Arduino project switches ceiling fans, AC motors, or solenoid valves, the collapsing magnetic field generates massive voltage spikes (often exceeding 400V) that will arc across relay contacts and degrade them within months. You must install an RC snubber circuit (typically a 100-ohm resistor in series with a 0.1µF X2-rated film capacitor) in parallel with the inductive load to absorb this energy safely.
Optoisolation for Mains-Adjacent Sensors
When measuring mains voltage or interfacing with high-voltage HVAC control boards, a single failed component can send 120V/240V directly into your microcontroller and connected network. According to Espressif's hardware design guidelines, maintaining strict creepage and clearance distances on your custom PCBs, combined with digital isolators (like the ISO7721) instead of standard optocouplers, ensures high-speed data transfer without compromising galvanic isolation.
Conclusion
The definition of great Arduino projects has evolved from simple classroom demonstrations to robust, Matter-compatible home automation nodes. By selecting the right microcontroller for the task, respecting the physics of inductive loads, and implementing proper power delivery networks, you can build smart home devices that rival commercial products in both reliability and functionality. Whether you are monitoring your home's energy footprint or automating your HVAC zoning, the 2026 maker toolkit provides everything needed for professional-grade results.