
The Real-World Problem: Why Off-The-Shelf Unos Fall Short
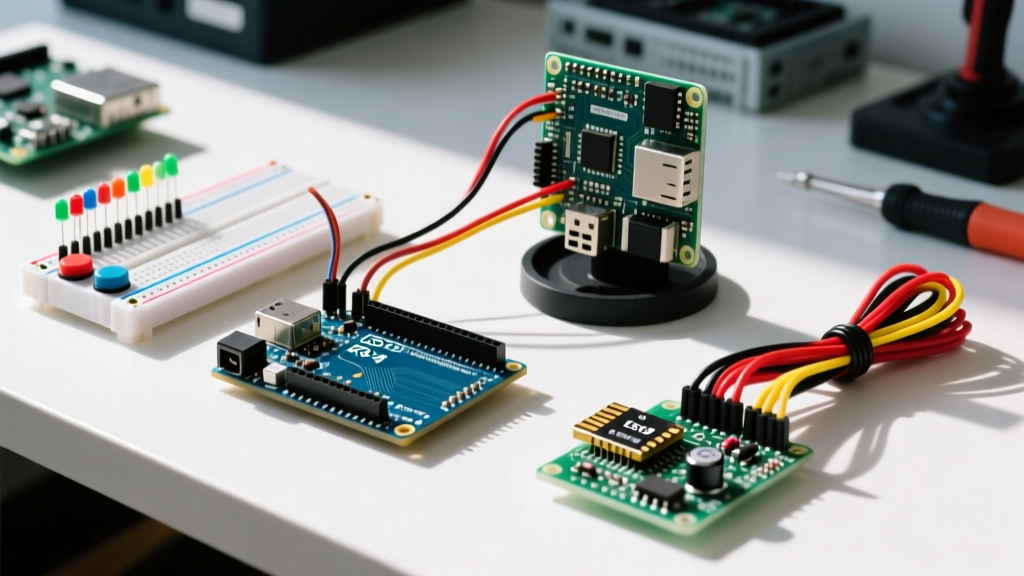
For rapid prototyping, the standard Arduino Uno R3 or R4 is unbeatable. However, when transitioning from a breadboard concept to a deployable, real-world product, the off-the-shelf Uno reveals critical flaws. The legacy USB-B port is practically obsolete in 2026, the 68.6mm x 53.4mm footprint is far too bulky for custom 3D-printed IoT enclosures, and the $25+ unit cost destroys margins for small-batch manufacturing. Furthermore, the onboard NCP1117 linear regulator bleeds excessive heat when driving motors or relays from a 9V or 12V source.
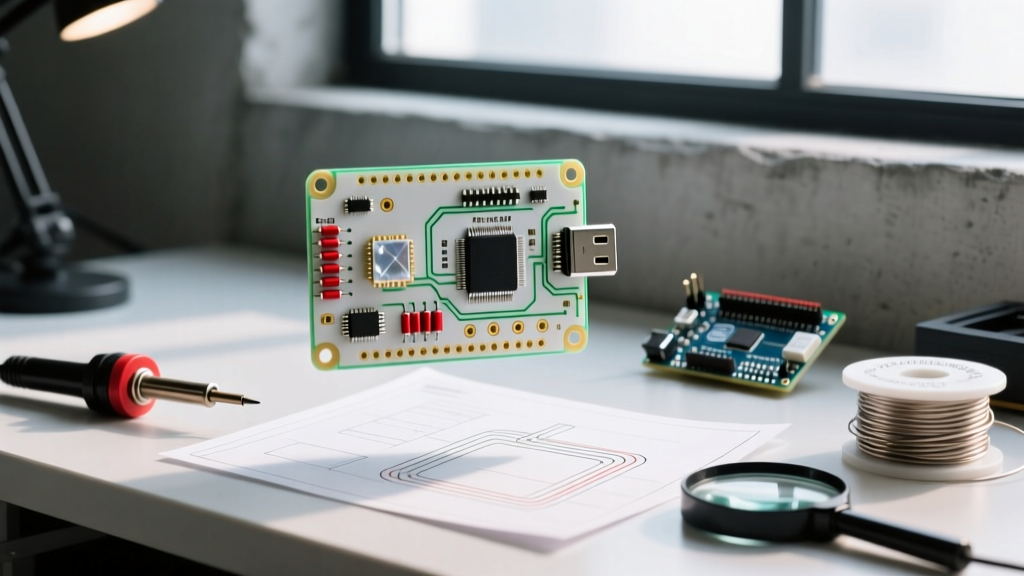
The solution? When you decide to Arduino build your own Uno based on a barebones ATmega328P architecture, you reclaim total control over the form factor, power efficiency, and Bill of Materials (BOM) cost. This guide walks you through designing a custom, production-ready 'Uno' PCB that solves these exact engineering bottlenecks.
Strategic Component Selection (2026 BOM)
To shrink the board and modernize connectivity, we abandon the through-hole DIP-28 package and legacy serial chips. Below is the optimized BOM for a custom SMD-based ATmega328P board, dropping the per-unit cost to under $6.50 in low-volume batches.
| Component | Recommended Part Number | Package | Est. Cost (2026) | Engineering Rationale |
|---|---|---|---|---|
| Microcontroller | ATmega328P-AU | TQFP-32 | $1.85 | SMD saves space; identical instruction set to DIP version. |
| UART Bridge | CH340C | SOP-16 | $0.45 | Requires no external crystal, vastly cheaper than CP2102N. |
| USB-C Port | 16-Pin Receptacle | SMD Mid-Mount | $0.20 | Modern standard; mid-mount saves vertical Z-height. |
| Clock Source | 16MHz SMD Crystal | 3225 (3.2x2.5mm) | $0.30 | Compact SMD footprint; requires tight load capacitance matching. |
| 5V Regulator | ME6211C50 | SOT-23-5 | $0.15 | Low dropout, high PSRR, handles up to 500mA safely. |
Critical Schematic Design Rules
Building a standalone ATmega328P board introduces several edge cases that frequently trap intermediate designers. Pay strict attention to these three subsystems.
1. The USB-C CC Pin Requirement
A common failure mode in custom DIY boards is plugging them into a modern USB-C wall charger or laptop, only to receive zero power. Unlike legacy Micro-USB, USB-C requires the presence of 5.1kΩ pull-down resistors on both the CC1 and CC2 lines to signal to the host that it is a sink device. If you omit these resistors, modern USB-PD controllers will refuse to output 5V. Always route 5.1kΩ resistors from CC1 and CC2 directly to GND.
2. The CH340C Auto-Reset Circuit
To upload sketches without manually pressing the reset button, the UART bridge must toggle the MCU's RESET pin. The CH340C outputs a DTR (Data Terminal Ready) signal. You must route the DTR pin through a 100nF ceramic capacitor to the ATmega328P's RESET pin. This creates a momentary low-pulse that triggers the bootloader. Additionally, place a 10kΩ pull-up resistor from RESET to VCC to prevent floating states and erratic brownout resets.
3. Crystal Oscillator Parasitics
According to the official Microchip ATmega328P datasheet, the internal oscillator is only accurate to ±10%, which is insufficient for UART communication. You must use an external 16MHz crystal. Place the 3225 SMD crystal as close to the XTAL1 and XTAL2 pins as physically possible. Use 22pF NPO/C0G load capacitors. Avoid routing any high-speed digital traces beneath the crystal to prevent capacitive coupling and clock jitter.
Power Architecture: LDO vs. Switching Buck
The standard Arduino Uno Rev3 architecture relies on a linear regulator. If your custom board will be powered by a 12V adapter and drive a 5V relay module, a linear regulator will dissipate massive heat (P = (12V - 5V) * I).
Expert Tip: If your project's total 5V current draw exceeds 150mA and the input voltage is above 7V, abandon LDOs entirely. Integrate a synchronous buck converter like the TPS56020 or MP2359. The BOM cost increases by roughly $0.80, but you eliminate the need for thermal vias and massive copper pours, saving valuable PCB real estate.
Flashing the Optiboot Bootloader
Once your custom PCB is assembled, the ATmega328P-AU is a blank slate. It lacks the Optiboot bootloader required for serial uploading. You must flash it using an ISP programmer (like a USBasp or a secondary Arduino acting as an ISP).
- Wire the ISP Header: Connect MISO, MOSI, SCK, RESET, VCC, and GND from your programmer to the custom board's 2x3 ICSP footprint.
- Set the Fuses: The ATmega328P ships from the factory configured for an internal 1MHz clock. You must change the fuses to enable the external 16MHz crystal. Using AVRDUDE, execute:
avrdude -c usbasp -p m328p -U lfuse:w:0xFF:m -U hfuse:w:0xDE:m -U efuse:w:0xFD:m - Flash the Bootloader: Select 'Arduino Uno' in the Arduino IDE tools menu, choose your ISP programmer, and click 'Burn Bootloader'. This writes the Optiboot hex file to the uppermost 512 bytes of flash memory and locks the boot section.
Troubleshooting Matrix: Common Failure Modes
When testing your first custom batch, use this diagnostic matrix to isolate hardware faults.
| Symptom | Probable Cause | Hardware Verification Step |
|---|---|---|
| USB enumerates, but upload fails with 'stk500_recv() programmer is not responding' | Auto-reset circuit failure or wrong bootloader. | Probe the RESET pin with an oscilloscope during upload. Look for a 100us low pulse from the DTR cap. |
| USB-C cable connected, but no 5V on the VBUS rail. | Missing CC pull-down resistors. | Verify continuity of the 5.1kΩ resistors between CC1/CC2 and GND. |
| MCU runs, but Serial Monitor outputs garbage characters. | Clock source failure or wrong baud rate. | Measure XTAL1 with a 10MHz+ scope. If flat, check solder bridges on the 22pF caps or swap the crystal. |
| Board resets randomly when switching on a relay. | Power rail brownout / ground bounce. | Ensure a continuous ground pour on Layer 2. Add a 100uF bulk electrolytic cap near the 5V regulator output. |
Conclusion: Scaling to Production
Choosing to Arduino build your own Uno is not just a weekend learning exercise; it is a strategic engineering decision. By migrating from a $25 development board to a $6.50 custom PCB, you eliminate legacy connectors, optimize thermal performance, and tailor the board's geometry to your exact enclosure. Whether you are building a fleet of custom weather stations or a specialized robotics controller, mastering bare-metal ATmega328P design bridges the gap between hobbyist prototyping and professional hardware deployment.