
Why a Structured PDF Arduino Projects Book Beats Random Tutorials
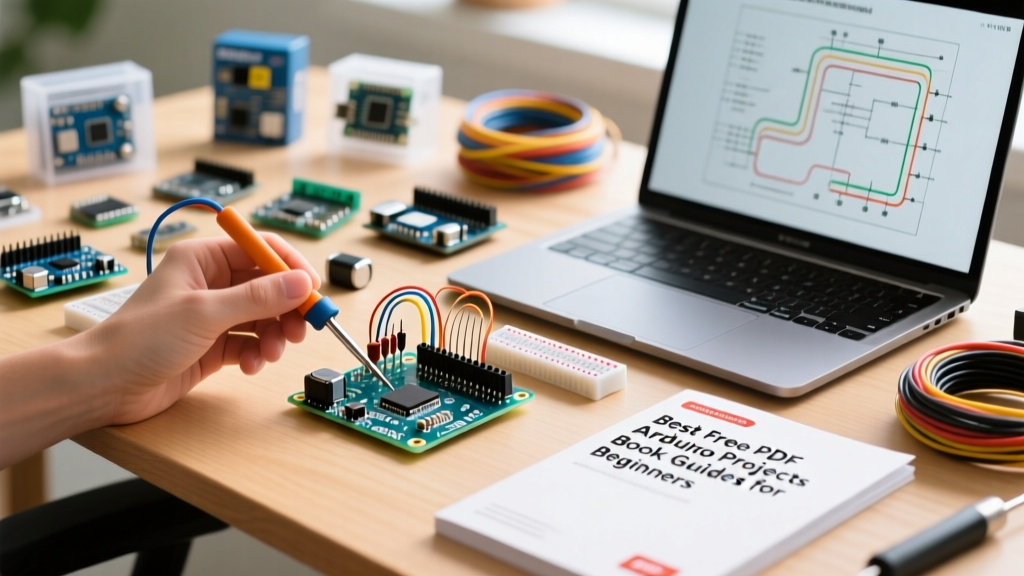
In the current landscape of maker education, it is incredibly easy to fall into 'tutorial hell'—jumping between fragmented YouTube videos and outdated forum posts. For beginners, a comprehensive PDF Arduino projects book remains one of the most effective ways to learn embedded systems. Unlike video tutorials, a well-structured PDF guide allows you to work offline at your workbench, easily zoom in on complex Fritzing schematics, and copy-paste code blocks without pausing and rewinding.
Furthermore, downloadable PDF guides often provide a pedagogical progression that random web searches lack. They start with basic digital logic and gradually introduce analog inputs, I2C communication, and interrupt service routines (ISRs). In this guide, we will break down the best PDF resources available, the exact hardware you need to follow them, and the real-world troubleshooting steps that most beginner books conveniently leave out.
Essential Hardware Before You Open Your First PDF
Most legacy PDF Arduino projects book resources were written for the classic Arduino Uno R3 (based on the ATmega328P). However, if you are buying hardware today, you are likely looking at the Arduino Uno R4 Minima ($27.50) or the Uno R4 WiFi ($45.00), which utilize the Renesas RA4M1 32-bit ARM Cortex-M4 processor. While backward compatible with 95% of beginner code, the R4 series operates at 5V logic but has different internal timer registers, which can break specific libraries for ultrasonic sensors or IR receivers found in older PDFs.
If you are on a strict budget, third-party clones like the Elegoo Uno R3 ($12.00 - $15.00) are excellent alternatives. However, clones typically use the CH340G USB-to-serial chip instead of the official ATmega16U2. If you are running Windows 11, you must manually download and install the CH340 driver before your IDE will recognize the board, a step rarely mentioned in older PDF guides.
- Microcontroller: Arduino Uno R4 Minima or Elegoo Uno R3 Clone
- Breadboard: 830 tie-point solderless breadboard (ensure it has continuous power rails)
- Jumper Wires: Minimum 60x Male-to-Male and 20x Male-to-Female (24 AWG stranded copper)
- Resistor Kit: 1/4W metal film assortment (specifically 220Ω, 330Ω, 1kΩ, and 10kΩ)
Comparing the Top PDF Arduino Projects Book Resources
Not all PDF guides are created equal. Some are heavily theoretical, while others focus purely on copy-paste code. Below is a comparison matrix of the most reliable PDF and digital book resources for beginners.
| Resource Name | Format | Approx. Cost | Project Count | Best For |
|---|---|---|---|---|
| Official Arduino Starter Kit Project Book | PDF / Print | $95.00 (Kit) | 15 | Absolute Beginners |
| SparkFun Inventor's Kit Guide | PDF / Web | $119.95 (Kit) | 16 | Hardware Fundamentals |
| Arduino Cookbook (O'Reilly 3rd Ed.) | PDF / ePub | $39.99 | 200+ | Deep Reference & Theory |
| Instructables 'Arduino Class' Export | PDF Export | Free | 7 | Quick Weekend Builds |
Expert Tip: Never manually type or copy-paste code directly from a scanned PDF. Optical Character Recognition (OCR) often misinterprets the letter 'O' for the number '0', or misses subtle syntax like semicolons. Always download the companion GitHub repository linked in the book's introduction to ensure your code compiles on the first try.
3 Foundational Projects to Master from Your PDF Guide
When working through your chosen PDF Arduino projects book, focus heavily on the foundational projects. Do not rush to build complex IoT dashboards until you have mastered these three core concepts.
1. The 5-Volt LED Traffic Light (Ohm's Law in Practice)
Every PDF book starts with blinking an LED, but few explain the math behind the current-limiting resistor. The Arduino Uno outputs 5V on its digital pins. A standard red LED has a forward voltage (Vf) of roughly 2.0V and a maximum continuous forward current of 20mA. Using Ohm's Law (R = V / I), the calculation is: (5V - 2.0V) / 0.02A = 150Ω. While a 150Ω resistor is the mathematical minimum, most PDF guides recommend a 220Ω or 330Ω resistor. This provides a safety margin that prevents thermal runaway and extends the lifespan of the LED, drawing a safer ~13mA.
2. DHT11 Environmental Logger (Digital Protocols)
Moving from analog to digital, the DHT11 temperature and humidity sensor is a staple in beginner PDFs. The critical E-E-A-T detail most books gloss over is the 10kΩ pull-up resistor required between the VCC and Data pins. The DHT11 uses a single-wire proprietary digital protocol. Without the pull-up resistor, the data line will float, resulting in 'NaN' (Not a Number) or 'Timeout' errors in your serial monitor. If you buy a DHT11 module (the 3-pin version mounted on a PCB), the pull-up resistor is already soldered onboard, but the bare 4-pin component requires you to wire it manually.
3. HC-SR04 Ultrasonic Sensor (Timing and Logic Levels)
The HC-SR04 measures distance by emitting a 40kHz ultrasonic burst and timing the echo. While it is powered by 5V, the critical failure mode occurs when beginners attempt to use this sensor with 3.3V boards like the ESP32 or Arduino Nano 33 IoT. The HC-SR04 Echo pin outputs a full 5V signal. Feeding 5V into a 3.3V GPIO pin will permanently fry the microcontroller's silicon. If your PDF guide transitions you to ESP32 builds, you must build a voltage divider using a 1kΩ and 2kΩ resistor to step the 5V echo signal down to a safe 3.3V.
Troubleshooting: What Your PDF Book Won't Tell You
PDF guides are written for a perfect world where every component works out of the box. In reality, hardware fails. Here are the most common edge cases you will encounter:
- Breadboard Power Rail Discontinuities: Full-size 830-point breadboards often have a physical break in the middle of the red and blue power rails. If your circuit suddenly stops working when moved to the bottom half of the board, use a multimeter to check for continuity. You will likely need to bridge the center gap with a jumper wire.
- USB Charge-Only Cables: If your PC makes a USB connection sound but the Arduino IDE shows no available COM ports, you are likely using a 'charge-only' USB cable. These cables lack the internal D+ and D- data lines. Always verify your cable by testing it with a smartphone for data transfer.
- Onboard 5V Regulator Overheating: Many PDF projects suggest powering servos or LED strips directly from the Arduino's '5V' pin. The onboard linear regulator can only safely dissipate about 800mA of current (and much less if powered via the barrel jack). For high-current loads, use an external LM2596 buck converter to step down a 9V battery or wall adapter to 5V, sharing a common ground with the Arduino.
Setting Up the Modern IDE for Legacy PDFs
Many free PDF Arduino projects book resources were published between 2015 and 2019, featuring screenshots of the legacy Arduino IDE 1.8.x. Today, the standard is Arduino IDE 2.3.x. The interface has changed significantly. The 'Serial Plotter' is now a separate tab, and library management requires searching the new registry. Furthermore, if your PDF requires third-party boards (like the ESP8266 NodeMCU), you must navigate to File > Preferences and paste the specific Board Manager JSON URL, a step that was much more hidden in older software versions.
For the most accurate and up-to-date syntax references to supplement your PDF reading, always consult the Arduino Official Getting Started Guide. Additionally, SparkFun's 'What is an Arduino?' Tutorial provides excellent interactive diagrams that bridge the gap between static PDF schematics and real-world wiring.
Final Thoughts on PDF Learning
A well-chosen PDF Arduino projects book provides a structured, distraction-free path to mastering microcontrollers. By understanding the underlying electrical principles—like Ohm's law for LEDs, pull-up resistors for digital protocols, and logic-level shifting for modern sensors—you will transition from merely copying code to actually engineering robust, real-world automation systems.