
The 2026 Arduino Landscape for Beginners
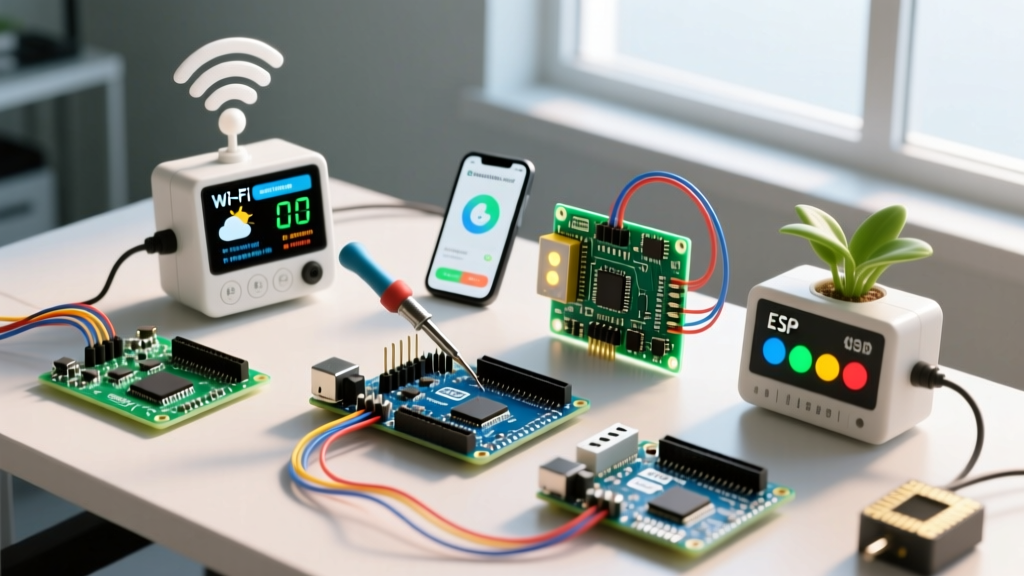
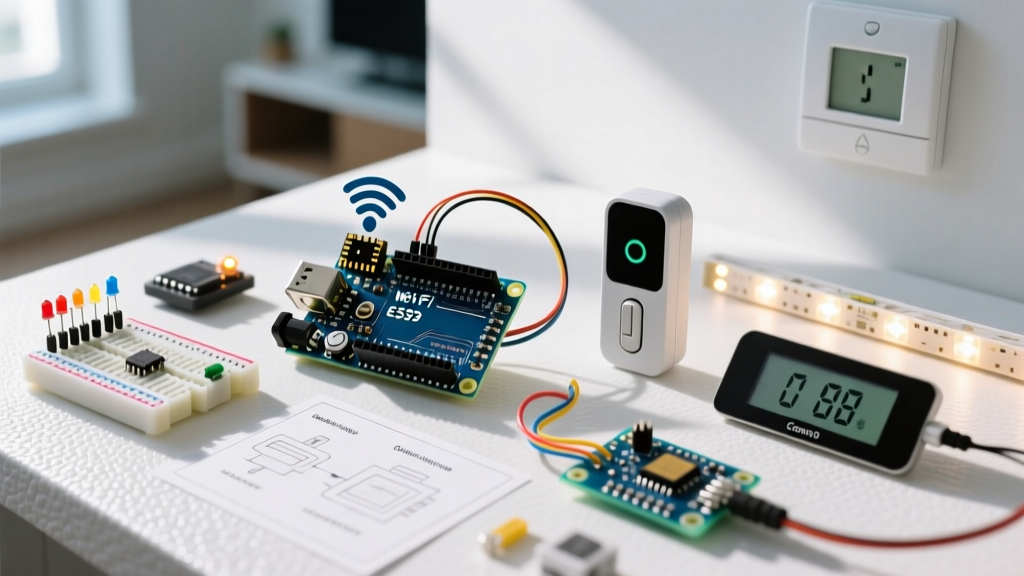
If you are exploring project ideas with Arduino, the microcontroller ecosystem has evolved significantly. In 2026, the legacy Uno R3 has been largely superseded by the Arduino Uno R4 Minima and the Nano ESP32 for connected builds. The R4 Minima offers a 32-bit Arm Cortex-M4 processor running at 48 MHz, providing vastly superior math capabilities for sensor filtering, while the Nano ESP32 brings native Wi-Fi and Bluetooth to the classic Nano footprint.
For beginners looking to build practical smart home devices, moving beyond blinking LEDs to real-world automation requires understanding power isolation, logic levels, and sensor degradation. Below, we detail four high-value, beginner-friendly smart home projects, complete with exact component specifications, real-world failure modes, and 2026 pricing.
Core Bill of Materials (BOM) & Pricing
Before diving into the builds, here is the foundational hardware required for these smart home projects. Prices reflect average 2026 retail costs from authorized distributors.
| Component | Specific Model / Spec | Est. Price | Primary Use Case |
|---|---|---|---|
| Microcontroller | Arduino Uno R4 Minima | $20.00 | Logic processing, 5V tolerant I/O |
| Wi-Fi MCU | Arduino Nano ESP32 | $21.00 | IoT telemetry, MQTT communication |
| Soil Sensor | Adafruit STEMMA Soil Sensor (Capacitive) | $7.50 | Corrosion-free moisture reading |
| RFID Reader | Adafruit PN532 NFC/RFID Controller | $39.95 | Secure door strike authentication |
| Ultrasonic Sensor | HC-SR04 (5V Tolerant) | $2.50 | Proximity detection for lids |
| Climate Sensor | DHT22 / AM2302 | $5.00 | Temperature and humidity logging |
1. Automated Plant Watering System
The most common mistake beginners make with soil moisture projects is using cheap, exposed-trace resistive sensors. These pass a direct current through the soil, causing rapid electrolytic corrosion that destroys the probe within two weeks.
The 2026 Solution: Capacitive Sensing
For a reliable automated waterer, use a capacitive soil moisture sensor like the Adafruit STEMMA Soil Sensor. It measures the dielectric permittivity of the soil without passing current through it, meaning it will not corrode.
- Wiring: Connect the sensor via I2C (SDA to A4, SCL to A5 on the Uno R4).
- Actuator: Use a 5V Songle SRD-05VDC-SL-C relay module to switch a 12V solenoid water valve.
- Failure Mode to Avoid: Solenoid valves are inductive loads. When the relay opens, the collapsing magnetic field generates a massive voltage spike (back-EMF) that can reset your Arduino or weld the relay contacts. Always solder a 1N4007 flyback diode in reverse bias across the solenoid's terminals.
2. RFID Smart Door Strike
Upgrading a standard interior door to an RFID-secured entry is a classic rite of passage. While the MFRC522 module is cheap, it operates strictly at 3.3V logic and requires messy level-shifting when paired with 5V boards. Instead, the Adafruit PN532 is the professional choice for reliable RFID/NFC projects.
Powering the Solenoid Lock
A standard 12V fail-secure door strike draws about 500mA when active. You cannot power this from the Arduino's 5V pin.
- Use a dedicated 12V 2A power supply for the door strike.
- Switch the 12V ground path using a logic-level N-channel MOSFET like the IRLZ44N.
- Connect the Arduino digital pin to the MOSFET gate via a 220Ω resistor, and add a 10kΩ pull-down resistor between the gate and ground to prevent the lock from fluttering during MCU boot-up.
Pro-Tip: Always implement a physical 'exit button' wired in parallel with your MOSFET trigger. Fire codes and basic safety dictate that you must have a hardware override to exit a room if the microcontroller crashes.
3. Touchless Ultrasonic Trash Can
Automating a trash can lid using an HC-SR04 ultrasonic sensor and a servo motor is an excellent introduction to timing and kinematics. The HC-SR04 sends a 40kHz ping and listens for the echo. By calculating the time delta, you can determine distance.
The Servo Brownout Problem
Beginners often wire a standard SG90 micro-servo directly to the Arduino's 5V pin. While this works for tiny loads, a trash can lid requires a high-torque servo like the MG996R. Under stall conditions (e.g., the lid hits an obstruction), the MG996R can draw up to 2.5 Amps. The Arduino's onboard 5V regulator is typically rated for only 500mA to 800mA. Drawing 2.5A will cause an immediate voltage brownout, resetting the microcontroller and potentially damaging the USB port of your PC.
The Fix: Power the MG996R using a dedicated 5V 3A step-down buck converter (like the LM2596 module) wired directly to your main power source. Ensure the ground of the buck converter is tied to the Arduino's GND to establish a common reference voltage for the PWM signal wire.
4. Wi-Fi Climate Logger (MQTT over HTTP)
For IoT telemetry, the Arduino Nano ESP32 paired with a DHT22 sensor is the ultimate 2026 starter kit. While many beginners use HTTP GET requests to push data to a web server, this is inefficient and drains power. The industry standard for smart home telemetry is MQTT (Message Queuing Telemetry Transport).
DHT22 Wiring and Pull-Up Resistors
The DHT22 uses a single-bus proprietary protocol. According to the official Adafruit DHT guide, the data line requires a 4.7kΩ pull-up resistor connected between the VCC (3.3V on the Nano ESP32) and the Data pin. Without this resistor, the data line will float, resulting in checksum errors and NaN (Not a Number) readings in your serial monitor.
By connecting to a local Mosquitto MQTT broker (e.g., running on a Raspberry Pi or Home Assistant server), your Nano ESP32 can publish temperature and humidity payloads to topics like home/livingroom/climate with less than 10ms of latency and minimal overhead.
Critical Hardware Pitfalls to Avoid
When executing these project ideas with Arduino, keep these fundamental electrical engineering rules in mind to prevent hardware damage:
- Floating Input Pins: Never leave an unused digital input pin unconnected. It acts as an antenna, picking up electromagnetic interference (EMI) and causing erratic behavior. Use
pinMode(pin, INPUT_PULLUP)in your code to internally tie it to VCC. - USB Current Limits: A standard USB 2.0 port provides 500mA; USB 3.0 provides 900mA. If your project includes relays, servos, and high-brightness LEDs, power the Arduino via the barrel jack or VIN pin with an external wall adapter, rather than relying on your laptop's USB port.
- Inductive Kickback: As mentioned in the plant waterer project, any component with a coil (relays, solenoids, motors) must have a flyback diode. This is non-negotiable for long-term circuit survival.
Next Steps for Your Automation Journey
Starting with these foundational builds teaches you the vital intersection of software logic and hardware physics. Once you have mastered the Uno R4 Minima and the Nano ESP32, you can explore the official Arduino R4 documentation to dive into advanced features like the built-in 12-bit DAC (Digital-to-Analog Converter) for generating custom audio waveforms or precise analog control voltages for smart home dimmers.