
Why Moisture Control is Non-Negotiable in 2026
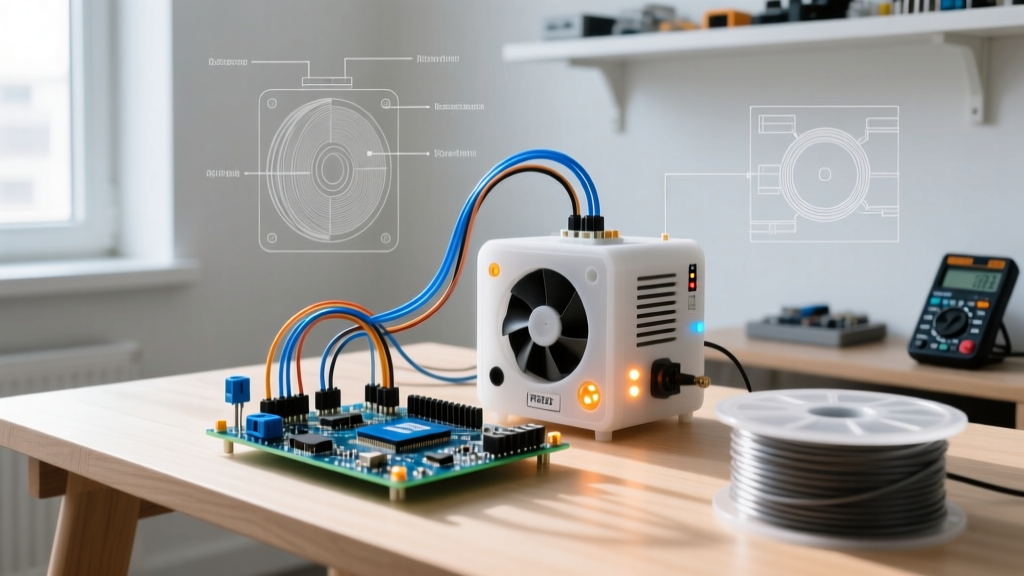
As 3D printing shifts heavily toward engineering-grade polymers like PA6-CF (Nylon Carbon Fiber), Polycarbonate (PC), and PETG, moisture management has transitioned from a best practice to an absolute requirement. Hygroscopic filaments absorb ambient humidity within hours, leading to hydrolysis during extrusion. This causes micro-voids, severe stringing, and catastrophic layer delamination. While commercial dryers exist, they often lack precise spool weight tracking and advanced PID thermal stability. In this guide on Arduino 3D printer projects, we will build a Smart Filament Dryer featuring closed-loop PID temperature control, an integrated HX711 load cell for real-time filament consumption tracking, and hardware-level thermal runaway protection.
Bill of Materials (BOM) & System Architecture
Before wiring, gather the following components. Prices reflect typical 2026 market rates for hobbyist electronics.
| Component | Model / Specification | Est. Cost | Function |
|---|---|---|---|
| Microcontroller | Arduino Nano V3.0 (ATmega328P) | $12 (3-pack) | Central logic, PID calculation, I2C/SPI management |
| Temp Sensor | MAX6675 Module + K-Type Thermocouple | $8.50 | High-accuracy chamber temperature reading (SPI) |
| Heating Element | 12V 60W Silicone Heater Pad (100x100mm) | $14.00 | Primary thermal energy source |
| Switching Relay | Omron G3MB-202P Solid State Relay (SSR) | $4.50 | High-frequency PWM switching for PID control |
| Weight Sensor | 5kg Straight-Bar Load Cell + HX711 Amplifier | $6.00 | Real-time spool weight and consumption tracking |
| Display | 1.3" I2C OLED (SH1106 / SSD1306) | $7.00 | Live telemetry readout |
| Safety Cutoff | KSD9700 Normally-Closed Thermal Switch (75°C) | $2.00 | Hardware thermal runaway protection |
Step 1: Wiring the Heating Element & PID Controller
The core of any reliable Arduino 3D printer project involving heat is the switching mechanism. Mechanical relays will fail rapidly under PID high-frequency PWM switching. We use the Omron G3MB-202P SSR, which handles up to 2A at 12V (plenty for a 60W pad drawing 5A peak—ensure you use a logic-level MOSFET like the IRLZ44N in parallel or a higher-rated SSR like the Fotek SSR-40DA if scaling up to 100W+). For this 60W build, an IRLZ44N MOSFET is actually the safest choice for 12V DC switching.
MOSFET & Thermocouple Wiring
- MAX6675 (SPI): VCC to 5V, GND to GND. SO to Nano D2, CS to Nano D3, SCK to Nano D4.
- IRLZ44N MOSFET: Gate to Nano D7 (PWM pin) via a 100Ω resistor. Source to GND. Drain to the negative terminal of the silicone heater pad.
- Heater Pad: Positive terminal directly to 12V PSU positive.
Step 2: Hardware-Level Safety Integration
CRITICAL SAFETY WARNING: Never rely solely on software for thermal limits in DIY heating projects. A frozen microcontroller or failed MOSFET (shorted closed) will result in a thermal runaway and potential fire.
To prevent this, wire a KSD9700 75°C Normally-Closed (NC) thermal fuse in series with the positive 12V line feeding the heater pad. Mount the KSD9700 directly to the aluminum bed or the center of the silicone heater using Kapton tape. If the chamber exceeds 75°C, the bimetallic strip physically snaps open, cutting power to the heater regardless of what the Arduino Nano is doing. According to safety guidelines outlined by the MatterHackers filament drying guide, maintaining strict thermal boundaries is essential not just for safety, but to prevent annealing and warping standard PLA spools.
Step 3: Integrating the HX711 Load Cell
Tracking filament weight allows you to know exactly how many grams are left on the spool and alerts you before a print fails due to runout. Wire the HX711 DOUT to Nano D5, and PD_SCK to Nano D6. Power it via 3.3V to reduce noise.
The Temperature Drift Problem (Expert Insight)
Most basic tutorials ignore a massive flaw in using load cells inside heated enclosures: strain gauge thermal drift. The Wheatstone bridge inside the load cell is highly sensitive to temperature. As your dryer heats from 20°C to 80°C, the resistance of the strain gauge wires changes, causing the HX711 to report a false weight drop (ghost consumption).
The Fix: Implement a software temperature compensation matrix in your firmware. Record the raw zero-offset at 20°C, 40°C, 60°C, and 80°C. In your Arduino loop, apply an offset based on the current MAX6675 reading:
float getCompensatedWeight(float rawWeight, float currentTemp) {
  float driftOffset = (currentTemp - 20.0) * 0.45; // Calibrate 0.45g per degree C for your specific cell
  return rawWeight - driftOffset;
}
This ensures your spool weight remains accurate whether the chamber is cold or actively drying Nylon at 80°C.
Step 4: Firmware Configuration & PID Tuning
For the thermal control loop, utilize the industry-standard Arduino PID Library by Brett Beauregard. A silicone heater pad has very low thermal mass, meaning it heats up rapidly but overshoots easily if the Integral (Ki) term is too high.
Recommended PID Parameters for Insulated Chambers
- Kp (Proportional): 45.0 (Aggressive push toward target temp)
- Ki (Integral): 0.25 (Low value to prevent integral windup and overshoot)
- Kd (Derivative): 120.0 (High value to dampen the aggressive Kp and predict thermal inertia)
- Sample Time: 1000ms (1 second)
- Output Limits: 0 to 255 (PWM)
Use the 'Ziegler-Nichols' method if you need to recalibrate. Set Ki and Kd to 0, increase Kp until the temperature oscillates consistently, note the ultimate gain (Ku) and oscillation period (Pu), and calculate your final values.
Filament Drying Profiles & Spool Limits
Not all spools are created equal. Standard cheap PLA spools are often made of low-grade recycled ABS or PLA that will warp and collapse at high temperatures, ruining the filament. Always check the spool material before setting your dryer profile.
| Material | Target Temp | Drying Time | Spool Material Limit |
|---|---|---|---|
| PLA / PLA+ | 45°C | 4 - 6 Hours | Max 50°C (Standard PLA spools warp) |
| PETG | 65°C | 6 - 8 Hours | Max 75°C (Cardboard or PC spools OK) |
| ABS / ASA | 80°C | 8 - 10 Hours | Max 90°C (Must use ABS/PC spools) |
| Nylon (PA6/PA12) | 80°C - 90°C | 12+ Hours | Max 100°C (Requires high-temp spool) |
| TPU (Flexible) | 50°C | 6 - 8 Hours | Max 60°C (Spool limits vary wildly) |
Troubleshooting & Edge Cases
1. I2C OLED Display Flickering
The PWM switching of the MOSFET and the SPI polling of the MAX6675 can introduce noise onto the 5V rail, causing I2C OLED displays to freeze or flicker. Solution: Solder a 100µF electrolytic capacitor and a 0.1µF ceramic capacitor across the VCC and GND pins of the OLED display to smooth out high-frequency transient spikes.
2. MAX6675 Reading '0' or Erratic
The K-Type thermocouple must be isolated from the DC grounding of the 12V heater pad. If the thermocouple bead touches the conductive silicone traces or the aluminum build plate grounded to the PSU, it will short out the SPI signal. Wrap the thermocouple bead in a small piece of Kapton tape or high-temp silicone sleeving before mounting it inside the chamber.
3. HX711 Timeout Errors in Serial Monitor
The HX711 requires strict timing on the PD_SCK line. If your Arduino code includes blocking delays (like delay(1000) for the PID loop), the HX711 will time out and drop the connection. Solution: Use millis() based non-blocking timing for the PID loop and display updates, ensuring the HX711 read() function is called at least every 100ms.
Conclusion
Building custom Arduino 3D printer projects like this smart filament dryer bridges the gap between hobbyist tinkering and professional manufacturing standards. By combining PID thermal stability, hardware safety cutoffs, and temperature-compensated load cell telemetry, you eliminate the two biggest variables in high-performance 3D printing: moisture and material tracking. Total build cost sits around $45, offering the feature set of $150+ commercial units while giving you complete firmware ownership and repairability.