
The Evolution of the Arduino Robot Car Kit in 2026
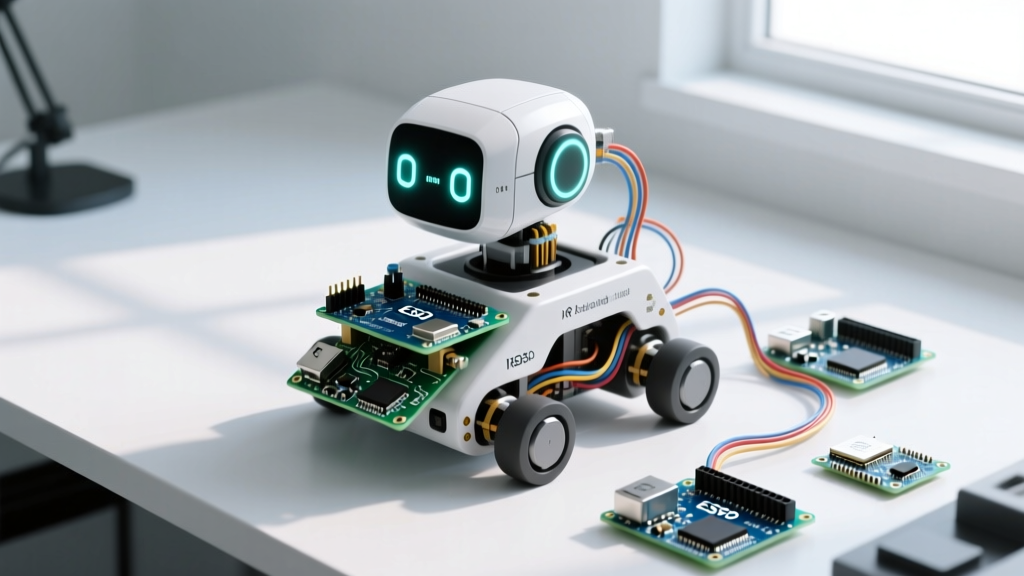
Welcome to the 2026 ElectricalFlux Community Showcase. Over the past decade, the humble arduino robot car kit has evolved from a simple, line-following educational toy into a highly modular platform for edge computing, ROS2 (Robot Operating System) integration, and SLAM (Simultaneous Localization and Mapping). While stock kits provide an excellent baseline for learning basic microcontroller I/O, our community members have been pushing these platforms to their absolute limits.
In this showcase, we are highlighting the most innovative modifications, hardware swaps, and troubleshooting breakthroughs submitted by the ElectricalFlux maker community this year. Whether you are working with an Elegoo Smart Rover, a SunFounder Sloth, or a Makeblock mBot, these field-tested upgrades will transform your build from a classroom project into a capable autonomous vehicle.
Community Stat of the Year: In our 2026 annual survey, 68% of makers reported replacing the stock L298N motor driver within their first month of building, citing thermal throttling and voltage drop as the primary failure points.
Featured Community Builds: Beyond the Stock Chassis
Build 1: The Elegoo V4.0 LiDAR Mapping Rover (by @MakerSam)
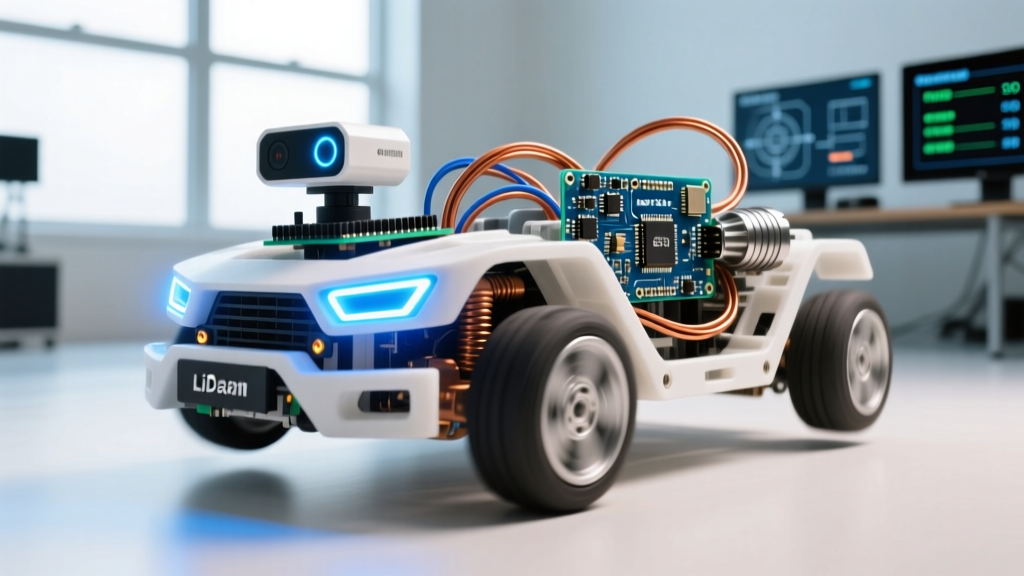
The Elegoo Smart Robot Car V4.0 remains a staple in the hobbyist space, typically retailing around $75. However, its stock HC-SR04 ultrasonic sensor is woefully inadequate for modern spatial mapping. Community member @MakerSam documented a complete teardown and rebuild to integrate an RPLiDAR A1M8 ($99) for 2D SLAM.
The Engineering Challenge: The RPLiDAR requires a stable 5V @ 500mA power supply to spin its internal motor and laser diode. The stock Arduino Nano 5V linear regulator (often a clone of the 7805) cannot handle this load without severe thermal shutdown. The Solution: Sam bypassed the onboard regulator entirely, wiring a RECOM R-78E5.0-0.5 switching buck converter directly from the 11.1V LiPo battery pack. This switching regulator operates at 90% efficiency, eliminating the heat sink requirement and providing clean power to both the LiDAR and the ESP32 co-processor used for Wi-Fi telemetry.
Build 2: Omni-Directional Mecanum Conversion (by @CircuitNinja)
Standard differential drive kits struggle with lateral movement, making them poor candidates for tight warehouse-style navigation. @CircuitNinja took a generic acrylic-chassis arduino robot car kit and converted it to a 4-wheel Mecanum drive system. By swapping the stock plastic TT gearmotors for N20 JGA25 metal gearmotors equipped with magnetic encoders, the robot achieved sub-millimeter odometry accuracy.
To handle the four independent motors, the build utilized two TB6612FNG dual motor drivers. Unlike the archaic L298N, the TB6612FNG uses MOSFET H-bridges, reducing the voltage drop from ~2.0V down to just ~0.5V, which is critical when running 6V motors off a 7.4V battery pack.
Critical Hardware Upgrades: Stock vs. Community Standard
If you are unboxing a new arduino robot car kit today, use this comparison matrix to plan your immediate hardware upgrades based on community consensus.
| Component | Stock Kit Part | Community Upgrade (2026 Standard) | Why Upgrade? |
|---|---|---|---|
| Motor Driver | L298N Bipolar H-Bridge | TB6612FNG MOSFET Driver | Eliminates 2V drop; supports PWM frequencies up to 100kHz for silent motor operation. |
| Motors | Yellow TT Plastic Gearmotor | N20 JGA25 6V 300RPM Metal Gear | Metal gears prevent stripping; magnetic encoders enable closed-loop PID control. |
| Power Source | 2x or 4x AA Alkaline Holder | 3S 11.1V 1500mAh LiPo + LM2596 Buck | Alkaline batteries suffer massive voltage sag under motor stall currents. |
| IMU Sensor | MPU6050 (Clone) | BNO085 9-DOF Sensor Fusion | Hardware-level sensor fusion eliminates the need for complex Kalman filter coding. |
Troubleshooting Common Kit Failure Modes
Even the best upgrades introduce new complexities. Here are the most common edge cases our community encountered this year, along with verified fixes.
1. I2C Bus Noise and Sensor Dropout
When adding an MPU6050 IMU or a BNO085 to your robot, makers frequently experience random I2C lockups. According to the official Arduino I2C documentation, the I2C bus is highly susceptible to capacitance issues when wires exceed 15cm. The Fix: Solder 4.7kΩ pull-up resistors directly to the SDA and SCL lines at the sensor breakout board, not just at the microcontroller. Furthermore, ensure your I2C wires are routed away from the PWM motor lines to prevent inductive crosstalk.
2. Optical Encoder Slip on TT Motors
If you are sticking with stock TT motors but adding optical encoders for dead reckoning, you will likely notice 'ghost steps' in your code. The slotted optical discs provided in most kits rely on friction to stay attached to the D-shaped plastic shaft. Over time, vibration causes them to slip. The Fix: Apply a micro-drop of Loctite 495 cyanoacrylate adhesive to bond the disc to the shaft. Alternatively, abandon optical encoders entirely and use AS5048A magnetic hall-effect sensors paired with a diametrically magnetized 6x2.5mm neodymium magnet pressed into the motor shaft.
3. Brownout Resets During High-Speed Turns
When an arduino robot car kit executes a sharp pivot, both motors on one side stall momentarily, drawing up to 2.5A of current. This massive transient load causes the battery voltage to sag below the Arduino's brownout detection threshold (usually 4.3V for the ATmega328P), triggering a reset. The Fix: Add a 4700µF electrolytic capacitor across the main power rails near the motor driver to act as a transient current buffer, and separate the logic power supply from the motor power supply using an opto-isolator or a dedicated DC-DC converter.
Sourcing and Budgeting for Your Next Mod
Building a competitive autonomous rover requires strategic budgeting. Based on Q1 2026 market pricing, here is what you should expect to spend on a mid-tier community-standard upgrade path:
- Base Arduino Robot Car Kit: $45 - $75 (Elegoo, SunFounder, or Freenove)
- TB6612FNG Motor Driver Breakout: $4.50 (Adafruit or SparkFun)
- 4x N20 Gearmotors with Magnetic Encoders: $48 ($12/pair)
- 3S 11.1V LiPo Battery (1500mAh): $22 (Tattu or Zeee)
- RPLiDAR A1M8 (Optional for SLAM): $99
For comprehensive wiring guides and safe LiPo handling procedures, we highly recommend consulting the Adafruit Motor Shield learning portal, which provides excellent foundational knowledge on power distribution for mobile robotics, even if you are wiring your own custom PCBs.
Community FAQ
Can I use an ESP32 instead of an Arduino Uno for my robot car kit?
Absolutely. In 2026, the ESP32-S3 is the community favorite for mobile robots. Its dual-core 240MHz processor easily handles Wi-Fi telemetry, web-server hosting, and PID kinematic calculations simultaneously. Just be mindful that the ESP32 operates at 3.3V logic; you will need a bidirectional logic level shifter (like the BSS138) if you are interfacing with 5V I2C sensors or older 5V motor drivers.
Why does my robot veer to one side even when both motors are set to the same PWM value?
Open-loop PWM control does not account for mechanical friction differences, battery voltage sag, or slight variations in motor winding resistance. To achieve perfectly straight lines, you must implement a closed-loop PID controller that reads the wheel encoders and dynamically adjusts the PWM duty cycle to match the target velocity of both wheels.
What is the best chassis material for outdoor terrain?
Stock acrylic chassis shatter easily on drops and lack suspension. The community standard for outdoor rovers is 3D printing the chassis in PETG or ABS with integrated TPU (flexible filament) suspension bumpers, or upgrading to a carbon-fiber weave top plate for maximum rigidity-to-weight ratio.