
Overcoming the Paralysis of Choice in Beginner Microcontroller Builds
When you first enter the world of physical computing, searching for arduino projects ideas for beginners often yields hundreds of vague, poorly documented concepts. You find lists suggesting 'build a robot' or 'make a weather station' without addressing the real-world engineering hurdles like power budgeting, sensor degradation, or component sourcing. In 2026, the maker ecosystem is more mature than ever, but the fundamentals of electronics remain unforgiving to bad design.
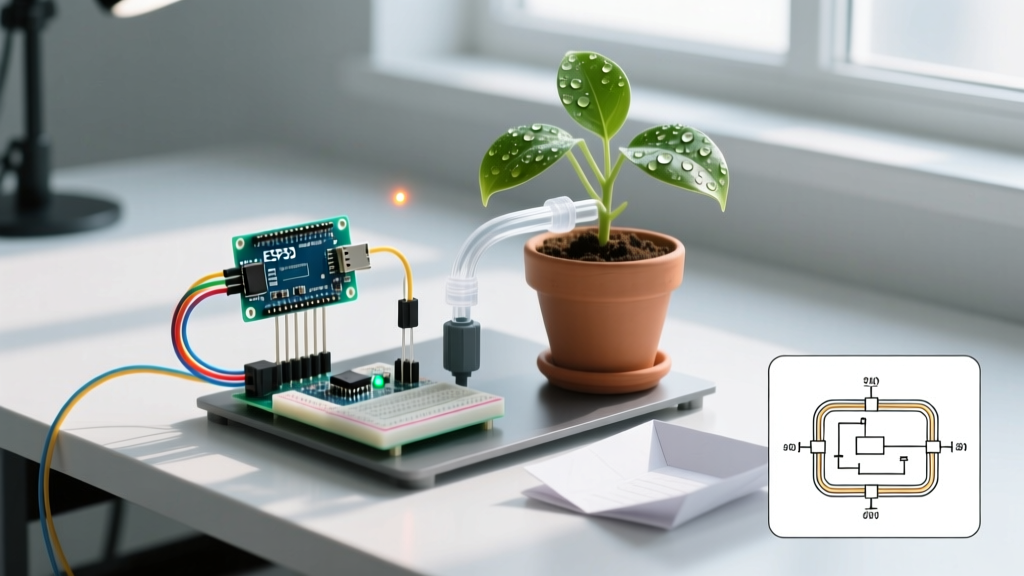
Instead of giving you a superficial list of ten random ideas, this guide provides three rapid-fire project concepts, followed by a deep-dive, step-by-step build tutorial for the most practical and educational beginner project: an Automated Smart Plant Watering System. This build teaches you analog sensor calibration, inductive load management (relays), and power isolation.
Quick-Fire Arduino Projects Ideas for Beginners
Before we solder and code, here are three alternative project concepts ranked by cost and complexity:
- RFID Access Control Door Lock: Uses an MFRC522 reader and a 12V solenoid lock. Excellent for learning SPI communication and security logic. Estimated Cost: $24.
- Ultrasonic Parking Distance Sensor: Combines an HC-SR04 sensor with an active buzzer and RGB LED. Great for mastering timing pulses and the
pulseIn()function. Estimated Cost: $11. - I2C OLED Desktop Clock: Pairs an ATmega328P with an SSD1306 128x64 OLED display. Perfect for learning I2C bus addressing and memory-efficient graphics rendering. Estimated Cost: $16.
Deep Dive: Step-by-Step Smart Plant Watering System
Houseplant mortality is a universal problem. According to agricultural extensions like the University of Minnesota Extension, inconsistent watering and poor soil drainage are the leading causes of indoor plant death. We will solve this with a closed-loop feedback system that reads soil moisture and triggers a pump only when necessary.
Bill of Materials (BOM) & 2026 Pricing
| Component | Specific Model / Spec | Est. Price | Why This Specific Part? |
|---|---|---|---|
| Microcontroller | Elegoo Uno R3 (ATmega328P) | $16.00 | 100% Arduino-compatible, includes USB-B cable, budget-friendly. |
| Sensor | Capacitive Soil Moisture Sensor v1.2 | $3.50 | Critical: Do NOT buy resistive sensors. Resistive probes undergo electrolysis and corrode within 14 days. Capacitive sensors measure dielectric permittivity through a sealed epoxy coating. |
| Switching | 5V 1-Channel Relay Module (Optocoupler) | $2.50 | Includes a flyback diode and optocoupler to protect the Uno's logic pins from voltage spikes. |
| Actuator | 3V-5V Mini Submersible Pump + Vinyl Tubing | $6.00 | Low current draw (approx. 150mA-250mA), fits standard 1/4 inch tubing. |
| Power | 5V 2A USB Power Bank + Barrel Jack Adapter | $8.00 | Provides sufficient current for the pump without browning out the Arduino. |
Hardware Wiring & Pinout Strategy
The most common failure mode for beginners is attempting to power a motor directly from the Arduino's 5V pin. The Uno's onboard linear regulator cannot supply the 250mA stall current of a water pump without overheating and triggering thermal shutdown. We will use a relay to switch the pump's power independently.
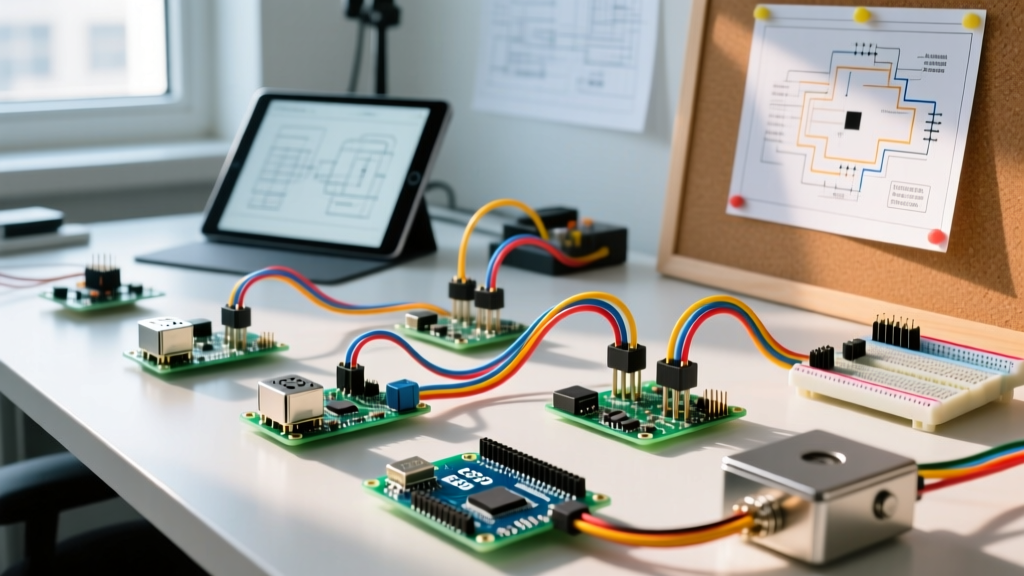
- Sensor Wiring: Connect the Capacitive Sensor VCC to the Arduino 5V pin, GND to GND, and the Analog Out (AOUT) pin to A0.
- Relay Logic Wiring: Connect the Relay Module VCC to 5V, GND to GND, and the Signal (IN) pin to Digital Pin D8.
- Pump Power Wiring (Isolated): Connect your external 5V power supply's positive wire to the COM (Common) terminal on the relay. Connect a wire from the NO (Normally Open) terminal to the positive lead of the water pump. Connect the pump's negative lead directly to the external power supply's negative terminal.
- Common Ground: Crucial Step — You must connect the GND of the Arduino to the GND of the external 5V power supply so the relay's optocoupler has a shared reference voltage.
⚠️ Safety Warning: Never wire the water pump directly to the Arduino's digital pins. Digital pins are limited to 20mA-40mA. A submersible pump draws 10x that amount and will permanently destroy the ATmega328P microcontroller's I/O bank.
Calibration & Code Logic
Before writing the final automation loop, you must calibrate the sensor. Soil density and mineral content change the baseline capacitance. Upload a basic sketch using the Arduino analogRead() reference to print values to the Serial Monitor.
- Dry Air Reading: Hold the sensor in the air. Note the value (typically around 800 - 850).
- Wet Soil Reading: Insert the sensor into fully saturated soil. Note the value (typically around 300 - 380).
Using these bounds, we establish a hysteresis loop in our code to prevent the pump from rapidly clicking on and off (chatter) when the soil is on the borderline of needing water.
Core Logic Flow:
- Read Analog Pin A0.
- If value > 600 (Dry), set D8 HIGH to close the relay and turn on the pump.
- Run pump for exactly 3 seconds (delivers approx. 50ml of water).
- Set D8 LOW to stop the pump.
- Implement a mandatory 60-second
delay()to allow water to percolate through the soil before taking another reading.
Troubleshooting Common Beginner Failure Modes
Even with perfect code, hardware builds present physical edge cases. Here is how to diagnose the three most common issues with this specific build:
| Symptom | Root Cause | Engineering Fix |
|---|---|---|
| Relay clicks, but pump doesn't spin. | Voltage drop under load. The USB port powering the Arduino cannot supply the pump through the COM/NO circuit if wired incorrectly. | Ensure the pump is powered by the dedicated 5V 2A external supply, not the Arduino's 5V rail. |
| Sensor reads a flat '1023' constantly. | Broken ground trace or unseated jumper wire on the breadboard. | Check continuity from the sensor GND pin to the Arduino GND using a multimeter. Ensure the capacitive sensor's internal 555 timer circuit is receiving a stable ground reference. |
| Plant develops yellow leaves and root rot. | The pump duration (3s) is too long for the pot's drainage capacity, leading to waterlogging. | Reduce the pump activation time to 1.5 seconds and increase the percolation delay to 120 seconds. Add perlite to the soil mix to increase drainage. |
Frequently Asked Questions (FAQ)
Can I use a resistive soil moisture sensor instead?
You can, but you shouldn't. Resistive sensors pass a small current through the soil between two exposed copper pads. This causes rapid galvanic corrosion. Within two weeks, the copper will dissolve into the soil, poisoning your plant and breaking the circuit. The $3.50 premium for a capacitive v1.2 sensor is mandatory for any long-term deployment.
Do I need to add a flyback diode to the water pump?
Normally, inductive loads like motors require a flyback diode to prevent back-EMF voltage spikes from damaging the switching component. However, because we are using a mechanical relay module (which switches the pump physically) rather than a MOSFET or BJT transistor, the relay contacts take the brunt of the arc. While a 1N4007 diode across the pump terminals is best practice for extending the relay's lifespan, the submersible pump's low inductance makes it optional for short-term beginner builds.
How do I waterproof the electronics?
For a permanent installation, house the Arduino and relay module in an IP65-rated ABS junction box. Use a grommet to pass the sensor and pump wires into the box, and seal the entry point with 100% silicone sealant. Keep the water reservoir physically separated from the electronics enclosure to prevent catastrophic failure from accidental spills.