
The Reality of Ultrasonic Sensor Arduino Range Limits
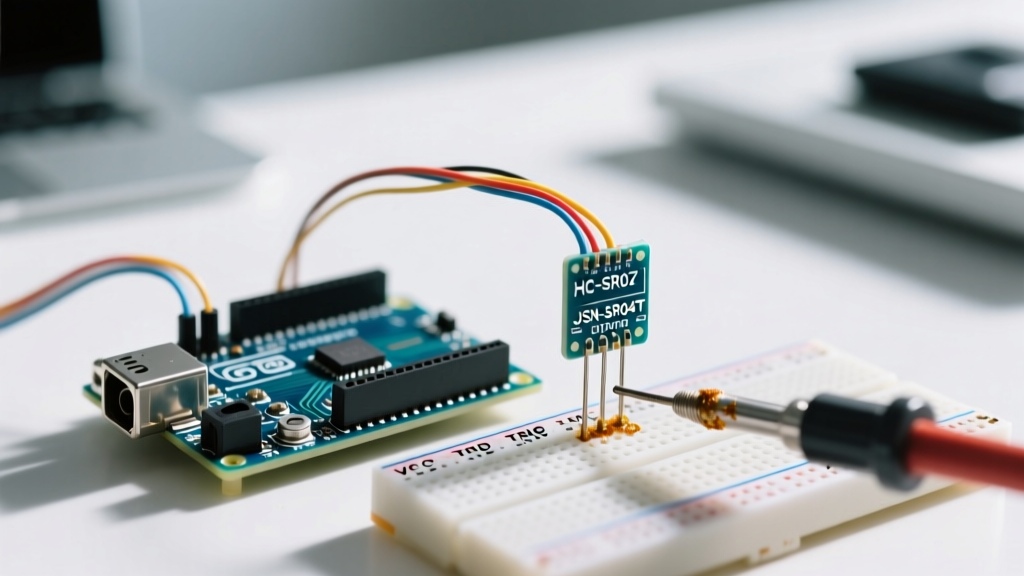
If you have ever built a robotics project or a liquid level monitor, you have likely encountered the infamous ultrasonic sensor dropout. You point your HC-SR04 at a wall 3 meters away, and the serial monitor spits out 0 or a wildly fluctuating number. Troubleshooting the ultrasonic sensor Arduino range requires looking past the basic tutorial code and understanding the intersection of acoustic physics, power delivery, and microcontroller timing.
In 2026, while the classic HC-SR04 remains a staple in DIY kits (costing roughly $1.50), its limitations in real-world environments are well documented. This guide bypasses generic advice and dives deep into the specific hardware and software bottlenecks that artificially limit your sensor's range, providing actionable engineering fixes to maximize your distance readings.
Baseline Specifications: Knowing Your Hardware Limits
Before troubleshooting, you must establish the theoretical maximums of your specific module. Pushing a sensor beyond its acoustic design guarantees failure.
| Sensor Model | Theoretical Range | Practical Reliable Range | Beam Angle | Approx. Cost (2026) |
|---|---|---|---|---|
| HC-SR04 (Standard) | 2cm - 400cm | 10cm - 250cm | ~15° | $1.20 - $1.80 |
| JSN-SR04T (Waterproof) | 20cm - 600cm | 25cm - 450cm | ~12° (Narrower) | $4.50 - $6.00 |
| MaxBotix MB1010 (LV-MaxSonar) | 0cm - 645cm | 0cm - 600cm | ~42° (Wide) | $32.00 - $38.00 |
Note: The practical reliable range accounts for standard indoor acoustic damping and non-ideal target materials.
Diagnostic Matrix: Identifying Your Range Failure Mode
Use this matrix to quickly isolate the root cause of your range dropouts based on the serial output behavior.
| Symptom on Serial Monitor | Probable Root Cause | Targeted Fix |
|---|---|---|
Reads 0 constantly at distances > 2 meters | pulseIn() timeout triggered before echo returns. | Increase timeout parameter or switch to NewPing library. |
| Random massive spikes (e.g., 4000cm) | Acoustic cross-talk or EMI on the Echo pin. | Add 10kΩ pull-down resistor on Echo; implement median filtering. |
Readings drop to 0 intermittently under load | 5V rail voltage sag during the 15mA transmit burst. | Add 100µF electrolytic decoupling capacitor across VCC/GND. |
| Consistently short readings (e.g., stops at 100cm) | Target material is absorbing acoustic energy. | Change target angle or upgrade to a higher-decibel transmitter. |
Power Delivery: The Hidden Culprit of Range Dropouts
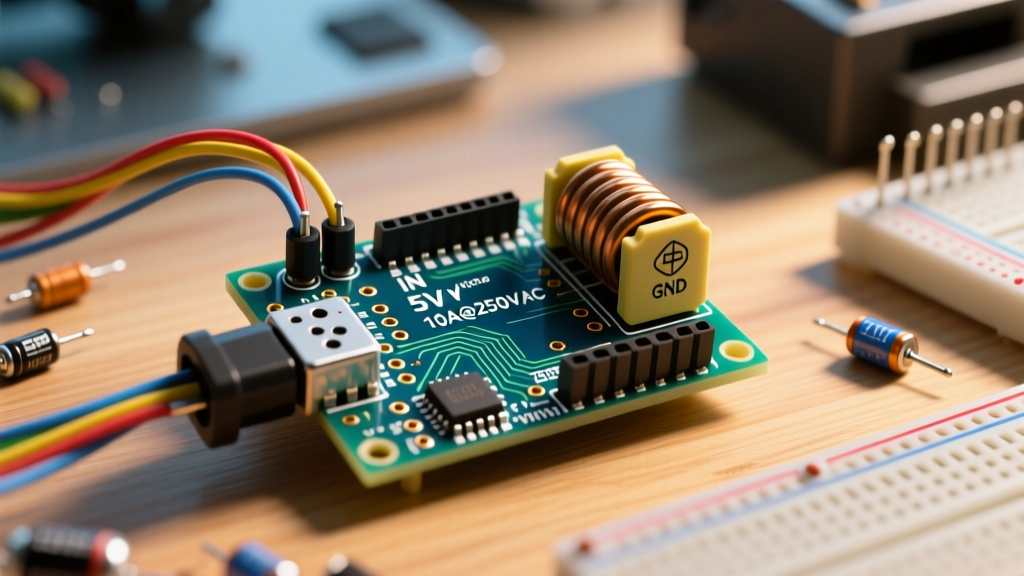
The most overlooked reason for a restricted ultrasonic sensor Arduino range is inadequate localized power delivery. When the HC-SR04 triggers, it fires an 8-cycle burst at 40kHz. This requires a sudden current spike of roughly 15mA to 20mA.
The Voltage Sag Phenomenon
If you are powering your Arduino Nano or Uno via USB, the onboard 5V linear regulator or the USB polyfuse may struggle to deliver clean, instantaneous current, especially if you have servos or LEDs sharing the same rail. This microsecond voltage sag causes the sensor's internal comparator to misinterpret the returning echo threshold, resulting in a premature timeout (reading 0).
Pro-Tip: Solder a 100µF electrolytic capacitor and a 100nF ceramic capacitor in parallel directly across the VCC and GND pins on the back of the HC-SR04 PCB. This creates a localized energy reservoir that handles the burst current demand without pulling from the Arduino's main rail.
Code-Level Bottlenecks: Fixing Timing and Timeouts
The standard Arduino tutorial code relies on the blocking pulseIn() function. By default, pulseIn() has a timeout of 1 second (1,000,000 microseconds). If the sensor is pointed into an open void and no echo returns, your entire Arduino sketch freezes for a full second, destroying your control loop timing.
Optimizing the Timeout Parameter
Sound travels at approximately 343 meters per second at 20°C. To measure a distance of 4 meters (the absolute max of the HC-SR04), the sound must travel 8 meters round-trip. This takes roughly 23,300 microseconds. Therefore, setting a timeout of 24,000 microseconds is mathematically sufficient for the sensor's maximum range.
// Optimized pulseIn with 24ms timeout
long duration = pulseIn(echoPin, HIGH, 24000);
if (duration == 0) {
  // Handle timeout / out of range
  distance = -1;
} else {
  distance = duration * 0.0343 / 2;
}
Upgrading to the NewPing Library
For professional-grade reliability, abandon raw pulseIn() calls. The NewPing library handles timer interrupts natively, prevents blocking, and includes built-in median filtering. Running a median filter (e.g., taking 5 rapid readings and discarding the highest and lowest) eliminates the 'phantom' range spikes caused by ambient acoustic noise.
Acoustic Physics: Beam Angle and Target Impedance
Ultrasonic sensors do not shoot a laser; they emit a conical wave. The HC-SR04 has a beam angle of roughly 15 degrees. As the distance increases, the cone widens. At 3 meters, the acoustic footprint is nearly 80 centimeters wide.
The Edge Case of Acoustic Shadowing
If your target is smaller than the acoustic footprint at that range, the sound waves wrap around the object or reflect off the background, causing phase cancellation at the receiver. Furthermore, the material of the target dictates the range. Hard, flat surfaces (wood, plastic, metal) reflect 40kHz waves efficiently. Soft, porous materials (foam, heavy fabric, human clothing) absorb the acoustic energy, effectively reducing your sensor's maximum range by 50% or more.
Target Alignment
The target surface must be perpendicular to the sensor's central axis. If a flat wall is angled just 10 degrees away from the sensor, the 40kHz wave will reflect away from the receiver entirely, resulting in a 0 reading despite the wall being well within the theoretical range.
Environmental Interference: Temperature and Cross-Talk
Temperature Compensation
The speed of sound is not a constant; it varies with air temperature. The standard formula distance = duration * 0.0343 / 2 assumes a room temperature of 20°C. If your project operates in an unheated garage at 0°C, the speed of sound drops to 331 m/s. Over a 4-meter range, this introduces a measurement error of nearly 15 centimeters. For precision applications, integrate a BME280 or DHT22 sensor and dynamically calculate the speed of sound using the formula: v = 331.3 + (0.606 * T).
Multi-Sensor Cross-Talk
If you are using multiple ultrasonic sensors on the same robot chassis, they will blind each other. Sensor A's echo will be mistakenly read by Sensor B's receiver. To fix this, you must implement a strict firing delay. Fire Sensor A, wait for the 24ms timeout window to expire, add a 30ms acoustic settling buffer, and only then fire Sensor B.
When to Upgrade: Moving Beyond the HC-SR04
If you have applied decoupling capacitors, optimized your code with NewPing, and accounted for temperature, but still face range limits, the HC-SR04 is simply the wrong tool for the job. Consider these 2026 alternatives:
- JSN-SR04T: Ideal for outdoor or wet environments. The separated transducer allows for a tighter 12° beam angle, pushing reliable range out to 4.5 meters, though it suffers from a 20cm blind spot.
- MaxBotix LV-MaxSonar-EZ Series: Priced around $35.00, these premium modules offer analog voltage, PWM, and serial UART outputs. They feature advanced internal DSP filtering that entirely eliminates cross-talk and reliably detect soft targets at distances exceeding 6 meters. For industrial or commercial prototyping, the ROI on MaxBotix sensors easily justifies the cost.
Summary Checklist for Maximum Range
- Verify your 5V rail is not sagging under load (use a multimeter to check during a trigger event).
- Solder a 100µF decoupling capacitor directly to the sensor's power pins.
- Replace
pulseIn()with the NewPing library and enable median filtering. - Ensure your target is hard, flat, and perpendicular to the sensor axis.
- Implement a 50ms delay between pings if using multiple sensors to prevent cross-talk.
By addressing the physical, electrical, and temporal constraints of your setup, you can reliably push the ultrasonic sensor Arduino range to its absolute hardware limits.
For further reading on microcontroller timing functions, refer to the official Arduino pulseIn() reference. For advanced acoustic beam patterns and sensor selection, review the MaxBotix Ultrasonic Sensor Beam Angle guide.