
The Hardware Foundation: A4988 vs. DRV8825 vs. TMC2209
When building precision motion systems—whether for CNC routers, 3D printers, or automated camera sliders—the microcontroller is only as good as the power stage driving the coils. A standard Arduino Uno or ESP32 outputs 3.3V or 5V logic at roughly 20mA. A typical NEMA 17 stepper motor (like the widely used 17HS4401S) requires 1.5A to 2.0A per phase at 12V to 24V. Bridging this gap requires a dedicated chopper driver IC. In 2026, the market has largely consolidated around three primary architectures for DIY and prosumer applications.
| Driver IC | Max Current (RMS) | Microstepping | Avg. Price (2026) | Key Architecture Feature |
|---|---|---|---|---|
| Allegro A4988 | 1.5A (with cooling) | 1/16 | $1.20 - $1.80 | Basic constant-off-time chopper |
| TI DRV8825 | 2.2A (with cooling) | 1/32 | $1.80 - $2.50 | Higher current limit, faster decay |
| Trinamic TMC2209 | 2.0A (RMS) | 1/256 | $3.50 - $5.50 | StealthChop2 (silent) & UART config |
While the A4988 and DRV8825 remain viable for budget-conscious, high-speed applications where acoustic noise is irrelevant, the Analog Devices TMC2209 has become the undisputed standard for precision desktop robotics. Its StealthChop2 PWM algorithm eliminates the low-speed resonance and high-pitch whine characteristic of older hard-chopping drivers.
The Software Ecosystem: Choosing the Right Arduino Library
Selecting the correct stepper motor driver Arduino library is just as critical as the hardware. The wrong library will result in blocking code, missed steps, or severe CPU overhead.
1. The Built-in Stepper.h (Legacy & Blocking)
The native Arduino Official Stepper Library Reference is pre-installed in the IDE. It is adequate for simple, single-motor demonstrations where the MCU does nothing else during the move. However, it uses blocking delay() loops to time the step pulses. If you attempt to read a sensor or update an OLED display while Stepper.step() is executing, your motion profile will stutter, causing catastrophic missed steps.
2. AccelStepper (The Industry Workhorse)
Developed by Mike McCauley, the AccelStepper Library Documentation remains the gold standard for trapezoidal motion profiles. It calculates acceleration and deceleration ramps on the fly and requires you to call stepper.run() inside your main loop(). This non-blocking architecture allows the Arduino to handle serial communication, limit switch polling, and UI updates simultaneously. Limitation: On AVR-based boards (Uno/Mega), calling run() too infrequently limits your maximum step rate to roughly 4,000 steps per second.
3. MobaTools (The Modern Interrupt-Driven Alternative)
For ESP32 and modern ARM Cortex-M boards, MobaTools by MicroBahner leverages hardware timer interrupts. Once a target position and speed are set, the hardware timer generates the step pulses entirely in the background. The main loop is freed completely, guaranteeing perfect pulse timing even if your main loop experiences a 50ms delay due to Wi-Fi stack operations or SD card writes.
Deep Dive: Configuring the TMC2209 with AccelStepper
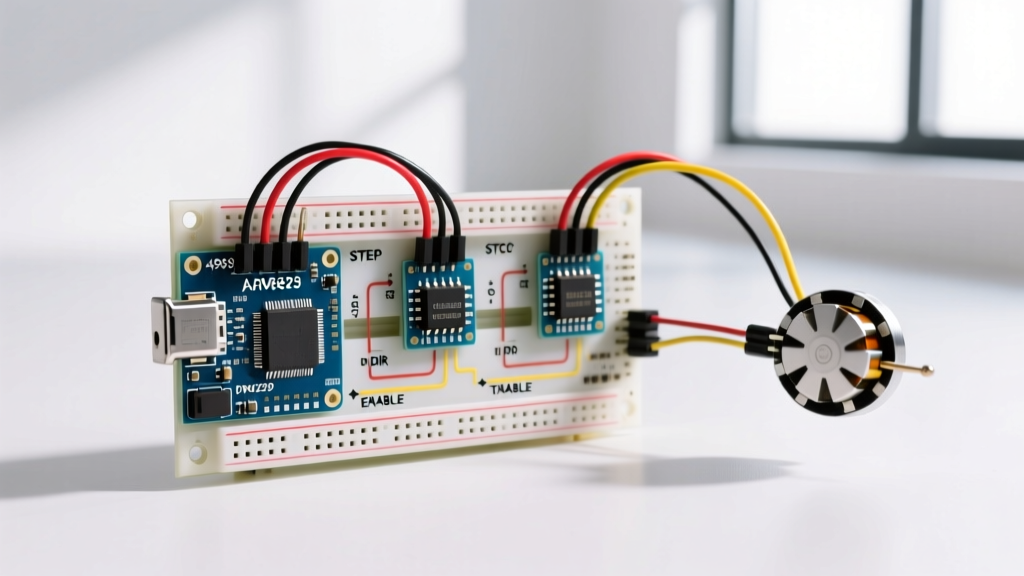
Integrating a TMC2209 with an Arduino via the STEP/DIR interface requires precise hardware tuning before a single line of code is compiled.
Vref Calibration and Sense Resistors
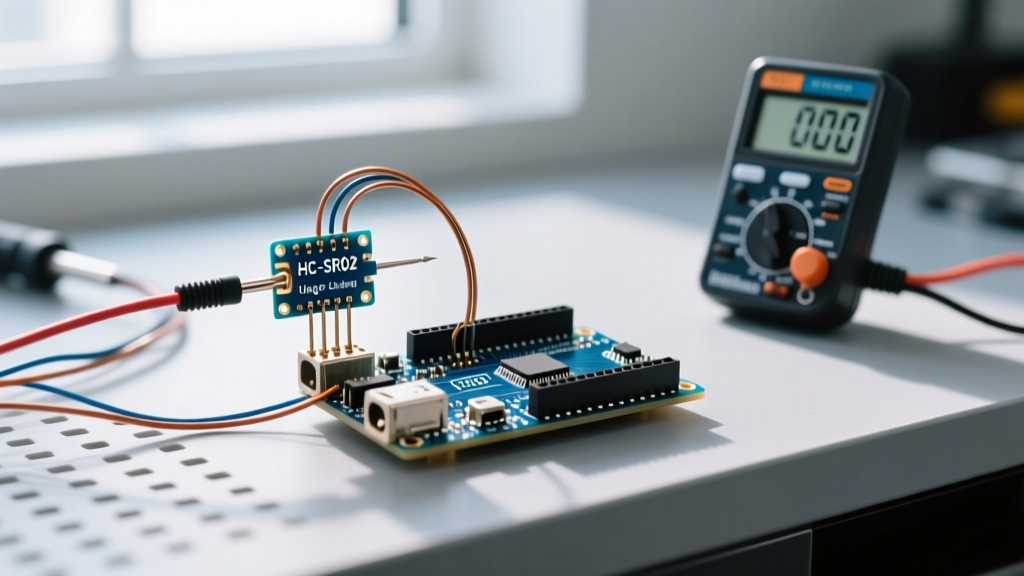
Unlike the A4988, where the current limit is set purely by a trim potentiometer, the TMC2209's RMS current is dictated by the formula: I_rms = (Vref * 2) / R_sense (when configured in legacy analog mode). Most breakout boards use a 0.11Ω sense resistor. To drive a 1.2A NEMA 17 safely, you need a Vref of approximately 0.66V. Critical Edge Case: Always measure Vref with the multimeter's black probe on the driver's GND pin, not the Arduino's GND, to avoid ground loop voltage offsets skewing your reading.
Microstepping Pin Configuration
When using STEP/DIR mode, the MS1 and MS2 pins dictate the hardware microstep resolution. For the TMC2209, tying both MS1 and MS2 to GND yields 1/8 microstepping (the default for StealthChop optimization), while pulling them HIGH engages 1/32 microstepping. Note that the internal interpolator always smooths the output to 256 microsteps, but the base hardware resolution dictates the STEP pulse frequency your Arduino must generate.
Expert Tip: If your Arduino is a 3.3V logic board (like the ESP32-S3 or Due), the TMC2209's logic threshold (VIO) must be tied to 3.3V. Feeding 5V logic into a 3.3V VIO rail will permanently fry the driver's internal logic gates.
Critical Failure Modes and Edge Cases
Even with perfect code, hardware physics will dictate your system's reliability. Here are the most common failure modes encountered in 2026 stepper deployments:
- Inductive Kickback Destruction: Stepper motors are massive inductors. When the driver's internal MOSFETs switch off, the collapsing magnetic field generates voltage spikes that can exceed 50V, instantly punching through the driver's 35V absolute maximum rating. Solution: A 100µF low-ESR electrolytic capacitor soldered directly across the VMOT and GND pins on the driver PCB is non-negotiable. Ceramic decoupling capacitors alone cannot absorb this energy.
- Mid-Range Resonance (The 200 RPM Deadzone): All hybrid steppers suffer from a torque dip at mid-frequencies (typically 150-250 RPM). If your acceleration profile lingers in this zone, the motor will stall. Solution: Use AccelStepper's
setMaxSpeed()to ensure your cruise velocity is well above 400 RPM, and set a highsetAcceleration()value to punch through the resonance zone quickly. - Thermal Throttling Without Shutdown: The DRV8825 and TMC2209 feature internal thermal shutdown (typically at 150°C junction temp). However, repeated thermal cycling degrades the silicon. If your driver's heatsink exceeds 70°C to the touch, the thermal resistance is too high. Adding a 40mm 5V fan reduces thermal resistance by up to 60%, allowing sustained 1.5A RMS operation without throttling.
Handling ESP32 FastLED Interrupt Conflicts
A highly specific edge case arises when combining stepper control with addressable LEDs (WS2812B/FastLED) on an ESP32. The FastLED library disables all interrupts while bit-banging the LED data line. If this occurs while AccelStepper.run() is calculating pulses, or if it blocks a hardware timer interrupt used by MobaTools, the stepper will audibly stutter. Workaround: Use the ESP32's RMT (Remote Control Transceiver) peripheral via the ESP32-Digital-RGB-LED-Drivers library, which handles LED timing in dedicated hardware, leaving CPU interrupts completely untouched for your stepper motor driver Arduino routines.
Summary Checklist for Deployment
- Verify VIO logic levels match your MCU (3.3V vs 5V).
- Solder a 100µF bulk capacitor at the VMOT input.
- Calculate and measure Vref before connecting the motor coils.
- Choose
AccelStepperfor trapezoidal profiling on AVRs, orMobaToolsfor interrupt-driven precision on ESP32/ARM. - Implement software limit switches in the main loop to prevent mechanical over-travel.
By matching the correct chopper hardware with a non-blocking, interrupt-aware software library, you transform a basic microcontroller into a highly reliable, industrial-grade motion controller.