
The Evolution of Stepper Motor Control in 2026
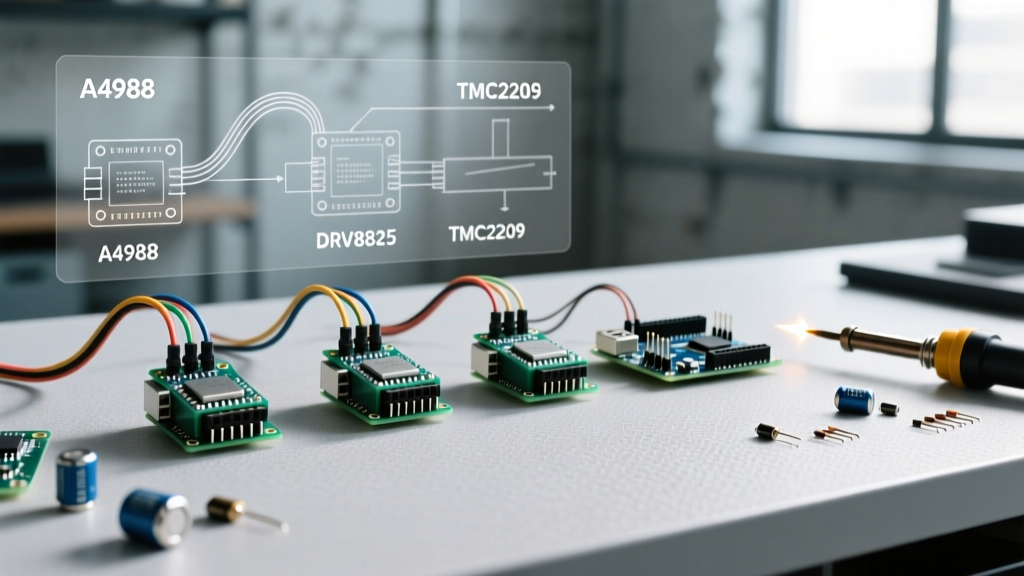
When building CNC routers, 3D printers, or automated camera sliders, selecting the right motor controller is only half the battle. The real magic happens when you pair the hardware with optimized stepper driver arduino code. While the A4988 has been the hobbyist standard for over a decade, the landscape has shifted dramatically. Today, engineers and makers must choose between the raw torque of the DRV8825 and the whisper-quiet UART intelligence of the TMC2209.
This guide provides a deep-dive component comparison and delivers the exact, copy-pasteable Arduino code required to drive each chip, complete with microstepping configurations and thermal management strategies.
Hardware Comparison Matrix: A4988 vs. DRV8825 vs. TMC2209
Before writing a single line of code, you must understand the hardware limitations. Writing code that commands 1/256 microstepping to an A4988 will result in erratic behavior because the silicon simply does not support it.
| Feature | Allegro A4988 | TI DRV8825 | Trinamic TMC2209 |
|---|---|---|---|
| Max Continuous Current | 1A (without active cooling) | 1.5A (without active cooling) | 1.2A RMS (stealthChop) |
| Peak Current | 2.0A | 2.5A | 2.0A |
| Max Microstepping | 1/16 | 1/32 | 1/256 (Interpolated) |
| Control Interface | Step/Dir + Pins | Step/Dir + Pins | Step/Dir + UART |
| Acoustic Noise | High (Whining) | Medium | Silent (StealthChop2) |
| Avg. Price (2026) | $1.50 - $2.50 | $2.50 - $3.50 | $4.50 - $7.00 |
Note: Pricing reflects genuine 2026 market rates from authorized distributors like Digi-Key and Mouser. Beware of sub-$1 clones on marketplace sites, which often feature undersized sense resistors that ruin VREF calibration.
Stepper Driver Arduino Code Implementations
Below are the specific code architectures for each driver. We utilize the industry-standard AccelStepper library for step/dir interfaces, and the TMCStepper library for UART communication.
1. A4988: The Reliable Step/Dir Baseline
The A4988 relies on physical logic pins (MS1, MS2, MS3) to set microstepping. For 1/16 microstepping, all three MS pins must be pulled HIGH. The code below handles acceleration and deceleration, which is critical to prevent the rotor from losing synchronization at startup.
#include <AccelStepper.h>

// Define pins
const int stepPin = 3;
const int dirPin = 4;
const int ms1 = 5, ms2 = 6, ms3 = 7; // Microstep pins

// Interface type 1 = Step/Dir Driver
AccelStepper stepper(1, stepPin, dirPin);

void setup() {
  // Set 1/16 microstepping for A4988
  pinMode(ms1, OUTPUT); digitalWrite(ms1, HIGH);
  pinMode(ms2, OUTPUT); digitalWrite(ms2, HIGH);
  pinMode(ms3, OUTPUT); digitalWrite(ms3, HIGH);

  stepper.setMaxSpeed(1000);      // Max speed in steps/sec
  stepper.setAcceleration(500);   // Acceleration in steps/sec^2
}

void loop() {
  if (stepper.distanceToGo() == 0) {
    // Move 3200 steps (1 full revolution at 1/16 stepping for 200-step motor)
    stepper.moveTo(stepper.currentPosition() + 3200);
  }
  stepper.run();
}
2. DRV8825: High-Torque 1/32 Microstepping
The Texas Instruments DRV8825 supports 1/32 microstepping, yielding smoother low-speed motion. The pinout is nearly identical to the A4988, but the timing requirements for the STEP pulse are slightly stricter (minimum 1.9µs high/low compared to the A4988's 1µs). AccelStepper handles this natively, but you must configure the MODE pins correctly.
#include <AccelStepper.h>

const int stepPin = 3;
const int dirPin = 4;
const int mode0 = 5, mode1 = 6, mode2 = 7;

AccelStepper stepper(1, stepPin, dirPin);

void setup() {
  // Set 1/32 microstepping for DRV8825 (MODE0=H, MODE1=H, MODE2=H)
  pinMode(mode0, OUTPUT); digitalWrite(mode0, HIGH);
  pinMode(mode1, OUTPUT); digitalWrite(mode1, HIGH);
  pinMode(mode2, OUTPUT); digitalWrite(mode2, HIGH);

  stepper.setMaxSpeed(1600);      // Higher max speed due to smoother torque curve
  stepper.setAcceleration(800);
}

void loop() {
  if (stepper.distanceToGo() == 0) {
    // 6400 steps = 1 full revolution at 1/32 stepping
    stepper.moveTo(stepper.currentPosition() + 6400);
  }
  stepper.run();
}
3. TMC2209: Silent UART Control via TMCStepper
The Analog Devices TMC2209 (formerly Trinamic) changes the paradigm. While it can run in legacy step/dir mode, utilizing its UART interface unlocks StealthChop2 (silent operation) and StallGuard4 (sensorless homing). This code requires a hardware serial port (like Serial1 on an Arduino Mega or ESP32) and a 1kΩ resistor on the TX line to prevent bus contention.
#include <TMCStepper.h>

#define SERIAL_PORT Serial1   // Hardware serial
#define R_SENSE 0.11f         // Standard Watterott/BTT sense resistor
#define DRIVER_ADDRESS 0b00   // UART address (MS1/MS2 pins low)

TMC2209Stepper driver(&SERIAL_PORT, R_SENSE, DRIVER_ADDRESS);

const int stepPin = 3;
const int dirPin = 4;
const int enPin = 2;

void setup() {
  SERIAL_PORT.begin(115200);
  pinMode(enPin, OUTPUT); digitalWrite(enPin, LOW); // Enable driver
  pinMode(stepPin, OUTPUT);
  pinMode(dirPin, OUTPUT);

  driver.begin();
  driver.toff(5);                 // Enables driver in software
  driver.rms_current(1200);       // Set motor RMS current to 1200mA
  driver.microsteps(16);          // Set UART microstepping to 1/16
  driver.en_spreadCycle(false);   // false = StealthChop (Silent)
  driver.pwm_autoscale(true);     // Needed for StealthChop
}

void loop() {
  digitalWrite(dirPin, HIGH);
  for (int i = 0; i < 3200; i++) {
    digitalWrite(stepPin, HIGH);
    delayMicroseconds(160); // Approx 3000 steps/sec
    digitalWrite(stepPin, LOW);
    delayMicroseconds(160);
  }
  delay(1000);
  digitalWrite(dirPin, LOW);
  for (int i = 0; i < 3200; i++) {
    digitalWrite(stepPin, HIGH);
    delayMicroseconds(160);
    digitalWrite(stepPin, LOW);
    delayMicroseconds(160);
  }
  delay(1000);
}
Thermal Management and VREF Calibration
The most common cause of skipped steps and melted stepper motors is improper VREF tuning. The code cannot save you if the hardware current limit is misconfigured.
- A4988 (Rsense = 0.1Ω): Formula is
VREF = (Imax * 8 * Rsense) / 10. For a standard 1.5A NEMA 17, target VREF is 0.6V. - DRV8825 (Rsense = 0.1Ω): Formula is
VREF = Imax / 2. For 1.5A, target VREF is 0.75V. - TMC2209: If using UART, the
driver.rms_current()function handles this digitally. If using legacy mode, measure VREF and multiply by 2 to get RMS current.
Pro-Tip: When tuning the potentiometer on A4988/DRV8825 boards, use a ceramic flathead screwdriver. Metal screwdrivers can short the VREF pin to the adjacent VDD pin, instantly destroying the logic silicon.
Failure Modes and Edge Cases
Even with perfect stepper driver arduino code, real-world physics intervene. Watch out for these specific failure modes:
- Mid-Band Resonance: DRV8825 and A4988 drivers often stall between 10-20 RPM due to mid-band resonance. Fix: Increase acceleration in your code to push through the resonant frequency band quickly, or switch to the TMC2209's StealthChop mode.
- UART Checksum Errors: When using the TMC2209 on long cables (>15cm), electrical noise from the stepper phases corrupts UART packets. Fix: Use twisted-pair wiring for the TX/RX lines and add a 1kΩ pull-up resistor on the RX line.
- Thermal Shutdown Hysteresis: The A4988 shuts down at 165°C and recovers at 120°C. If your code doesn't monitor an external thermistor, the motor will silently stop and start as the chip cycles through thermal protection.
Frequently Asked Questions
Can I use the same Arduino code for an ESP32?
Yes, the AccelStepper library is fully compatible with ESP32. However, because the ESP32 runs an RTOS, step pulses generated in the main loop can jitter. For ESP32, it is highly recommended to use the FastAccelStepper library, which utilizes the ESP32's MCPWM hardware peripherals for jitter-free step generation.
Why is my TMC2209 getting hot even when the motor is stationary?
By default, the TMC2209 maintains full holding current when stationary. In your code, you can reduce this by setting driver.I_scale_analog(false); and configuring the driver.semin(0); and driver.semax(2); registers to drop the holding current by 50% when the motor is at rest.