
The Physics Gap: Moving from Logic to Kinetic Energy
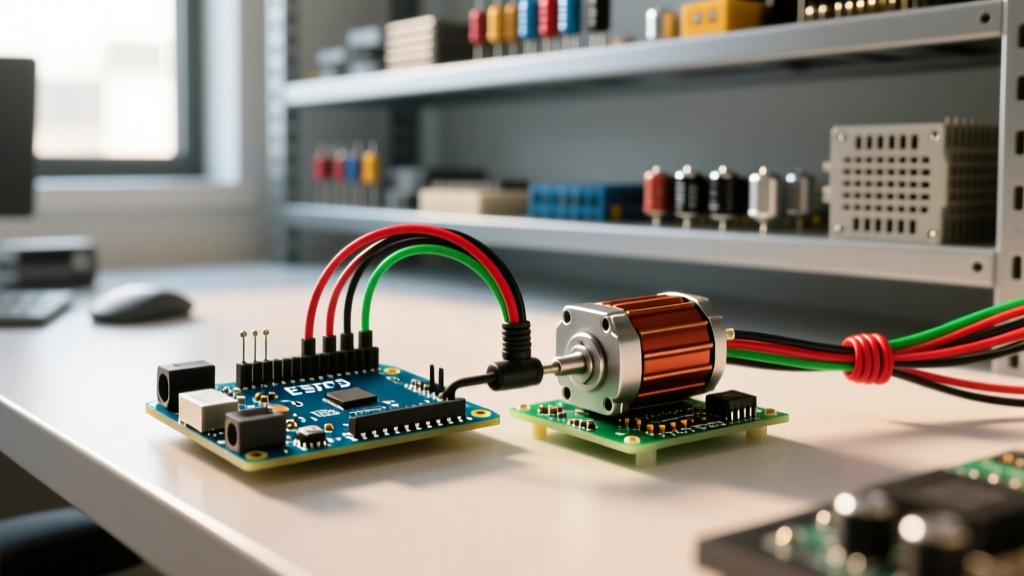
Transitioning from blinking an LED to actuating physical mass is where most embedded hobbyists hit their first major roadblock. When you search for a dc motor for arduino tutorials, you are often met with oversimplified schematics featuring a single transistor and a basic 3V hobby motor. In real-world applications—such as automated greenhouse vents, motorized camera sliders, or peristaltic dosing pumps—these basic circuits fail catastrophically. They cause microcontroller resets, melt breadboard wires, and destroy logic pins via inductive kickback.
Driving a DC motor requires respecting the laws of electromagnetism and power management. This guide strips away the theoretical fluff and focuses on the gritty, real-world engineering required to reliably integrate DC motors into your Arduino-based systems in 2026.
The Inrush Current Trap and Arduino Brownouts
The most common failure mode in motor integration is the brownout reset. A standard 12V DC gearmotor might have a rated continuous current of 1.2A. However, at the exact millisecond the motor starts (stall condition), it acts as a dead short, drawing its stall current, which can easily exceed 4A to 6A.
If your Arduino Nano and your motor share the same 5V buck converter or USB power rail, this massive current draw causes the voltage to sag. The ATmega328P microcontroller requires a stable 4.5V minimum to operate. A dip to 4.2V triggers the internal Brown-Out Detection (BOD), instantly resetting your sketch. You will see this as the Arduino randomly restarting every time the motor engages.
The Real-World Fix: Never share a power regulator between your logic and your motors. Use a dedicated power supply for the motor (e.g., a 12V 5A switching supply) and a separate 5V regulator for the Arduino. Crucially, you must tie the grounds of both power supplies together to establish a common logic reference, and place a bulk electrolytic capacitor (minimum 470µF, rated for at least 25V) directly across the motor power terminals to absorb inrush spikes.
Sizing the Right Motor for the Job
Choosing the correct motor is about matching torque and speed requirements to the physical load. For most DIY automation, you do not want a raw, high-speed DC motor; you need a DC gearmotor. Gearing trades RPM for torque, which is exactly what physical actuators require.
| Motor Type | Nominal Voltage | Stall Current | Stall Torque | Best Use Case |
|---|---|---|---|---|
| N20 Micro Gearmotor (100:1) | 6V | ~0.7A | 0.9 kg-cm | Light pan/tilt, small robotic arms |
| Pololu 298:1 Micro Metal (6V) | 6V | ~1.6A | 4.4 kg-cm | Camera sliders, precision actuators |
| 12V Worm Gear Motor (60 RPM) | 12V | ~3.0A | 15 kg-cm | Greenhouse vents, heavy linear actuators |
| RS-550 (12V, no gearing) | 12V | ~12.0A+ | Low (High RPM) | RC cars, high-speed conveyors (requires robust driver) |
For an in-depth look at calculating load requirements and understanding gear ratios, the Pololu Micro Metal Gearmotors User Guide remains the industry gold standard for hobbyist and prosumer sizing calculations.
Motor Driver Showdown: L298N vs. TB6612FNG vs. DRV8833
You cannot wire a DC motor directly to an Arduino pin. Microcontrollers output a maximum of 40mA per pin; a motor requires hundreds or thousands of times that. You need an H-Bridge motor driver. Let us compare the three most common modules available on the market today.
1. The L298N: The Outdated Workhorse
The L298N is the bulky, red-boarded module found in almost every starter kit. It uses Bipolar Junction Transistor (BJT) technology. The fatal flaw: BJTs have a high voltage drop, typically around 2V at 1A. If you supply 12V to the motor, it only receives 10V, and the driver wastes 2W of power as heat. Without a massive heatsink, the L298N will trigger its internal thermal shutdown within minutes of driving a 2A motor continuously.
2. The TB6612FNG: The Modern Standard
The TB6612FNG uses MOSFET technology, which drastically reduces the voltage drop to about 0.5V. It runs cooler, is significantly smaller, and supports PWM frequencies up to 100kHz. This is the recommended driver for 90% of real-world Arduino projects operating between 4.5V and 13.5V.
3. The DRV8833: The Low-Voltage Specialist
Texas Instruments' DRV8833 is ideal for battery-powered, low-voltage (2.7V to 10.8V) applications. It features built-in current limiting and excellent sleep modes, making it perfect for IoT devices running on 2S LiPo packs. For a deeper dive into modern integrated H-bridge architectures, review the TI Brushed DC Motor Driver Overview.
Real-World Build: Automated Greenhouse Vent Actuator
Let us apply this to a practical scenario: automating a heavy roof vent in a greenhouse using an Arduino Uno, a 12V worm gear DC motor, and a TB6612FNG driver. The worm gear is critical here because it is self-locking—when power is cut, the wind cannot force the vent back down.
Step 1: Power Supply Isolation and Bulk Capacitance
We use a 12V 5A waterproof LED power supply for the motor. We solder a 1000µF 25V electrolytic capacitor and a 0.1µF ceramic capacitor in parallel directly at the power input terminals of the TB6612FNG. The electrolytic handles the macro-level inrush current, while the ceramic filters high-frequency switching noise that could otherwise couple back into the Arduino's ADC lines, ruining temperature sensor readings.
Step 2: Wiring the TB6612FNG Correctly
Beginners frequently miswire the dual-voltage rails on modern MOSFET drivers. The TB6612FNG has two distinct power pins:
- VCC: This is the logic voltage. Wire this to the Arduino's 5V pin.
- VM: This is the motor voltage. Wire this to the 12V power supply positive.
- STBY (Standby): This pin must be pulled HIGH (to 5V) for the chip to operate. If you leave it floating or wire it to GND, the driver will remain disabled. Hardwire it to VCC if you do not need software-controlled sleep modes.
Connect the Arduino's GND, the 12V supply's GND, and the TB6612FNG's GND together at a single star-ground point to prevent ground loops.
Step 3: Taming PWM Whine and Back-EMF
By default, Arduino's analogWrite() function operates at roughly 490Hz (or 980Hz on pins 5 and 6). When applied to a DC motor's windings, this frequency falls squarely in the human hearing range, resulting in an annoying, high-pitched whine. Furthermore, the official Arduino analogWrite documentation notes that these default timers are shared with critical system functions.
To fix the acoustic whine, we shift Timer1 (which controls pins 9 and 10) to an ultrasonic 31.25kHz frequency by adding this single line of code to the setup() block:
TCCR1B = TCCR1B & B11111000 | B00000001;
This pushes the PWM switching frequency above human hearing, resulting in silent motor speed control.
Critical Failure Modes and Edge Cases
Even with perfect wiring, real-world environments introduce variables that destroy poorly designed circuits. Protect your system against these specific edge cases:
The Inductive Kickback Scenario: When you abruptly stop a DC motor via the H-Bridge, the collapsing magnetic field in the motor's coils generates a massive reverse voltage spike (Back-EMF). While the TB6612FNG has internal clamping diodes, a heavy 12V worm gear motor can exceed their thermal limits during rapid direction reversals. Always solder external Schottky diodes (e.g., 1N5819) across the motor terminals, with the cathode (stripe) facing the positive terminal, to provide a low-resistance path for the flyback current.
Stall Detection via Current Sensing
In a greenhouse vent application, debris might jam the vent. If the motor stalls, it will draw maximum current continuously, melting the plastic gear housing. Do not rely on software timeouts alone. Use a driver with a built-in current sense output (the TB6612FNG does not, but the DRV8871 or Pololu's dual VNH5019 shields do). Route the current sense pin to an Arduino analog input. If the analog reading spikes above your calculated stall threshold for more than 200 milliseconds, immediately cut power and trigger an alert. This hardware-level feedback loop is what separates a toy project from a reliable, deployable piece of automation hardware.