
Beyond the Basic Sweep: True Sensor-to-Actuator Integration
Integrating environmental sensors with physical actuators is a defining milestone in embedded electronics. However, writing a reliable servo motor arduino program requires moving far beyond the default 'Sweep' tutorial provided in the IDE. Real-world applications—such as automated camera gimbals, robotic arms, or active cooling louvers—demand precise mapping, noise filtering, and rigorous power management.
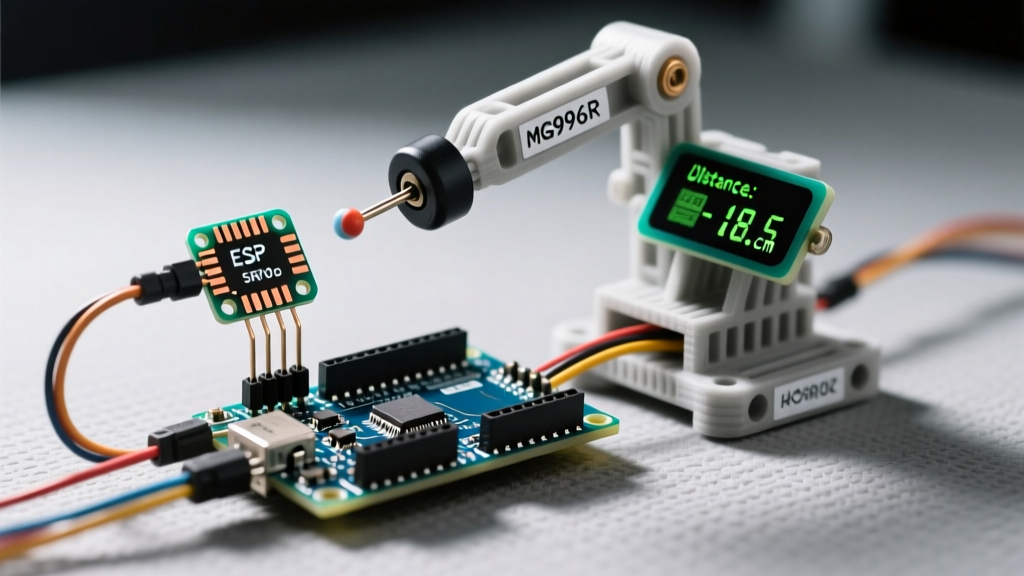
In this 2026 integration guide, we will build a closed-loop system using an HC-SR04 ultrasonic sensor to dictate the physical position of a high-torque MG996R metal-gear servo. We will address the most common point of failure in DIY robotics: power rail brownouts caused by inductive loads, and implement an Exponential Moving Average (EMA) filter in our code to eliminate the mechanical jitter caused by raw sensor noise.
Component Selection and 2026 Bill of Materials
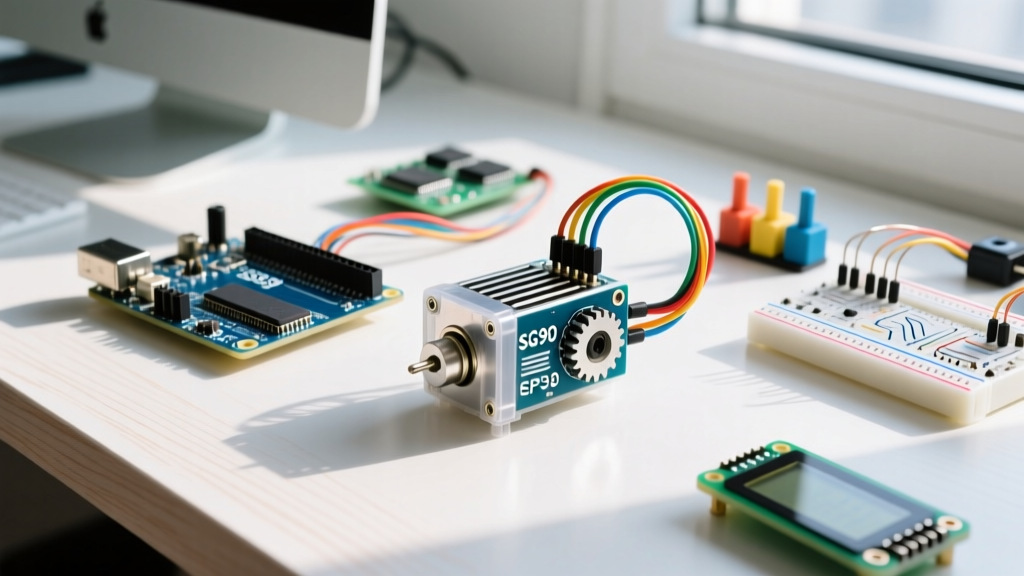
Selecting the right hardware is critical. The standard 9g micro servos (like the SG90) are insufficient for continuous mechanical loads due to their plastic gear trains and low stall torque. For robust peripheral integration, we recommend stepping up to standard-size metal-gear servos.
| Component | Model / Specification | Approx. 2026 Cost | Key Characteristic |
|---|---|---|---|
| Microcontroller | Arduino Uno R4 Minima | $27.50 | Renesas RA4M1 (48MHz), higher PWM resolution |
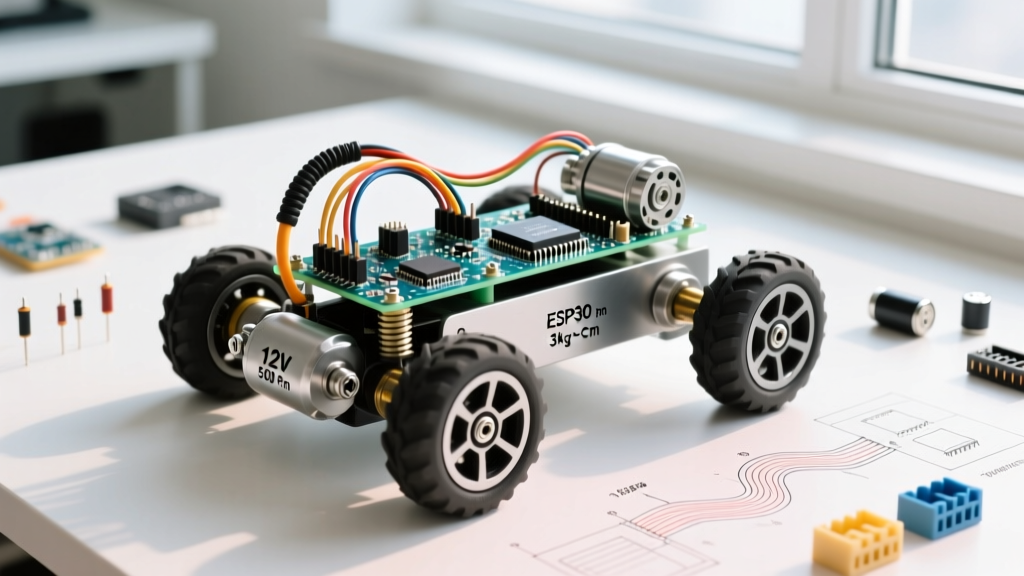
| Servo Motor | TowerPro MG996R | $11.00 | 11 kg-cm torque, 2.5A stall current at 6V |
| Sensor | HC-SR04 Ultrasonic | $3.50 | 40kHz transducer, 2cm to 400cm range |
| Power Supply | LM2596 5V 3A Buck Converter | $4.25 | Steps down 12V wall adapter to stable 5V rail |
| Wiring | 18 AWG Silicone Wire | $2.00 | Required for high-current servo power runs |
Power Architecture: Preventing the Brownout Trap
The most frequent reason a servo motor arduino program appears to 'fail' or cause the microcontroller to randomly reset is inadequate power delivery. The MG996R servo can draw up to 2.5 Amps during a stall condition or rapid directional reversal. The onboard 5V linear regulator of an Arduino Uno can only safely supply around 500mA before overheating or triggering thermal shutdown.
Critical Engineering Rule: Never power a standard-size or high-torque servo directly from the Arduino's 5V pin. Always use a dedicated external 5V power supply (like a 3A buck converter) and ensure the external ground is tied directly to the Arduino's GND pin to establish a common reference voltage.
Wiring the Circuit
- HC-SR04 VCC & GND: Connect to Arduino 5V and GND (Sensor draws minimal current, ~15mA).
- HC-SR04 Trig/Echo: Connect to Digital Pins 12 and 11 respectively.
- MG996R Signal (Orange): Connect to Arduino Digital Pin 9 (PWM capable).
- MG996R Power (Red) & Ground (Brown): Connect to the 5V and GND outputs of the external LM2596 Buck Converter.
- Common Ground: Run a jumper wire from the Buck Converter GND to the Arduino GND.
Writing the Servo Motor Arduino Program
Raw ultrasonic data is inherently noisy. Acoustic echoes bouncing off angled or soft surfaces can cause the HC-SR04 to output erratic distance spikes. If you map this raw data directly to a servo angle using the standard map() function, your servo will twitch violently, stripping its internal gears over time.
To solve this, our servo motor arduino program implements an Exponential Moving Average (EMA) filter. According to robotics best practices outlined by Pololu's servo integration guides, smoothing the input signal is mandatory for preserving the mechanical lifespan of RC servos.
The Complete Integration Code
#include <Servo.h>

// Pin Definitions
const int trigPin = 12;
const int echoPin = 11;
const int servoPin = 9;

// Servo Object
Servo myServo;

// EMA Filter Variables
float filteredDistance = 0.0;
const float alpha = 0.25; // Smoothing factor (lower = smoother but slower response)

// Servo Limits (Calibrated for MG996R)
const int servoMin = 15;  // Avoid mechanical binding at 0
const int servoMax = 165; // Avoid mechanical binding at 180

void setup() {
  pinMode(trigPin, OUTPUT);
  pinMode(echoPin, INPUT);
  myServo.attach(servoPin, 544, 2400); // Specify exact microsecond pulse limits
  Serial.begin(115200);

  // Initialize filter with a baseline reading
  filteredDistance = readUltrasonic();
}

void loop() {
  float rawDistance = readUltrasonic();

  // Apply Exponential Moving Average (EMA) Filter
  filteredDistance = (alpha * rawDistance) + ((1.0 - alpha) * filteredDistance);

  // Constrain distance to a usable operational range (10cm to 100cm)
  float constrainedDist = constrain(filteredDistance, 10.0, 100.0);

  // Map the filtered distance to the servo angle
  int targetAngle = map(constrainedDist, 10, 100, servoMin, servoMax);

  // Command the servo
  myServo.write(targetAngle);

  Serial.print('Raw: '); Serial.print(rawDistance);
  Serial.print(' cm | Filtered: '); Serial.print(filteredDistance);
  Serial.print(' cm | Angle: '); Serial.println(targetAngle);

  delay(20); // 50Hz update rate matches standard RC servo PPM frequency
}

float readUltrasonic() {
  digitalWrite(trigPin, LOW);
  delayMicroseconds(2);
  digitalWrite(trigPin, HIGH);
  delayMicroseconds(10);
  digitalWrite(trigPin, LOW);

  long duration = pulseIn(echoPin, HIGH, 25000); // 25ms timeout prevents hanging
  float distance = duration * 0.034 / 2.0;

  // Handle timeout / out-of-range errors gracefully
  if (distance == 0.0 || distance > 400.0) {
    return filteredDistance; // Return previous valid reading if ping fails
  }
  return distance;
}
Deep Dive: Precision Tuning with Microseconds
Notice the use of myServo.attach(servoPin, 544, 2400); in the setup block. The official Arduino Servo Library Documentation defaults to a 544 to 2400 microsecond range, but manufacturing tolerances on mass-produced servos like the MG996R vary wildly.
If your servo hums or jitters when commanded to 0 or 180 degrees, it is physically binding against its internal hard stops. This causes the motor to stall, drawing maximum current and generating excess heat. To calibrate:
- Change the code to use
myServo.writeMicroseconds(value); - Start at 600 and increment by 10 until the physical movement stops. Note this as your true minimum.
- Start at 2300 and decrement by 10 until movement stops. Note this as your true maximum.
- Update the
attach()function parameters with these exact microsecond boundaries to protect the gears.
Troubleshooting Common Integration Failures
Even with a flawless servo motor arduino program, hardware realities can introduce faults. Use this diagnostic matrix to resolve edge cases:
- Servo Jitters Erratically: Usually caused by a missing common ground between the external PSU and the Arduino. The PWM signal requires a shared reference voltage to be read correctly by the servo's internal control board.
- Arduino Resets When Servo Moves: You are experiencing a brownout. The voltage on the 5V rail is dipping below the ATmega/Renesas minimum operating threshold. Upgrade your power supply to at least 3 Amps and ensure you are using thick (18 AWG or lower) wires for the power runs.
- Servo Moves in Reverse: Some manufacturers reverse the signal polarity. Instead of rewiring, simply invert your mapping logic:
map(distance, 10, 100, servoMax, servoMin). - Ultrasonic Sensor Reads '0': The
pulseIn()function is timing out. Ensure you have added a timeout parameter (e.g., 25000 microseconds) to prevent the Arduino from freezing indefinitely if the sound wave never returns.
Frequently Asked Questions
Can I use the Arduino Uno R4 Minima's 12-bit DAC for servo control?
No. Servos require a Pulse Position Modulation (PPM) digital square wave (typically 50Hz with a 1ms to 2ms high pulse), not an analog DC voltage. You must use a digital PWM pin and the Servo library to generate the correct timing signals.
How do I control multiple servos without PWM pin limitations?
If your project requires more than the available hardware PWM pins, utilize a PCA9685 16-channel I2C servo driver. It offloads the precise timing requirements from the Arduino's CPU and communicates via just two I2C wires (SDA/SCL), allowing you to drive up to 16 servos smoothly without blocking your main sensor loop.