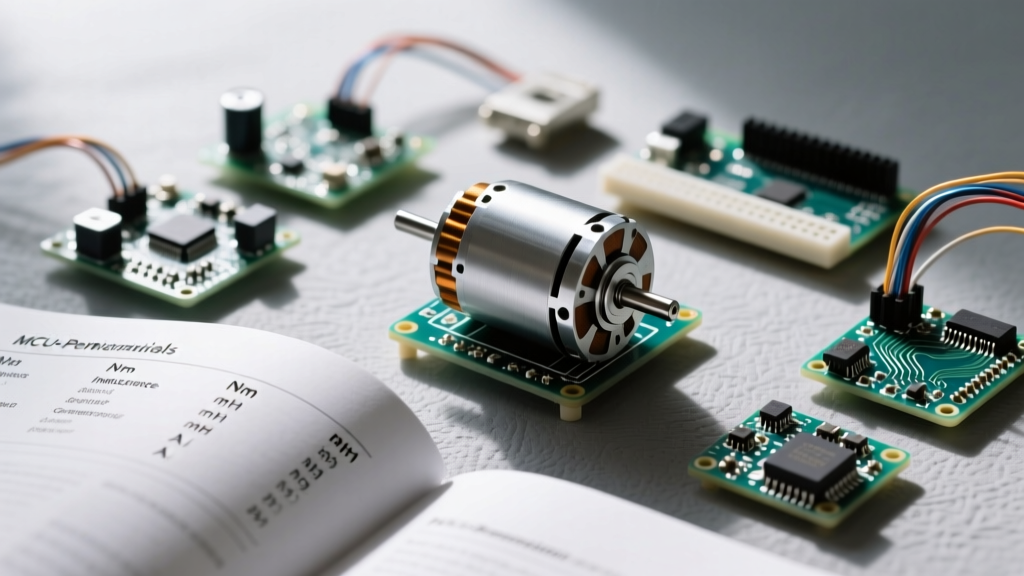

The Reality of the MG945 Datasheet
When integrating high-torque actuators into microcontroller projects, the MG945 servo Arduino combination is a frequent choice for robotic arms, pan-tilt camera mounts, and heavy-duty steering mechanisms. However, relying on summarized spec sheets from third-party marketplaces often leads to catastrophic power failures and erratic jitter. In this comprehensive datasheet explainer, we dissect the true electrical and mechanical parameters of the MG945, bridging the gap between manufacturer claims and real-world microcontroller integration in 2026.
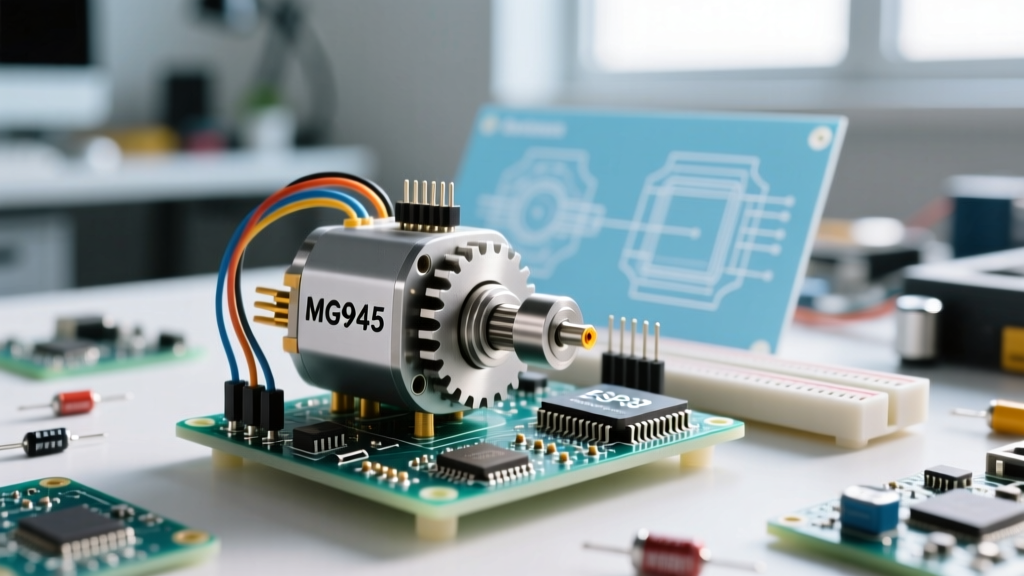
The 'MG' in MG945 stands for Metal Gear, distinguishing it from the plastic-gear SG90 or MG90S. While it shares the standard 40x20x38mm form factor, its internal potentiometer, motor windings, and gear train demand a completely different approach to power delivery and signal timing.
Decoding Core Specifications: What the Numbers Actually Mean
Before writing a single line of code, we must establish the physical and electrical baselines. Below is a synthesized breakdown of the MG945 datasheet specifications, annotated with real-world engineering context.
| Parameter | Datasheet Value | Real-World Engineering Context |
|---|---|---|
| Operating Voltage | 4.8V - 7.2V | Optimal performance is at 6.0V. Running at 7.2V accelerates potentiometer wear and increases heat dissipation in the internal H-bridge. |
| Stall Torque (6.0V) | 15.5 kg-cm (215 oz-in) | Measured at the output spline. Actual usable continuous torque should be limited to 20-30% of stall torque to prevent gear stripping and motor burnout. |
| No-Load Speed (6.0V) | 0.14 sec/60° | Translates to a maximum rotational velocity of roughly 71 RPM. Exceeding this via external mechanical forcing will strip the internal brass bushings. |
| Dead Band Width | 4 µs | The minimum pulse width change required for the motor to react. Crucial for tuning PID loops in balancing robots. |
| Stall Current | ~2.5A (Empirical) | Rarely listed on clone datasheets, but verified via bench testing. This is the primary cause of Arduino brownouts. |
The PWM Control Signal: Beyond the Basics
The MG945, like all standard RC servos, relies on Pulse Width Modulation (PWM) at a 50Hz frequency (a 20ms period). The Arduino Servo library abstracts this into a simple write(angle) function, mapping 0-180 degrees to pulse widths. However, the datasheet reveals critical nuances that the default library mapping ignores.
Pulse Width Mapping and the 180-Degree Myth
The standard mapping assumes 1000µs (1ms) equals 0° and 2000µs (2ms) equals 180°. In reality, the MG945's internal potentiometer physical limits often require a wider pulse range to achieve a full 180-degree sweep without hitting the internal mechanical hard stops. Hitting these hard stops causes the motor to stall continuously, drawing maximum current and generating destructive heat.
To achieve precise control and protect the servo, bypass write() and use writeMicroseconds(). Based on bench calibration, a genuine TowerPro MG945 typically requires:
- 0° (Counter-Clockwise Limit): ~550µs
- 90° (Center): ~1500µs
- 180° (Clockwise Limit): ~2450µs
By defining these exact microsecond boundaries in your Arduino sketch, you prevent the servo from attempting to push past its physical limits, eliminating the 'buzzing' sound that indicates a stalled motor.
Understanding the 4µs Dead Band
The datasheet specifies a 4µs dead band. This means if your Arduino sends a 1500µs pulse, and the next loop sends a 1502µs pulse, the servo will not move. This is an anti-jitter feature built into the servo's internal comparator IC. When designing high-resolution camera gimbals, you must ensure your Arduino's PWM timer resolution can output steps larger than 4µs, or implement a software dead-zone to prevent integral windup in your control loops.
The Stall Current Trap: Why Your Arduino Keeps Resetting
The most common point of failure in an MG945 servo Arduino project is power delivery. Many beginners wire the servo's red power lead directly to the Arduino Uno's 5V pin. This is a critical error.
Warning: The Brownout Effect
The Arduino Uno's onboard voltage regulator (typically an NCP1117) can supply a maximum of ~800mA before thermal shutdown. A USB port supplies a maximum of 500mA. When the MG945 encounters a mechanical load and approaches stall, it will draw upwards of 2.5 Amps. This massive current draw instantly collapses the 5V rail, causing the ATmega328P microcontroller to brownout and reset, or worse, permanently damaging the onboard voltage regulator.
The Correct Power Topology
To safely drive an MG945, you must decouple the logic power from the actuator power. According to best practices outlined in the Pololu RC Servo Guide, high-torque servos require a dedicated power bus.
- Use a UBEC or Buck Converter: A 5V/3A Universal Battery Eliminator Circuit (UBEC) or an LM2596 buck converter module (priced around $3 to $6 in 2026) connected to a 2S or 3S LiPo battery is ideal.
- Establish a Common Ground: The ground wire from the external power supply must be connected to one of the Arduino's GND pins. Without a common ground reference, the Arduino's PWM signal will be unreadable to the servo, resulting in violent, unpredictable twitching.
- Signal Wiring: Connect the Arduino PWM pin (e.g., Pin 9) directly to the servo's signal wire (usually orange or yellow). The Arduino only needs to source a few milliamps for the logic signal.
Metal Gears and Mechanical Backlash
The primary selling point of the MG945 is its metal gear train. While this prevents the catastrophic tooth-stripping common in the SG90, it introduces a new variable: mechanical backlash. Backlash is the slight looseness or 'play' between mating gear teeth.
In a brand-new genuine MG945, backlash is typically around 0.5° to 1°. In cheaper clone variants flooding the market, poor manufacturing tolerances can result in up to 3° of backlash. This is highly problematic for precision tasks like robotic arm kinematics or CNC plotter pen lifts.
Software Compensation for Backlash
You cannot eliminate backlash in hardware without pre-loading the servo, but you can manage it in your Arduino code using a uni-directional approach. Always force the servo to approach its target position from the same direction.
For example, if you need to move to 90°, and the current position is 80°, move directly to 90°. If the current position is 100°, move past the target to 85°, pause for 100ms to allow the gears to settle, and then move to 90°. This ensures the gear train is always loaded against the same side of the teeth, guaranteeing repeatable positioning despite the mechanical play.
Clone vs. Genuine: The 2026 Market Reality
When sourcing components for your MG945 servo Arduino build, be highly skeptical of $4 'MG945' servos. Genuine TowerPro units typically retail between $14 and $18. Clones often cut costs in three critical areas:
- Metallurgy: Clones frequently use soft brass or powdered metal gears instead of hardened steel, leading to rapid wear under high-torque loads.
- Potentiometer Quality: The internal feedback potentiometer in clones often suffers from 'dead spots' or high electrical noise, causing the servo to jitter even when the Arduino is sending a perfectly clean PWM signal.
- Motor Windings: Lower gauge wire in clone motors results in higher internal resistance, reducing the actual stall torque to as low as 9 kg-cm, far below the datasheet's 15.5 kg-cm claim.
For applications where failure is not an option, such as drone payload releases or automated locking mechanisms, always source from authorized distributors and verify the holographic authenticity stickers on the packaging.
Troubleshooting Common MG945 Integration Issues
Even with perfect wiring, environmental and electrical factors can disrupt servo operation. Use this diagnostic matrix to resolve common edge cases.
| Symptom | Root Cause | Engineering Solution |
|---|---|---|
| Servo jitters randomly at rest | Noise on the PWM signal line or inadequate power decoupling. | Add a 470µF electrolytic capacitor across the servo's VCC and GND wires at the connector. Ensure PWM wires are not routed parallel to high-current motor cables. |
| Arduino resets when servo moves | Voltage sag on the 5V logic rail due to shared power. | Isolate power supplies. Add a Schottky diode and a large bulk capacitor (1000µF+) on the Arduino's power input if sharing a main battery. |
| Servo hums but does not move | Stalled mechanical load or stripped output spline. | Remove the load and test. If it moves unloaded, your mechanical linkage is binding, or the load exceeds the 15.5 kg-cm limit. |
Final Thoughts on Peripheral Interfacing
The MG945 remains a workhorse in the DIY robotics community, but treating it like a standard hobby servo is a recipe for hardware failure. By respecting the datasheet's stall current realities, utilizing the writeMicroseconds() function for precise PWM control, and implementing software strategies to mitigate gear backlash, you can extract reliable, high-torque performance from your MG945 servo Arduino projects. For further reading on actuator selection and power management, the Adafruit Motor Selection Guide provides excellent supplementary data on sizing power supplies for multi-servo arrays.