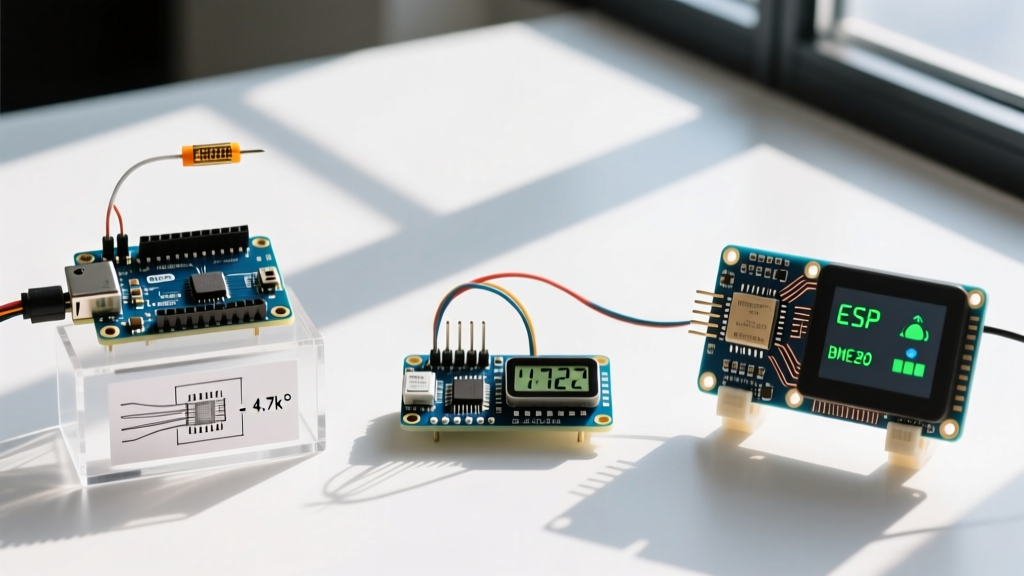

Selecting the Right Temperature Sensor in Arduino Ecosystems
When integrating a temperature sensor in Arduino projects, the sheer volume of available modules can lead to analysis paralysis. While legacy tutorials often default to the first component they find in a starter kit, modern 2026 embedded designs demand a rigorous evaluation of bus topology, thermal mass, interrupt latency, and silicon authenticity. Whether you are building a high-precision incubator, a multi-node greenhouse monitor, or an industrial edge-logging device, choosing between the DS18B20, DHT22, and BME280 requires understanding their distinct architectural trade-offs.
In this comprehensive component comparison, we dissect the three most ubiquitous environmental sensors, analyzing their real-world performance, hidden failure modes, and precise wiring topologies for modern microcontrollers like the Arduino R4 Minima and ESP32-S3.
The Contenders: Architecture and Specifications
1. DS18B20: The 1-Wire Industrial Standard
Manufactured by Analog Devices (formerly Maxim Integrated), the DS18B20 remains the undisputed king of localized, high-accuracy thermal measurement. It utilizes the 1-Wire protocol, requiring only a single data line (plus power and ground) and a 4.7kΩ pull-up resistor. Because every chip has a factory-lasered 64-bit ROM, you can daisy-chain dozens of sensors on a single Arduino digital pin.
- Accuracy: ±0.5°C from -10°C to +85°C.
- Resolution: User-configurable 9 to 12 bits.
- Conversion Time: Up to 750ms at 12-bit resolution.
- 2026 Pricing: $2.50 - $4.00 for genuine Analog Devices silicon.
2. DHT22 (AM2302): The Legacy Single-Bus Combo
The DHT22 (and its wired module variant, the AM2302) by Aosong is a single-bus capacitive humidity and thermistor-based temperature sensor. It uses a proprietary, strictly timed single-bus protocol that relies on microsecond-level pulse counting. While popular in beginner kits, its blocking nature makes it problematic in modern RTOS (Real-Time Operating System) environments.
- Accuracy: ±0.5°C (Temperature), ±2% RH (Humidity).
- Resolution: 0.1°C / 0.1% RH.
- Polling Rate: Strict 2-second minimum interval between reads.
- 2026 Pricing: $3.50 - $5.00.
3. BME280: The I2C/SPI Environmental Powerhouse
Bosch Sensortec’s BME280 is a powerhouse that measures temperature, humidity, and barometric pressure over standard I2C or SPI buses. Unlike the DHT22, the BME280 features an internal state machine, configurable oversampling, and an IIR (Infinite Impulse Response) filter, allowing it to handle complex environmental compensation without blocking the microcontroller's main loop.
- Accuracy: ±1.0°C (Temperature), ±3% RH (Humidity), ±1 hPa (Pressure).
- Resolution: 0.01°C / 0.008% RH / 0.2 Pa.
- Interface: I2C (up to 3.4 MHz) or SPI (up to 10 MHz).
- 2026 Pricing: $4.00 - $7.00 on regulated breakout boards.
Head-to-Head Comparison Matrix
| Feature | DS18B20 | DHT22 / AM2302 | BME280 |
|---|---|---|---|
| Primary Bus | 1-Wire | Proprietary Single-Bus | I2C / SPI |
| Blocking Code? | Yes (during 750ms conversion) | Yes (strict microsecond timing) | No (asynchronous read via registers) |
| Waterproofing | Excellent (stainless steel probes) | Poor (condensation destroys it) | Poor (requires PTFE membranes) |
| Multi-Drop Support | Native (via 64-bit ROM addressing) | No (requires one pin per sensor) | Limited (2 I2C addresses: 0x76, 0x77) |
| Best Application | Liquid immersion, soil, long runs | Basic indoor HVAC monitoring | Weather stations, altitude, IAQ |
Critical Failure Modes and Edge Cases
Reading datasheets is only half the battle. In real-world 2026 deployments, engineers must design around silicon quirks and supply chain anomalies.
The DS18B20 '85°C' Power-On Bug and Counterfeits
Upon power-up, the DS18B20 scratchpad register defaults to 85°C. If your code reads the sensor before the first 750ms conversion completes, it will log a false 85°C spike. Solution: Implement a software debounce that ignores 85°C readings on boot, or trigger a dummy conversion in the setup() loop.
Furthermore, the market is flooded with counterfeit DS18B20s that fail the 'parasite power' test and exhibit erratic non-linear drift above 60°C. Always verify the scratchpad configuration register (Address 0x04) to ensure it matches the Analog Devices specification.
DHT22 Interrupt Collisions
The DHT22 protocol requires the host MCU to pull the bus low for exactly 1ms, then release it and time the sensor's 80µs response pulses. If a WiFi interrupt (on an ESP32) or a timer interrupt fires during this 4ms read window, the checksum will fail, returning NaN. Solution: You must disable interrupts (noInterrupts()) immediately before polling the DHT22 and re-enable them after. Note that this will drop network packets on IoT boards, making the DHT22 highly unsuitable for modern connected edge devices.
BME280 Self-Heating and I2C Lockups
Because the BME280 is densely packed, reading it continuously at maximum oversampling causes internal self-heating of up to +0.5°C. Solution: Configure the sensor's standby time (t_sb) register to space out measurements, and use forced mode rather than continuous mode for battery-powered nodes. Additionally, if I2C bus capacitance exceeds 400pF (common with long unshielded wires), the SDA line rise time degrades, causing I2C lockups. Use 2.2kΩ pull-ups instead of 4.7kΩ for runs over 30cm.
Wiring Topologies and Pull-Up Engineering
Proper bus termination is where most hobbyist builds fail in industrial environments. Here is how to wire these sensors for maximum reliability:
- 1-Wire (DS18B20): The standard 4.7kΩ pull-up resistor assumes a short trace on a PCB. If you are running a 10-meter waterproof probe cable, the parasitic capacitance of the wire will round off the sharp digital edges. Drop the pull-up resistor to 3.3kΩ or 2.2kΩ to provide a stronger current source for faster rise times. Ensure the probe's shield wire is grounded only at the MCU end to prevent ground loops.
- Single-Bus (DHT22): Keep the trace length under 20cm. The internal pull-up in the DHT22 module is often weak. Add an external 4.7kΩ pull-up to the 3.3V rail, and place a 100nF decoupling capacitor as close to the sensor's VDD pin as physically possible to handle the 2.5mA peak current draw during transmission.
- I2C (BME280): As documented in the Arduino Wire library communication guide, I2C is not designed for long distances. If your BME280 is located more than 50cm from the Arduino, abandon I2C and switch the breakout board to SPI mode by manipulating the CSB and SDO pins, or use an I2C bus extender (like the P82B96) to drive the signal differentially.
Expert Tip for 2026 RTOS Users: Never usedelay()to wait for sensor conversions. Utilize hardware timers or non-blocking state machines (like the OneWire library'ssetWaitForConversion(false)feature) to allow your Arduino to process network stacks, update displays, and handle user inputs while the thermal silicon completes its analog-to-digital conversion in the background.
Final Verdict: Which Sensor Should You Choose?
There is no universal 'best' temperature sensor in Arduino development; the choice is strictly dictated by your physical environment and system architecture.
- Choose the DS18B20 if you are measuring liquids (aquariums, brewing vats, soil moisture/temperature profiles) or require a multi-drop network on a single GPIO pin. Its robust 1-Wire protocol and waterproof packaging are unmatched.
- Choose the BME280 if you are building an indoor environmental monitor, weather station, or drone altimeter. Its non-blocking I2C interface, high resolution, and integrated pressure sensor make it the superior choice for modern, interrupt-driven firmware.
- Avoid the DHT22 for new designs in 2026. Unless you are constrained by a legacy codebase or an ultra-low-budget educational kit, the BME280 offers vastly superior bus integration, and the DS18B20 offers better thermal stability.
By matching the sensor's bus topology and thermal characteristics to your specific edge-case requirements, you will eliminate the most common data-logging anomalies and build a significantly more robust embedded system.