
Mastering Photoplethysmography (PPG) with the MAX30102
Integrating a heart rate sensor with Arduino is a rite of passage for biomedical and wearable DIY projects. The industry standard for optical heart rate monitoring is the MAX30102, a highly integrated pulse oximetry and heart-rate monitor sensor module. Unlike basic analog pulse sensors that rely on crude light-dependent resistors (LDRs), the MAX30102 utilizes precise Photoplethysmography (PPG). It emits specific wavelengths of light—Red (660nm) and Infrared (880nm)—into the capillary bed in your finger and measures the backscattered light to detect volumetric changes in blood circulation.
This guide provides a deep-dive engineering approach to wiring, coding, and troubleshooting the MAX30102 on an Arduino Uno or Nano, moving beyond basic tutorials to address real-world signal noise, FIFO buffer management, and the notorious 'clone board' hardware quirks prevalent in the 2026 maker market.
The Hardware Reality: Authentic vs. Generic Clone Boards
Before wiring a single pin, you must identify which version of the board you possess. The market is currently flooded with generic breakout boards that mislabel their silicon. Understanding this distinction is critical to preventing I2C bus failures and thermal throttling.
| Feature | Authentic (e.g., SparkFun SEN-15219) | Generic Clone (AliExpress/Amazon) |
|---|---|---|
| Silicon | True MAX30102 (Red + IR LEDs) | Often MAX30105 (Red + IR + Green) or MAX30101 |
| Price Range (2026) | $14.50 - $16.00 | $2.50 - $5.00 |
| Voltage Regulation | Onboard 1.8V LDO, 5V tolerant VIN | Often missing LDO; 3.3V strict on VIN |
| I2C Pull-ups | 4.7kΩ populated | Frequently omitted (requires external) |
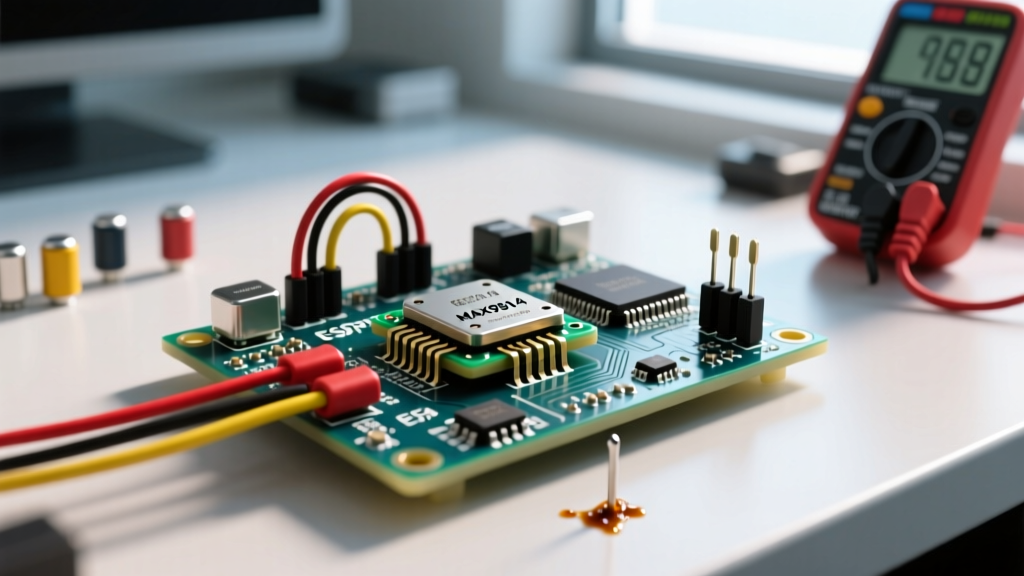
Expert Warning: If you apply 5V to the VIN pin of a cheap clone board lacking a proper voltage regulator, you will instantly fry the internal 1.8V logic of the sensor. Always use a multimeter to check the voltage on the 'VIN' trace before connecting to a 5V Arduino. When in doubt, wire clones directly to the Arduino's 3.3V output.
Step-by-Step I2C Wiring Guide
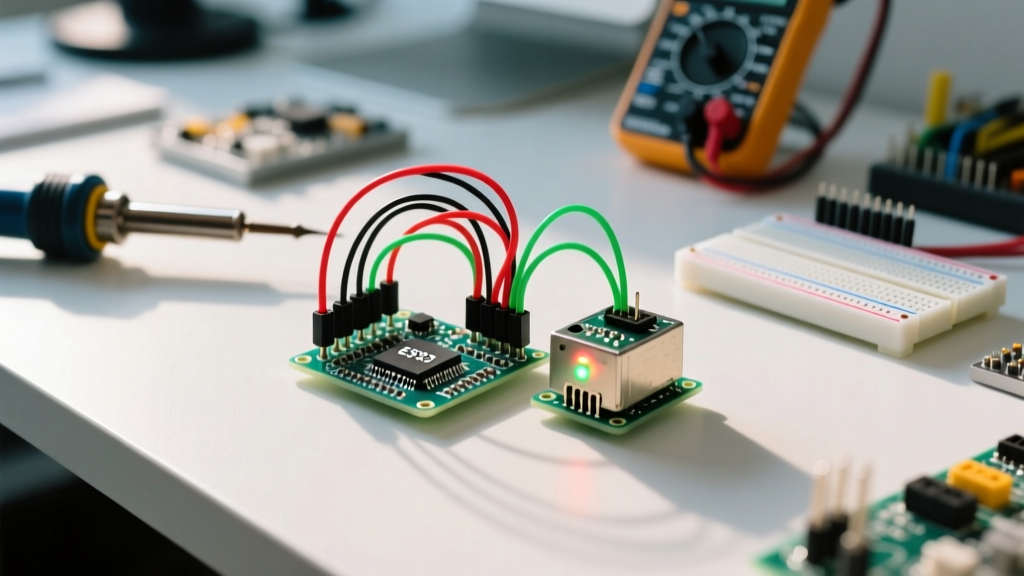
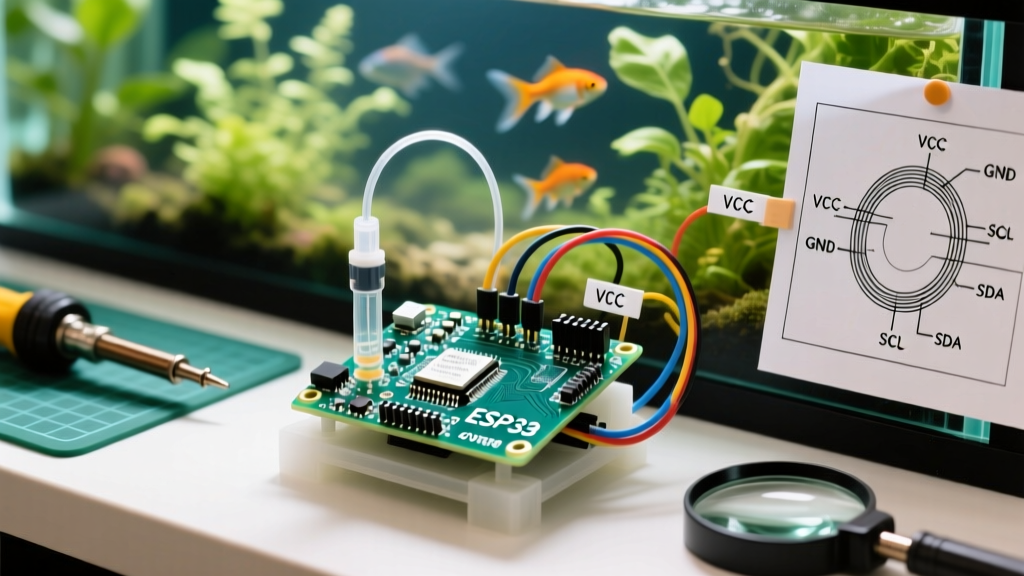
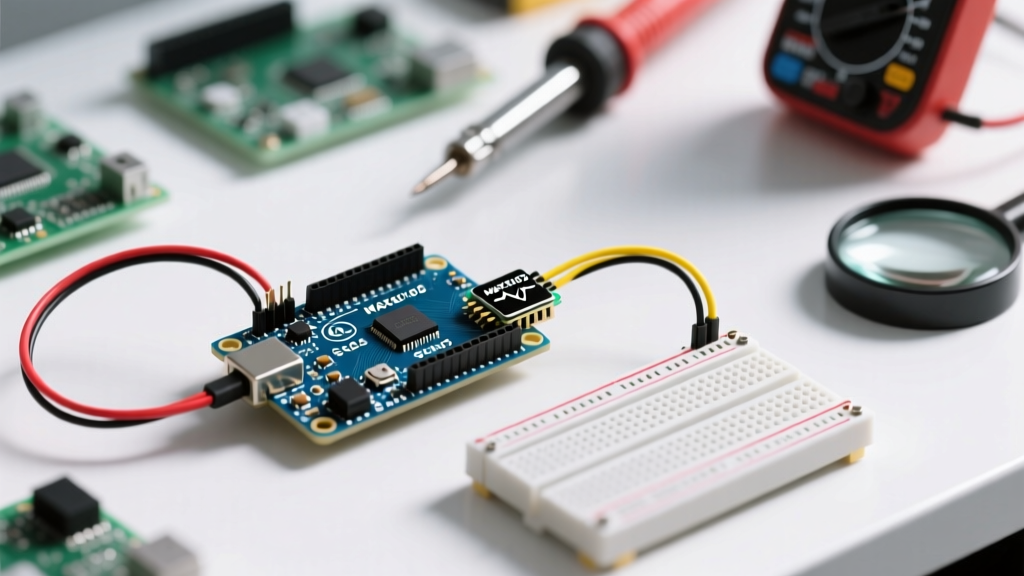
The MAX30102 communicates via the I2C protocol. The default 7-bit I2C address is 0x57. Below is the definitive wiring matrix for standard AVR-based Arduinos.
| MAX30102 Pin | Arduino Uno / Nano | Arduino Mega 2560 | Function & Notes |
|---|---|---|---|
| VIN | 3.3V (or 5V if authentic) | 3.3V | Power supply. Max current draw ~1.2mA (active LEDs). |
| GND | GND | GND | Common ground reference. |
| SDA | A4 | 20 | I2C Data. Add 4.7kΩ pull-up to 3.3V if clone. |
| SCL | A5 | 21 | I2C Clock. Add 4.7kΩ pull-up to 3.3V if clone. |
| INT | D2 | D2 | Interrupt pin (Active Low). Optional but recommended. |
| IRD | Not Connected | Not Connected | IR LED Driver (leave floating for standard use). |
For authoritative I2C bus specifications and pull-up resistor calculations, refer to the Arduino Wire (I2C) Library Documentation. If your I2C scanner fails to find the 0x57 address, missing pull-up resistors on generic boards are the culprit 90% of the time.
Arduino C++ Implementation: FIFO and Sampling
Reading raw analog values is insufficient. The MAX30102 features an internal 32-byte FIFO (First-In-First-Out) buffer. If your Arduino loop() is blocked by delay() functions or heavy serial printing, the FIFO will overflow, resulting in dropped samples and erratic BPM calculations. We utilize the SparkFun MAX3010x library, which elegantly abstracts the I2C register mapping. For a comprehensive register breakdown, consult the Analog Devices MAX30102 Product Page and datasheet.
Core Initialization and Data Extraction
#include <Wire.h>
#include "MAX30105.h"

MAX30105 particleSensor;

const byte RATE_SIZE = 4; // Moving average window
byte rates[RATE_SIZE];
byte rateSpot = 0;
long lastBeat = 0;
float beatsPerMinute;
int beatAvg;

void setup() {
  Serial.begin(115200);
  Wire.begin();
  Wire.setClock(400000); // 400kHz I2C Fast Mode

  // Initialize sensor with custom parameters for high-fidelity PPG
  if (!particleSensor.begin(Wire, I2C_SPEED_FAST)) {
    Serial.println("MAX30102 not found. Check wiring!");
    while (1);
  }

  // Configuration optimized for 400 SPS (Samples Per Second)
  byte ledMode = 2; // Red and IR only
  int pulseWidth = 411; // 411 microseconds
  int sampleRate = 400; // 400 SPS
  int adcRange = 4096;

  particleSensor.setup(0x2F, 4, 2, sampleRate, pulseWidth, adcRange);
}

void loop() {
  long irValue = particleSensor.getIR();

  if (checkForBeat(irValue) == true) {
    long delta = millis() - lastBeat;
    lastBeat = millis();
    beatsPerMinute = 60 / (delta / 1000.0);

    if (beatsPerMinute < 255 && beatsPerMinute > 20) {
      rates[rateSpot++] = (byte)beatsPerMinute;
      rateSpot %= RATE_SIZE;

      beatAvg = 0;
      for (byte x = 0 ; x < RATE_SIZE ; x++) {
        beatAvg += rates[x];
      }
      beatAvg /= RATE_SIZE;
    }
  }

  // Output raw IR data for Serial Plotter & calculated BPM
  Serial.print("IR=");
  Serial.print(irValue);
  Serial.print(", BPM=");
  Serial.print(beatsPerMinute);
  Serial.print(", AvgBPM=");
  Serial.print(beatAvg);
  Serial.println();
}
Signal Processing and Real-World Troubleshooting
Getting the sensor to output data is easy; getting accurate clinical-grade BPM is difficult. Optical PPG is highly susceptible to motion artifacts and ambient light interference. Here are the specific failure modes you will encounter and how to engineer around them.
1. The 'Finger Pressure' Edge Case
Symptom: The IR waveform flattens out, and BPM drops to 0 or spikes above 150.
Root Cause: Pressing the finger too hard against the sensor window compresses the capillaries, restricting blood flow and eliminating the AC (pulsatile) component of the PPG signal. Conversely, resting the finger too lightly allows ambient room light (especially 50Hz/60Hz fluorescent flicker) to saturate the photodiode.
Solution: Implement a 'signal quality index' in your code. If the DC offset (baseline IR value) exceeds 150,000 or drops below 20,000, trigger a UI warning telling the user to adjust their finger pressure. For physical enclosures, use a 3D-printed shroud with a silicone gasket to maintain consistent, light-blocking pressure.
2. Motion Artifacts and Digital Filtering
Symptom: BPM fluctuates wildly when the user walks or moves their hand.
Root Cause: Physical movement changes the optical path length and causes the sensor to shift relative to the skin, creating low-frequency noise that mimics a heartbeat.
Solution: The simple moving average (SMA) used in the code above is a baseline. For advanced 2026 wearable applications, implement a Finite Impulse Response (FIR) bandpass filter (typically 0.5 Hz to 3.5 Hz, corresponding to 30-210 BPM) using the SparkFun MAX3010x Hookup Guide DSP recommendations, or offload the math to an ARM Cortex-M4 based MCU (like the Arduino Nano 33 BLE) utilizing the CMSIS-DSP library.
Optical PPG (MAX30102) vs. ECG (AD8232): Which to Choose?
Depending on your project requirements, optical sensing might not be the correct modality. Below is a decision matrix comparing the MAX30102 against the AD8232 ECG module.
| Parameter | MAX30102 (Optical PPG) | AD8232 (Electrocardiogram ECG) |
|---|---|---|
| Measurement Type | Blood volume changes (Peripheral) | Electrical activity of the heart |
| Electrode/Sensor | Optical window (Finger/Earlobe) | 3x Ag/AgCl sticky gel pads (Chest/Arms) |
| Signal Latency | Pulse Transit Time delay (~200ms) | Near-instantaneous (Electrical speed) |
| Motion Tolerance | Poor (Highly susceptible) | Moderate (Baseline wander issues) |
| Best Application | Smartwatches, SpO2, Fitness trackers | Medical diagnostics, HRV analysis, Arrhythmia |
Conclusion
Successfully integrating a heart rate sensor with Arduino requires moving past simple plug-and-play assumptions. By managing I2C pull-up resistors, respecting the 3.3V logic levels of generic clone boards, and implementing robust FIFO buffer reading, you can extract highly accurate PPG data. Whether you are building a biometric security lock or a fitness wearable, mastering the MAX30102's optical physics and digital filtering will elevate your project from a novelty to a reliable embedded system.