
The Shift to I2C: Why Ditch the Parallel Interface?
For decades, the Hitachi HD44780-based 16x2 LCD has been the quintessential display for microcontroller projects. However, the traditional parallel wiring method requires at least six digital I/O pins (RS, E, D4, D5, D6, D7), plus power and contrast lines. In modern prototyping, where pin economy is critical for adding sensors and motor controllers, this is highly inefficient.
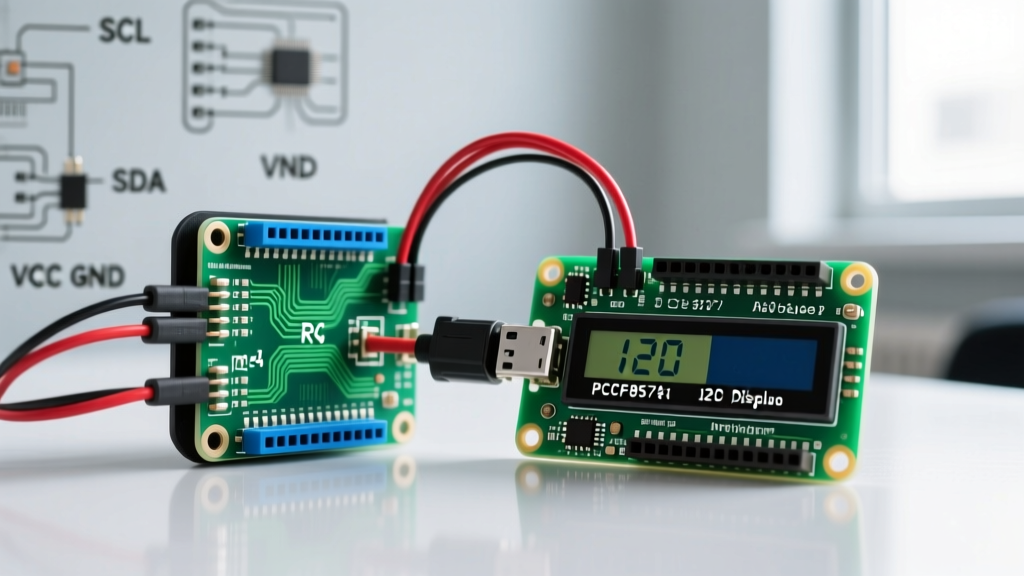
By integrating a PCF8574 I2C backpack, we reduce the microcontroller interface to just two wires: SDA (Serial Data) and SCL (Serial Clock). This guide details the exact wiring, underlying logic, and C++ implementation for interfacing an I2C LCD display with Arduino, specifically updated for the current 2026 hardware landscape, including the Arduino Uno R4 series and ESP32 architectures.
2026 Hardware BOM & Pricing
When sourcing components, avoid ultra-cheap clones that lack the necessary I2C pull-up resistors on the backpack. Below is a reliable baseline for a professional-grade bench setup.
| Component | Model / Specification | Est. Price (2026) | Notes |
|---|---|---|---|
| Microcontroller | Arduino Uno R4 WiFi | $27.50 | Features dedicated SDA/SCL headers and 5V logic. |
| Display Module | 16x2 LCD with PCF8574T Backpack | $5.50 - $7.00 | Ensure it specifies 'I2C' and includes the blue contrast potentiometer. |
| Wiring | Silicone Dupont Jumper Wires (F-F) | $4.00 | Silicone insulation prevents melting near hot components. |
| Logic Shifter | Bi-directional Logic Level Converter | $2.50 | Required ONLY if using 3.3V boards (ESP32, RP2040). |
Wiring Matrix: Uno R3 vs. Uno R4 vs. ESP32
A common failure point for beginners is assuming I2C pins are identical across all development boards. The transition from the legacy Uno R3 to the Uno R4 changed the physical location of the I2C bus. Consult this matrix before wiring your I2C LCD display with Arduino or alternative MCUs.
| LCD Backpack Pin | Arduino Uno R3 (Legacy) | Arduino Uno R4 WiFi/Minima | ESP32 DevKit V1 |
|---|---|---|---|
| GND | GND | GND | GND |
| VCC | 5V | 5V | VIN (5V) * |
| SDA | A4 | SDA (Header near AREF) | GPIO 21 |
| SCL | A5 | SCL (Header near AREF) | GPIO 22 |
* Note: The ESP32 operates at 3.3V logic. While many PCF8574 backpacks will tolerate 3.3V on the I2C lines, the HD44780 LCD controller strictly requires 5V for the VCC pin to drive the backlight and contrast circuitry. Always power the VCC pin from a 5V source.
Under the Hood: PCF8574 I/O Expander Logic
To write robust code, you must understand what the backpack is actually doing. The NXP PCF8574 is an 8-bit I/O expander. It receives a single byte over I2C and maps those 8 bits to its physical output pins (P0 through P7).
Because the HD44780 LCD controller operates in 4-bit mode to save pins, the backpack maps its 8 bits as follows:
- P0: RS (Register Select)
- P1: RW (Read/Write) - Usually hardwired to GND on the PCB for write-only operation.
- P2: E (Enable)
- P3: Backlight Control (via a MOSFET or NPN transistor)
- P4 - P7: Data bits D4, D5, D6, D7
Engineering Insight: When you send a character to the display, the LiquidCrystal_I2C library actually splits the 8-bit ASCII character into two 4-bit nibbles. It sends the high nibble, pulses the Enable (P2) pin high then low, and then sends the low nibble and pulses Enable again. This I2C-to-parallel translation happens in milliseconds but introduces a slight overhead compared to direct parallel wiring.
Core Code Implementation & I2C Scanning
Before writing your main application logic, you must verify the I2C address. PCF8574 backpacks typically use address 0x27, while PCF8574A variants use 0x3F. Upload the standard Arduino I2C Scanner sketch (available in the Arduino IDE under File > Examples > Wire > I2C_Scanner) to confirm your specific address.
Basic Initialization and Output
Install the LiquidCrystal I2C library by Frank de Brabander via the Arduino Library Manager. The following code initializes the display, handles the backlight, and prints sensor data.
#include <Wire.h>
#include <LiquidCrystal_I2C.h>

// Initialize with address 0x27, 16 columns, 2 rows
LiquidCrystal_I2C lcd(0x27, 16, 2);

void setup() {
  lcd.init();
  lcd.backlight();

  lcd.setCursor(0, 0);
  lcd.print("ElectricalFlux");
  lcd.setCursor(0, 1);
  lcd.print("I2C LCD Guide");
}

void loop() {
  // Main application logic here
}
Pushing the Limits: Custom CGRAM Characters
The HD44780 controller contains 64 bytes of Character Generator RAM (CGRAM), allowing you to define up to eight custom 5x8 pixel characters. This is invaluable for creating battery indicators, signal bars, or custom logos without relying on external graphical displays.
#include <Wire.h>
#include <LiquidCrystal_I2C.h>

LiquidCrystal_I2C lcd(0x27, 16, 2);

// Define a custom 'lightning bolt' character
uint8_t bolt[8] = {
  0b00010,
  0b00110,
  0b01100,
  0b11111,
  0b00110,
  0b01100,
  0b11000,
  0b00000
};

void setup() {
  lcd.init();
  lcd.backlight();
  lcd.createChar(0, bolt); // Store in CGRAM slot 0

  lcd.setCursor(0, 0);
  lcd.write(0); // Print custom character
  lcd.print(" High Voltage!");
}

void loop() {}
Real-World Troubleshooting Matrix
When an I2C LCD display with Arduino fails to render text, the issue is rarely a defective screen. Use this diagnostic matrix to resolve the most common edge cases encountered in the field.
| Symptom | Probable Cause | Corrective Action |
|---|---|---|
| Backlight is ON, but only solid white/black squares appear on row 1. | Contrast voltage (V0) is misconfigured. | Use a small Phillips screwdriver to turn the blue potentiometer on the back of the I2C backpack until characters become crisp. |
| Backlight is OFF, screen is blank. | Backlight jumper removed or code missing. | Check for a missing jumper cap on the two pins labeled 'LED' on the backpack. Ensure lcd.backlight() is in the setup. |
| Display shows garbage characters or random symbols. | I2C bus noise or missing pull-up resistors. | Ensure I2C wires are under 30cm. If using an ESP32, add 4.7kΩ pull-up resistors to SDA and SCL lines tied to 3.3V. |
| Nothing happens; I2C scanner finds no devices. | Wiring error or address mismatch. | Verify SDA/SCL are not swapped. Check if the backpack chip says PCF8574A (try address 0x3F instead of 0x27). |
| Text prints backwards or scrambled. | Incorrect library mapping. | Some rare backpacks wire P0-P7 differently. Use the 'hd44780' library by Bill Perry, which features auto-pin-mapping detection. |
Final Thoughts on Display Integration
While OLED and TFT displays have dropped in price, the 16x2 I2C LCD remains unmatched for high-visibility, low-power, industrial-style readouts. By understanding the PCF8574 translation layer and adhering to the Arduino Uno R4 pinout specifications, you eliminate the most common hardware bottlenecks. For further reading on character mapping and CGRAM limitations, refer to the excellent Adafruit Character LCD Guide, which pairs perfectly with the I2C methodologies outlined above.