
Beyond 'Hello World': The Reality of Production LCDs
Most tutorials on Arduino LCD display code stop at printing 'Hello World' and reading a basic potentiometer. However, when you deploy a microcontroller into a real-world environment—like a greenhouse climate monitor, a server room temperature dashboard, or an industrial machine interface—the naive approach falls apart. Screens flicker, I2C buses lock up, and text formatting misaligns.
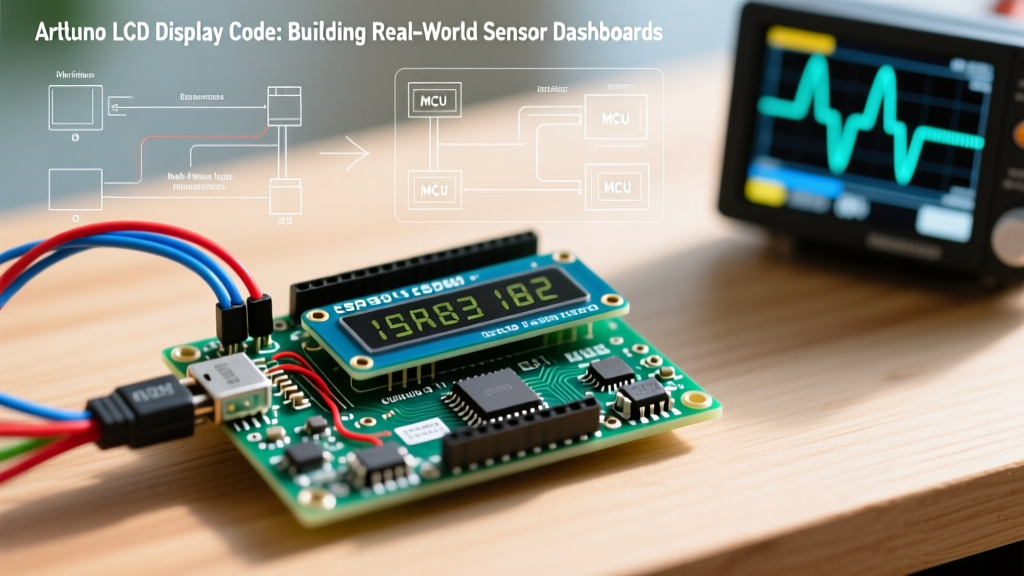
In 2026, the standard for robust peripheral interfacing demands a deeper understanding of bus capacitance, state-caching logic, and memory management. This guide bridges the gap between beginner tutorials and production-grade firmware, focusing on a 20x4 I2C LCD paired with an Arduino Uno R4 Minima and a BME280 environmental sensor.
Hardware BOM and I2C Matrix
Before writing code, we must map the hardware. The ubiquitous 16x2 and 20x4 LCD modules utilize the Hitachi HD44780 controller, but in modern applications, we use an I2C backpack (typically based on the NXP PCF8574 I/O expander) to save GPIO pins. Below is the verified Bill of Materials (BOM) and I2C address matrix for this build.
| Component | Model / Part Number | Approx. Cost | I2C Address | Notes |
|---|---|---|---|---|
| Microcontroller | Arduino Uno R4 Minima | $28.00 | N/A (Master) | 5V logic, native I2C pull-ups disabled by default |
| Display | 20x4 LCD with PCF8574T Backpack | $11.50 | 0x27 | Verify address via I2C Scanner; AT variant is 0x3F |
| Sensor | Adafruit BME280 Breakout | $19.50 | 0x77 | Measures Temp, Humidity, Pressure |
| Wiring | 24 AWG Silicone Stranded | $8.00 | N/A | Keep I2C runs under 30cm to avoid capacitance issues |
The I2C Address and Pull-Up Trap
The most common failure point in real-world Arduino LCD display code isn't the syntax; it's the physics of the I2C bus. According to the official NXP I2C-bus specification (UM10204), the bus capacitance must not exceed 400 pF for standard-mode (100 kHz) operation.
Engineering Warning: Many cheap PCF8574T LCD backpacks include 10kΩ pull-up resistors on the SDA and SCL lines. If your sensor breakout board also has onboard pull-ups, wiring them in parallel drops the equivalent resistance. If the combined pull-up resistance falls below 1kΩ, the I2C open-drain drivers cannot pull the line low enough to register a logic '0', resulting in corrupted characters or total bus lockups.
Solution: Use a multimeter to check for continuity between the SDA/SCL pins and VCC on your LCD backpack. If pull-ups are present and you are adding multiple sensors, desolder the resistors on the LCD backpack and rely on the primary pull-ups located on your sensor breakout or the microcontroller board.
Production-Ready Arduino LCD Display Code
The following C++ code utilizes the LiquidCrystal_I2C library. Crucially, it implements state-caching to prevent screen flicker, a technique omitted in basic guides but mandatory for professional dashboards.
#include <Wire.h>
#include <LiquidCrystal_I2C.h>
#include <Adafruit_BME280.h>

// Initialize LCD: Address 0x27, 20 columns, 4 rows
LiquidCrystal_I2C lcd(0x27, 20, 4);
Adafruit_BME280 bme;

// State-caching variables to prevent flicker
String lastTempStr = "";
String lastHumidStr = "";
String lastPressStr = "";

// Custom Degree Symbol
byte degreeSymbol[8] = {
  0b00110,
  0b01001,
  0b01001,
  0b00110,
  0b00000,
  0b00000,
  0b00000,
  0b00000
};

void setup() {
  Serial.begin(115200);

  // I2C initialization
  Wire.begin();

  // LCD initialization
  lcd.init();
  lcd.backlight();
  lcd.createChar(0, degreeSymbol);

  // BME280 initialization
  if (!bme.begin(0x77, &Wire)) {
    lcd.setCursor(0, 0);
    lcd.print("SENSOR ERR: BME280");
    while (1); // Halt on critical failure
  }

  // Static UI Elements (Printed once)
  lcd.setCursor(0, 0);
  lcd.print("ENV MONITOR v2.1  ");
  lcd.setCursor(0, 1);
  lcd.print("Temp: ");
  lcd.setCursor(0, 2);
  lcd.print("Hum:  ");
  lcd.setCursor(0, 3);
  lcd.print("Baro: ");
}

void loop() {
  float tempC = bme.readTemperature();
  float humidity = bme.readHumidity();
  float pressure = bme.readPressure() / 100.0F; // Convert to hPa

  // Format strings
  String tempStr = String(tempC, 1) + " C";
  String humidStr = String(humidity, 0) + " %";
  String pressStr = String(pressure, 1) + " hPa";

  // Anti-Flicker Update Logic
  updateDisplayIfChanged(6, 1, tempStr, lastTempStr);
  updateDisplayIfChanged(6, 2, humidStr, lastHumidStr);
  updateDisplayIfChanged(6, 3, pressStr, lastPressStr);

  // Inject custom degree symbol manually after temp update
  lcd.setCursor(10, 1);
  lcd.write((uint8_t)0);

  delay(1000); // 1Hz refresh rate is optimal for human readability
}

// Helper function to prevent lcd.clear() flicker
void updateDisplayIfChanged(int col, int row, String currentVal, String &lastVal) {
  if (currentVal != lastVal) {
    lcd.setCursor(col, row);
    // Print spaces to clear old characters if new string is shorter
    lcd.print("        ");
    lcd.setCursor(col, row);
    lcd.print(currentVal);
    lastVal = currentVal;
  }
}
Deconstructing the Anti-Flicker Logic
Beginners often use lcd.clear() at the start of the loop(). The HD44780 controller requires roughly 2 milliseconds to execute a clear command, during which the display blanks out. At a 1Hz or 10Hz refresh rate, this causes an agonizing visual flicker and accelerates backlight degradation.
Instead, the code above uses State-Caching. By storing the previous string values (lastTempStr), the microcontroller only sends I2C bytes to the LCD when the physical sensor reading actually changes. Furthermore, static labels ('Temp:', 'Hum:') are printed only once in the setup() function, drastically reducing I2C bus traffic and freeing up CPU cycles for other tasks.
Advanced I2C Troubleshooting for Long Wire Runs
When installing an LCD dashboard in an enclosure, you often need to route wires through hinges or across a chassis. The Arduino Wire library defaults to 100 kHz. If your I2C wires exceed 30 centimeters, parasitic capacitance will round off the square-wave edges of the SCL clock signal, causing the LCD to display gibberish or freeze entirely.
- Lower the Clock Speed: If long wires are unavoidable, drop the I2C speed to 50 kHz or 20 kHz using
Wire.setClock(20000);in your setup block. This gives the signal more time to rise to the logic-high threshold. - Use Active Pull-Ups: Standard resistors cannot overcome high capacitance. For runs over 50cm, integrate an active I2C bus extender IC like the NXP P82B96, which buffers the signal for long-distance transmission.
- Twisted Pair Routing: Route SDA and SCL as a twisted pair, and keep them physically separated from any AC mains wiring or PWM motor control lines to prevent electromagnetic interference (EMI) from inducing phantom clock pulses.
Memory Constraints and String Fragmentation
While the Arduino Uno R4 Minima boasts 32KB of SRAM, older boards like the Uno R3 only have 2KB. Using the String object in C++ can lead to heap fragmentation over weeks of continuous uptime, eventually causing the microcontroller to crash or the LCD to output random ASCII artifacts.
For ultra-high-reliability applications running on AVR-based boards (ATmega328P), replace the String objects with fixed-size character arrays (char buffer[16]) and use snprintf() to format the sensor data. This guarantees static memory allocation at compile time, ensuring your Arduino LCD display code will run for years without a memory leak.
Example: snprintf Implementation
char tempBuffer[10];
snprintf(tempBuffer, sizeof(tempBuffer), "%5.1f C", tempC);
lcd.setCursor(6, 1);
lcd.print(tempBuffer);
Conclusion
Writing robust Arduino LCD display code for real-world applications requires looking past basic syntax. By managing I2C bus physics, eliminating screen flicker through state-caching, and handling memory allocation responsibly, you transform a fragile hobby project into a reliable, deployment-ready sensor dashboard. Always verify your specific PCF8574 backpack address, respect the 400pF capacitance limit, and let the microcontroller do the heavy lifting in setup() rather than loop().