
The Core Challenge in Arduino Heat Measurement
When engineers, students, and makers search for a heat sensor Arduino solution, they are often met with a fragmented landscape of components. Selecting the wrong sensor doesn't just mean slightly skewed data; it can lead to catastrophic thermal runaway in 3D printer hotends, ruined reflow profiles in DIY PCB manufacturing, or completely invalid environmental logging. In 2026, the electronics supply chain has fully stabilized, and component pricing has normalized, making it the perfect time to definitively compare the three dominant temperature sensing architectures: NTC Thermistors, K-Type Thermocouples (via SPI breakouts), and Non-Contact Infrared (IR) modules.
This guide bypasses the generic overviews and dives deep into the exact part numbers, real-world pricing, mathematical models, and specific failure modes you need to know before wiring your next microcontroller project.
Contender 1: NTC 10K 3950 Thermistor (The Budget Baseline)
The Negative Temperature Coefficient (NTC) thermistor is the undisputed king of low-cost temperature measurement. For the vast majority of ambient monitoring and basic 3D printer bed applications, the 10K 3950 Glass Bead Thermistor is the default choice.
Technical Specifications & Pricing
- Model: 10K Ohm NTC, Beta (B) = 3950K
- 2026 Average Cost: $0.45 - $0.90 per unit (bulk pricing)
- Temperature Range: -40°C to +250°C (glass encapsulated)
- Interface: Analog (requires voltage divider circuit)
The Math: Steinhart-Hart Equation
Unlike digital sensors, a thermistor outputs a variable resistance. To convert the Arduino's 10-bit or 12-bit ADC reading into Celsius, you must use the Steinhart-Hart equation. According to Omega Engineering's thermistor theory guides, the simplified Beta parameter equation is often enough for basic DIY projects, but for precision work across a wide thermal band, the full third-order Steinhart-Hart equation is mandatory:
1/T = A + B(ln R) + C(ln R)^3
Where T is temperature in Kelvin, R is resistance, and A, B, and C are specific coefficients provided by the manufacturer. Failing to implement the 'C' coefficient in your Arduino sketch will result in errors exceeding 2°C at the extremes of the sensor's range.
Real-World Edge Cases & Failure Modes
Self-Heating Errors: Thermistors require current to measure resistance, which inherently generates heat (P = I²R). If you continuously poll an analog pin without a capacitor or a MOSFET switching circuit, the current will heat the tiny glass bead, causing a +0.5°C to +1.5°C positive offset. Always use a 100nF ceramic capacitor in parallel with the thermistor to stabilize ADC readings and filter out high-frequency EMI from nearby stepper motors.
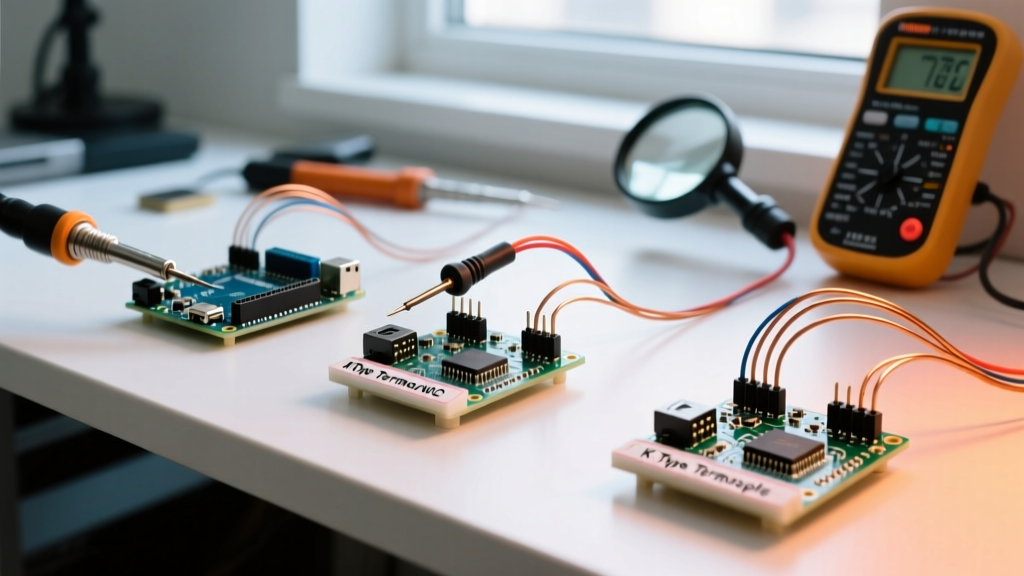
Contender 2: K-Type Thermocouple + MAX31855 (The High-Heat Workhorse)
When your project involves combustion, kiln control, or reflow ovens, thermistors will physically melt. Enter the K-Type thermocouple, which relies on the Seebeck effect—generating a micro-voltage at the junction of two dissimilar metals (Chromel and Alumel) proportional to the temperature gradient.
Why the MAX31855 Beats the MAX6675
Many outdated tutorials still recommend the MAX6675 breakout board. In 2026, using a MAX6675 is a critical mistake for precision work. The MAX6675 only offers 12-bit resolution, cannot read negative temperatures, and lacks open-circuit detection. The MAX31855 is the modern standard.
- Model: Adafruit or SparkFun MAX31855 Breakout
- 2026 Average Cost: $14.00 - $19.50 (excluding the $8-$12 K-Type probe)
- Resolution: 14-bit (0.25°C increments)
- Range: -270°C to +1372°C
- Interface: SPI (MISO, SCK, CS)
Cold Junction Compensation (CJC)
Thermocouples do not measure absolute temperature; they measure the difference in temperature between the hot tip and the cold junction (where the probe wires meet the copper traces of your breakout board). The MAX31855 contains an internal silicon die temperature sensor to calculate this Cold Junction Compensation automatically. As detailed in the NIST Sensor Science thermocouple databases, accurate CJC is entirely dependent on the breakout board being in a thermally stable environment. If you mount your MAX31855 board directly next to a heat-generating component like a stepper driver or a voltage regulator, your CJC will be skewed, throwing off your final reading by 5°C or more.
Contender 3: MLX90614 Non-Contact IR Sensor (The Specialist)
Sometimes, physical contact is impossible. Whether you are measuring the temperature of a moving conveyor belt, a delicate biological sample, or an AC mains wire, you need infrared thermometry. The Melexis MLX90614 is an I2C-compatible IR thermometer that calculates ambient and object temperatures internally using a built-in DSP.
Technical Specifications & Pricing
- Model: MLX90614ESF-BAA-000-TU (90° Field of View)
- 2026 Average Cost: $11.00 - $16.00
- Accuracy: ±0.5°C in the 0°C to 50°C range
- Interface: I2C (SDA, SCL)
The Emissivity Trap
The most common reason makers abandon IR sensors is a misunderstanding of emissivity (ε). The MLX90614 is factory-calibrated to an emissivity of 1.0 (a perfect blackbody). Human skin, matte paint, and organic materials hover around 0.95 to 0.98, yielding highly accurate readings. However, shiny metals like bare aluminum or copper have an emissivity of roughly 0.05 to 0.10. If you point this sensor at a shiny heatsink, it will not read the heatsink's temperature; it will read the reflection of the room's ambient temperature. To fix this, you must either apply a strip of matte black electrical tape (ε = 0.95) to the target surface or reprogram the sensor's internal EEPROM via I2C commands to adjust the ε coefficient, as outlined in the Adafruit MLX90614 Learning System guide.
Head-to-Head Comparison Matrix
| Feature | NTC 10K 3950 Thermistor | K-Type + MAX31855 | MLX90614 IR Sensor |
|---|---|---|---|
| Best Use Case | 3D printer beds, ambient weather | Kilns, reflow ovens, exhaust gas | Moving parts, PCB hotspot scanning |
| Max Temp Limit | +250°C | +1372°C | +380°C (Object) |
| Arduino Interface | Analog (ADC) | SPI (Digital) | I2C (Digital) |
| Response Time | Slow (1s - 5s) | Fast (milliseconds) | Fast (10Hz refresh) |
| Wiring Complexity | Low (Voltage Divider) | Medium (SPI + Grounding) | Medium (I2C + Pull-ups) |
| 2026 Est. Cost | < $1.00 | $22.00 - $31.50 (w/ probe) | $11.00 - $16.00 |
Real-World Troubleshooting & Pro-Tips
Expert Insight: Never share the same ground plane between high-current AC heating elements and your thermocouple amplifier. The MAX31855 is highly sensitive to ground loops, which will manifest as random, massive temperature spikes in your Arduino Serial Monitor.
Wiring Best Practices for 2026 Boards
If you are using modern 3.3V logic boards like the Arduino Nano ESP32 or the Raspberry Pi Pico 2, ensure your sensor breakouts support 3.3V I/O. While the MAX31855 is natively 3.3V, many cheap, unbranded NTC analog modules feature 5V voltage dividers. Feeding 5V into a 3.3V ESP32 ADC pin will permanently damage the microcontroller's silicon. Always use a logic level shifter or adjust your pull-up resistor network to match your MCU's VREF.
Final Verdict: Which Heat Sensor Arduino Setup Wins?
There is no single 'best' sensor; the correct choice is dictated entirely by your thermal environment and physical constraints.
- Choose the NTC Thermistor if your budget is near zero, your temperature stays below 200°C, and you have an available analog pin. It is the undisputed champion of cost-effective ambient and liquid monitoring.
- Choose the K-Type + MAX31855 if you are building a PID-controlled reflow oven, a foundry kiln, or any application where temperatures exceed 250°C. The robustness of the stainless steel probe and the precision of the SPI digital output justify the $25+ investment.
- Choose the MLX90614 if you need to map thermal gradients across a PCB without risking short circuits, or if the target object is in motion. Just remember to account for surface emissivity.
By matching the physics of the sensor to the specific edge cases of your project, you eliminate the most common pitfalls in DIY thermal management and ensure your Arduino code relies on clean, actionable data.