
The Software Reality of Stepper Motor Control
Wiring a stepper motor with Arduino Motor Shield hardware is only half the battle. The true bottleneck in precision motion control lies in the library and driver ecosystem you choose to command the silicon. Whether you are using the classic L298N-based Arduino Motor Shield R3 or the I2C-driven Adafruit Motor Shield V2, the built-in Stepper.h library is fundamentally inadequate for modern robotics. It blocks the main thread, lacks acceleration profiling, and ignores microstepping capabilities.
In this 2026 guide, we bypass the basics and dive deep into the advanced library configurations, pin-mapping hacks, and failure modes associated with driving NEMA 17 and NEMA 23 steppers using the two most popular Arduino motor shields on the market.
Hardware Matrix: R3 vs. V2 Shield Silicon
Before writing a single line of C++, you must understand the physical limitations of your shield's H-bridge driver. The software library must compensate for the hardware's electrical quirks.
| Feature | Arduino Motor Shield R3 (Official & Clones) | Adafruit Motor Shield V2 |
|---|---|---|
| Driver IC | L298N (Bipolar Junction Transistor) | TB6612FNG (MOSFET) + PCA9685 (PWM) |
| Max Continuous Current | 2A per channel (requires heavy heatsinking) | 1.2A per channel (3A peak) |
| Voltage Drop | ~2.0V (Significant heat loss) | ~0.5V (Highly efficient) |
| Communication | Direct GPIO (Uses 6+ digital/PWM pins) | I2C Bus (Uses only SDA/SCL) |
| Native Microstepping | No (Requires complex software PWM) | Yes (Up to 1/16th step via library) |
| 2026 Avg. Pricing | $12 (Clone) / $28 (Official) | $24.95 (Adafruit) |
The Library Landscape: Why Stepper.h Fails
The native Arduino Stepper.h library operates on a simple blocking delay mechanism. When you call stepper.step(200), the microcontroller halts all other operations until the 200 steps are complete. In a multi-sensor environment—such as a CNC plotter reading limit switches or a 3D printer monitoring thermistors—this blocking behavior causes missed steps, buffer underruns, and catastrophic mechanical collisions.
Expert Rule of Thumb: Never use
Stepper.hfor any application requiring simultaneous sensor polling or multi-axis coordination. Always use non-blocking, interrupt-friendly, or acceleration-profiled libraries.
Deep Dive: Arduino Motor Shield R3 + AccelStepper
The AccelStepper library by Mike McCauley is the undisputed industry standard for non-blocking stepper control. However, mapping it to the Arduino Motor Shield R3 requires a specific pin-mapping hack, because the R3 shield does not have a dedicated step/direction translator chip.
The R3 Pin-Mapping Hack
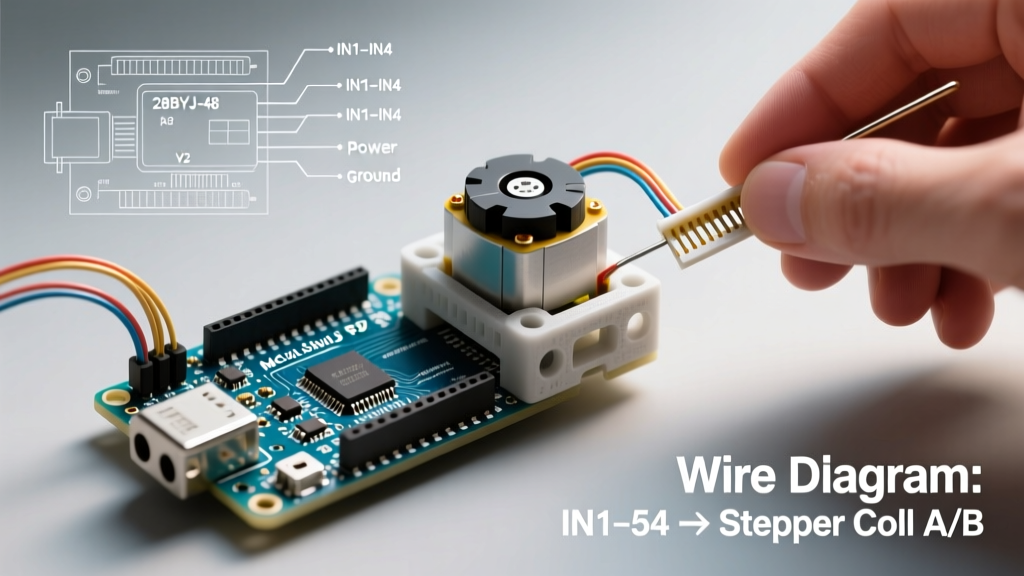
The R3 shield controls DC motors via Direction, PWM, and Brake pins. To drive a 4-wire bipolar stepper, we must trick AccelStepper's FULL4WIRE mode into treating the Direction and PWM pins as the four logical phase inputs. By setting the PWM pins HIGH/LOW via digital writes, we effectively enable/disable the H-bridge channels, while the Direction pins handle the current polarity.
R3 Shield Wiring & Code Implementation
- Disable Brakes: Pins 8 and 9 must be pulled LOW to disengage the L298N brake circuits.
- Coil A Mapping: Direction A (Pin 12), PWM A (Pin 3).
- Coil B Mapping: Direction B (Pin 13), PWM B (Pin 11).
#include <AccelStepper.h>

// Define the brake pins
const int brakeA = 9;
const int brakeB = 8;

// Initialize AccelStepper using the FULL4WIRE hack
// Pin order: IN1 (DirA), IN2 (PWM A), IN3 (DirB), IN4 (PWM B)
AccelStepper stepper(AccelStepper::FULL4WIRE, 12, 3, 13, 11);

void setup() {
  // Disengage brakes permanently for stepper operation
  pinMode(brakeA, OUTPUT);
  digitalWrite(brakeA, LOW);
  pinMode(brakeB, OUTPUT);
  digitalWrite(brakeB, LOW);

  // Configure motion profile
  stepper.setMaxSpeed(800.0);      // Steps per second
  stepper.setAcceleration(400.0);  // Steps per second^2
  stepper.moveTo(1600);            // Move 8 full revolutions (200 steps/rev)
}

void loop() {
  // Non-blocking execution allows other sensor code to run here
  if (stepper.distanceToGo() == 0) {
    stepper.moveTo(-stepper.currentPosition()); // Reverse direction
  }
  stepper.run();
}
Edge Case: The L298N Voltage Drop & Stalling
Because the L298N uses older BJT technology, it suffers from a ~2.0V voltage drop across the Darlington pairs. If you power the shield with 12V, your NEMA 17 stepper coils are only receiving ~10V. At high RPMs, the coil inductance prevents current from rising fast enough, resulting in stall torque collapse. If your stepper stalls above 300 RPM on the R3 shield, increase the input voltage to 16V-18V (the L298N max is 35V, but the shield's 5V regulator must be disabled if Vin > 12V).
Deep Dive: Adafruit Motor Shield V2 + AFMotor Library
The Adafruit Motor Shield V2 completely abandons direct GPIO routing in favor of an I2C architecture. A PCA9685 chip handles all PWM generation, while TB6612FNG MOSFETs handle the power delivery. This requires the proprietary Adafruit_MotorShield library.
I2C Advantages and Microstepping
Because the PCA9685 handles the complex waveform sequencing internally, the Arduino's CPU is entirely freed from step-timing duties. Furthermore, the V2 library natively supports microstepping, which divides each full step into smaller fractional steps, drastically reducing mechanical resonance and low-speed vibration.
#include <Wire.h>
#include <Adafruit_MotorShield.h>

// Create the motor shield object (Default I2C address 0x60)
Adafruit_MotorShield AFMS = Adafruit_MotorShield();

// Connect a 200-step/rev motor to port M2
Adafruit_StepperMotor *myMotor = AFMS.getStepper(200, 2);

void setup() {
  Serial.begin(9600);
  AFMS.begin();  // Initialize I2C and PCA9685

  // Set speed in RPM (Calculated internally by the library)
  myMotor->setSpeed(60);  // 60 RPM
}

void loop() {
  // Execute 1/8th microstepping for ultra-smooth motion
  myMotor->step(1600, FORWARD, MICROSTEP);
  delay(500);
  myMotor->step(1600, BACKWARD, MICROSTEP);
  delay(500);
}
Edge Case: I2C Bus Capacitance and Address Collisions
The V2 shield defaults to I2C address 0x60. If you are integrating this shield into a complex 2026 robotics rig that also uses I2C LiDAR sensors (like the Garmin Lite v3) or OLED displays, address conflicts will freeze the stepper. You must solder the address jumper pads on the bottom of the V2 shield to shift the address up to 0x61 or higher. Additionally, keep I2C traces under 30cm to avoid bus capacitance issues that corrupt PCA9685 step signals.
Troubleshooting Matrix: Failure Modes & Solutions
When integrating a stepper motor with Arduino Motor Shield setups, hardware-software mismatches manifest in specific physical symptoms. Use this diagnostic matrix to resolve edge cases.
- Symptom: Motor vibrates violently but does not rotate.
Diagnosis: Step frequency exceeds the motor's pull-in torque curve, or the coil wiring sequence is reversed.
Fix: In AccelStepper, lowersetMaxSpeed()by 50% and increasesetAcceleration(). Verify coil pairs with a multimeter (pins that show ~2-10 ohms resistance belong together). - Symptom: Shield becomes too hot to touch within 3 minutes.
Diagnosis: L298N thermal shutdown imminent. You are likely driving a low-impedance NEMA 17 (e.g., 1.5A rated) without a heatsink, or the clone shield lacks adequate copper pour.
Fix: The R3 shield lacks hardware current limiting. You must either add a physical heatsink with forced airflow, or implement software PWM current limiting (advanced) to chop the voltage. - Symptom: Stepper loses position after 10,000 steps.
Diagnosis: Accumulated missed steps due to resonance.
Fix: Switch to the Adafruit V2 shield and enableMICROSTEPmode, or implement mechanical dampening on the motor shaft.
Final Architectural Recommendations
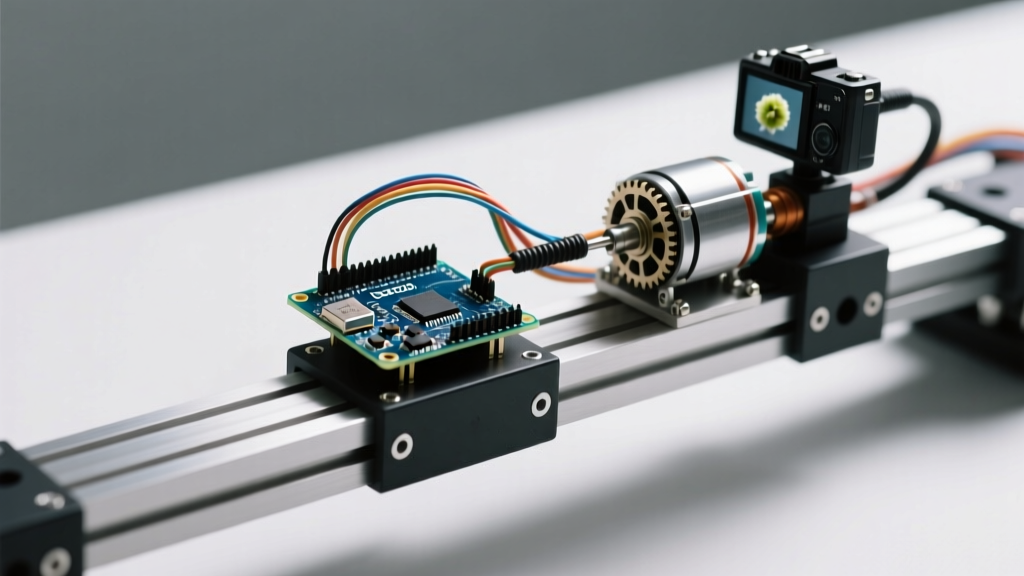
Choosing the right combination of shield and library dictates the ceiling of your project's precision. If you are building a high-torque, low-speed conveyor or a simple camera slider on a budget, the Arduino Motor Shield R3 paired with AccelStepper provides robust, non-blocking control—provided you manage the thermal and voltage drop limitations.
However, if your 2026 project demands high-speed multi-axis coordination, silent operation, or integration with dense I2C sensor networks, the Adafruit Motor Shield V2 is the superior peripheral. Its MOSFET architecture and hardware-level microstepping eliminate the acoustic resonance and CPU overhead that plague older H-bridge designs. Always refer to the official Arduino hardware documentation when verifying pin interrupts and shield stacking clearances to ensure long-term reliability.