
Why GitHub Libraries Beat the Default Arduino Stepper Library
When engineers and makers search for a reliable GitHub stepper motor angle Arduino solution, they are usually hitting the limitations of the default, built-in Arduino Stepper library. The native library is fundamentally blocking—meaning your Arduino Uno R4 Minima or Nano ESP32 cannot read sensors, update displays, or handle serial communication while the motor is moving. In 2026, modern robotics, camera sliders, and automated lab equipment demand non-blocking, interrupt-driven, or timer-based motion control.
This comprehensive wiring and code guide bridges the gap between hardware precision and open-source software. We will cover the exact wiring matrix for the Texas Instruments DRV8825 driver, the mathematical conversion of degrees to microsteps, and how to implement non-blocking angle control using the most robust repositories hosted on GitHub.
Hardware BOM: Building a Precision Angle Controller
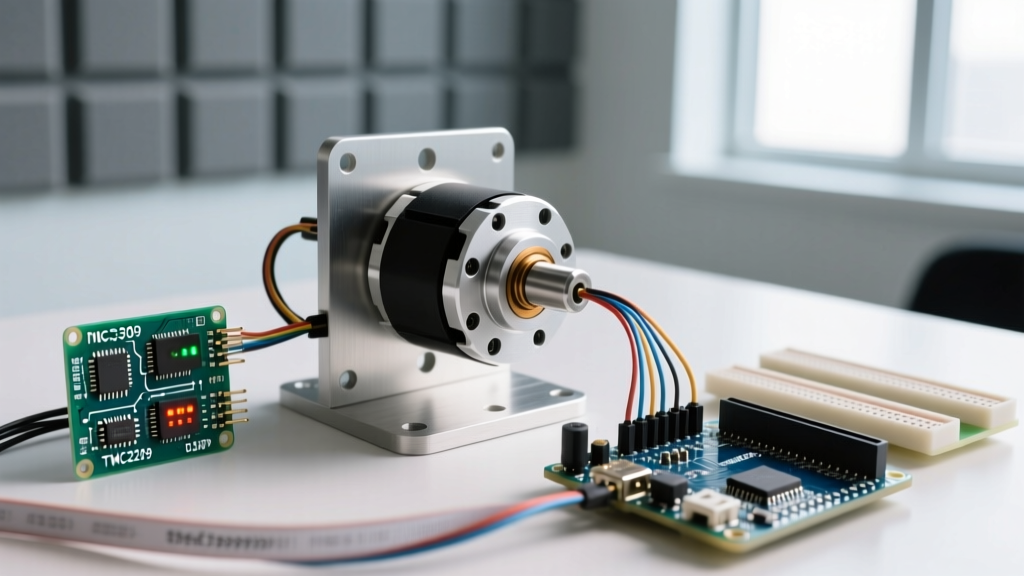
To achieve sub-degree accuracy without skipping steps, your hardware stack must be matched correctly. Below is the recommended 2026 bill of materials for a high-torque, precision angle control system.
| Component | Model / Specification | Estimated Cost (2026) | Role in System |
|---|---|---|---|
| Microcontroller | Arduino Uno R4 Minima | $27.50 | Generates step/direction pulses (3.3V logic) |
| Stepper Motor | StepperOnline 17HS19-2004S1 (NEMA 17) | $14.99 | Provides 59 N·cm holding torque, 1.8° step angle |
| Motor Driver | Pololu DRV8825 Carrier | $5.50 | Translates logic pulses into high-current coil energization |
| Power Supply | 12V 2A DC Switching PSU | $12.00 | Powers the motor coils (do not power via Arduino 5V) |
Wiring Matrix & VREF Tuning for Angle Precision
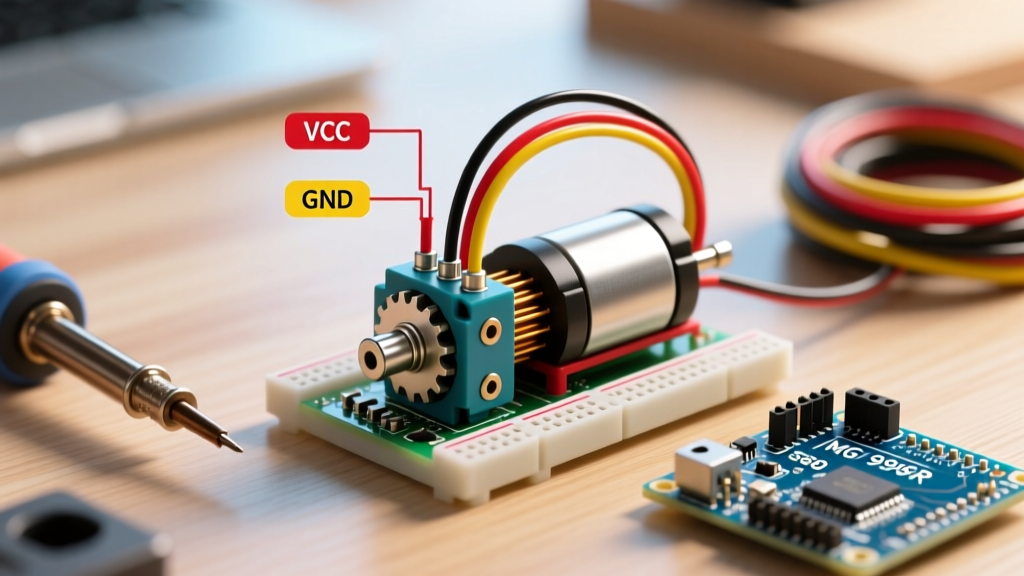
Accurate angle control is impossible if the motor driver is misconfigured. The DRV8825 supports up to 1/32 microstepping, which is critical for smoothing out low-speed resonance and achieving exact angular positioning.
Pinout Mapping (Arduino Uno R4 to DRV8825)
| DRV8825 Pin | Arduino Uno R4 Pin | Function & Configuration Notes |
|---|---|---|
| STEP | D3 (PWM capable) | Receives pulse train. Each pulse = one microstep. |
| DIR | D2 | High = Clockwise, Low = Counter-Clockwise. |
| MS1, MS2, MS3 | 5V (or Float) | Connect all three to 5V for 1/16 microstepping. |
| EN | D4 | Active LOW. Pull to GND to enable, HIGH to disable. |
| VMOT | 12V PSU (+) | Motor power input. Requires 100µF decoupling capacitor. |
| GND | Common GND | Must share ground with Arduino and PSU negative. |
Critical E-E-A-T Warning: VREF Tuning
Before commanding any angles, you must tune the current limit potentiometer on the DRV8825. The StepperOnline 17HS19-2004S1 is rated at 2.0A per phase. Using a multimeter, measure the voltage between the VREF test point and ground. Adjust the potentiometer until VREF reads approximately 0.8V (Formula: Current Limit = VREF × 2). Failing to do this will result in thermal throttling, skipped steps, and destroyed driver ICs.
The Math: Converting Degrees to Microsteps
The core of any GitHub stepper motor angle Arduino project relies on translating human-readable degrees into machine-readable step pulses. Here is the exact mathematical framework for a standard 1.8° NEMA 17 motor configured for 1/16 microstepping.
- Base Motor Resolution: 360° / 1.8° = 200 full steps per revolution.
- Microstepping Multiplier: 16 (via MS1, MS2, MS3 pins tied HIGH).
- Total Steps per Revolution: 200 × 16 = 3,200 microsteps.
- Steps per Degree: 3,200 / 360° = 8.888 microsteps per degree.
If your application requires a precise 45-degree rotation, the calculation is: 45 × 8.888 = 399.96. Since the Arduino cannot send a fractional pulse, you round to 400 steps. This introduces a microscopic error of 0.0045 degrees, which is negligible for 99% of DIY and industrial applications.
Top GitHub Repositories for Stepper Angle Control
When browsing GitHub for stepper motor control, three libraries dominate the ecosystem. Choosing the right one depends on your specific RPM and interrupt requirements.
| GitHub Library | Author / Maintainer | Max Step Rate | Best Use Case |
|---|---|---|---|
| AccelStepper | Mike McCauley | ~4,000 steps/sec | General robotics, camera sliders, multi-motor coordination. |
| FastAccelStepper | gin66 (GitHub) | ~40,000 steps/sec | High-speed CNC, 3D printers, hardware-timer dependent. |
| MobaTools | MicroBahner (GitHub) | ~2,500 steps/sec | Model railroading, slow sweeps, integrated button debouncing. |
Non-Blocking C++ Implementation (AccelStepper)
Below is a production-ready, non-blocking code snippet using the AccelStepper library. This allows your Arduino to continuously monitor sensors or read serial commands while the motor smoothly accelerates to the target angle.
#include <AccelStepper.h>

// Define pins
#define STEP_PIN 3
#define DIR_PIN 2
#define EN_PIN 4

// Initialize AccelStepper in DRIVER mode (Step/Dir interface)
AccelStepper stepper(AccelStepper::DRIVER, STEP_PIN, DIR_PIN);

const float STEPS_PER_DEGREE = 8.888; // 3200 steps / 360 degrees
float targetAngle = 45.0; // Desired rotation in degrees

void setup() {
  Serial.begin(115200);
  pinMode(EN_PIN, OUTPUT);
  digitalWrite(EN_PIN, LOW); // Enable driver

  // Configure motion profile
  stepper.setMaxSpeed(800);      // Max speed in microsteps/sec (approx 90 RPM)
  stepper.setAcceleration(400);  // Acceleration in microsteps/sec^2

  // Calculate and move to target angle
  long targetSteps = round(targetAngle * STEPS_PER_DEGREE);
  stepper.moveTo(targetSteps);
  Serial.print("Moving to angle: ");
  Serial.print(targetAngle);
  Serial.print(" (Steps: ");
  Serial.print(targetSteps);
  Serial.println(")");
}

void loop() {
  // Non-blocking run function must be called as frequently as possible
  if (stepper.distanceToGo() != 0) {
    stepper.run();
  } else {
    // Motor has reached the target angle
    // Insert sensor reading or serial parsing logic here
  }
}
Why stepper.run() is Critical
Notice the absence of delay() functions in the loop. The stepper.run() method evaluates the current position, calculates the required velocity based on the acceleration curve, and triggers a step pulse only when the precise microsecond timing is met. If you place blocking code (like delay(100) or long Serial.print() statements) inside the if block, the motor will stutter, lose its acceleration profile, and ultimately miss steps, ruining your angle accuracy.
Troubleshooting Edge Cases: Resonance and Missed Steps
Even with perfect code from GitHub and accurate wiring, physical physics can disrupt angle precision. Here are the most common failure modes and their engineering solutions:
- Mid-Band Resonance: Stepper motors naturally suffer from torque ripple and resonance, typically between 200 and 400 RPM (approx. 1,500 to 3,000 microsteps/sec). If your motor stalls or vibrates loudly at specific speeds, the fix is to either increase the microstepping to 1/32, add a mechanical damper to the shaft, or use software to accelerate quickly through the resonant frequency band.
- Thermal Shutdown: The DRV8825 features internal thermal shutdown at 150°C. If your motor moves a heavy load and stops unexpectedly, touch the driver chip (carefully). If it is burning hot, lower the VREF current limit, attach an aluminum heatsink, and ensure active airflow from a 5V fan.
- Floating Ground Noise: If the motor takes random steps while idle, electromagnetic interference (EMI) is likely triggering the STEP pin. Ensure your step/dir cables are kept away from the 12V motor power lines, and use twisted-pair wiring for signal lines. Adding a 10kΩ pull-down resistor between the STEP pin and GND can also filter out high-frequency noise.
Conclusion
Mastering the GitHub stepper motor angle Arduino workflow requires moving beyond basic blocking code and understanding the intersection of microstepping hardware and non-blocking software architecture. By utilizing the DRV8825 with proper VREF tuning, applying the 8.888 steps-per-degree mathematical constant, and leveraging the AccelStepper repository, you can build automated systems that hit exact angular targets reliably, cycle after cycle.