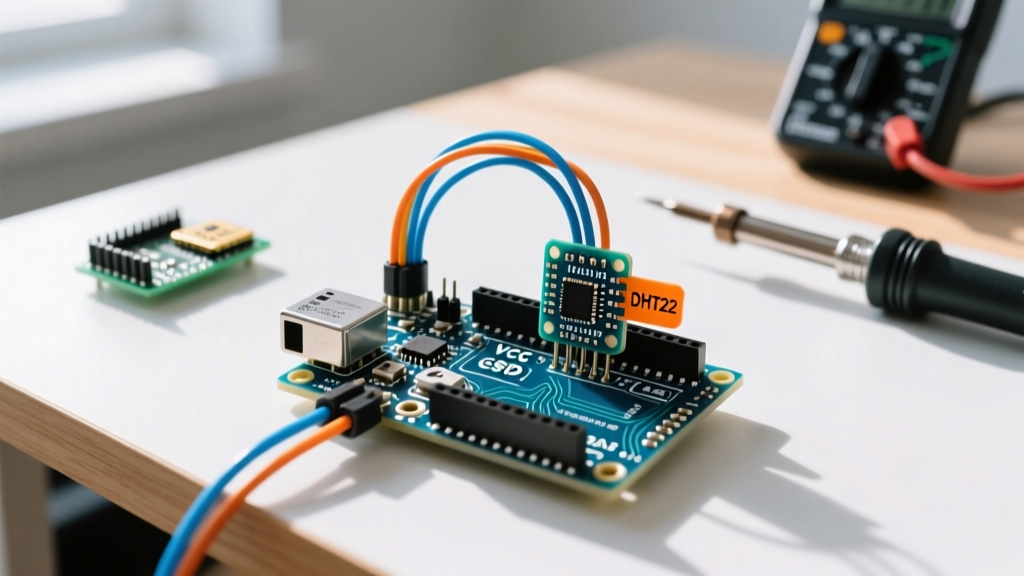

The Reality of Beginner Humidity Sensors
When makers first explore environmental monitoring, the humidity sensor Arduino project is almost always the gateway. It seems simple: wire a cheap blue or white sensor to a digital pin, load a library, and watch Relative Humidity (RH) percentages stream across the Serial Monitor. However, as we move deeper into 2026, the landscape of beginner microcontrollers has shifted. With the widespread adoption of the Arduino Uno R4 (which operates at 3.3V logic compared to the classic 5V Uno R3), interfacing legacy sensors requires a more nuanced understanding of voltage thresholds, pull-up resistors, and parasitic capacitance.
Relative Humidity is a highly temperature-dependent metric. According to the Adafruit DHT sensor guide, a sensor that cannot accurately compensate for thermal drift will yield wildly inaccurate RH data. In this tutorial, we will dissect the ubiquitous DHT11 and DHT22 sensors, expose the hidden hardware traps that cause 'NaN' (Not a Number) errors, and provide a production-grade, non-blocking C++ implementation.
Sensor Showdown: DHT11 vs DHT22 vs SHT31-D
Before wiring anything, you must select the right tool for your environment. The DHT series uses a proprietary single-bus protocol, while modern alternatives use I2C. Here is how the most common beginner sensors compare in real-world scenarios and 2026 market pricing.
| Model | Protocol | RH Accuracy | Temp Range | Polling Rate | Avg. Price (2026) |
|---|---|---|---|---|---|
| DHT11 (Blue) | Single-Bus | ±5% RH | 0 to 50°C | 1 Hz (1s) | $1.50 - $2.50 |
| DHT22 (White / AM2302) | Single-Bus | ±2% RH | -40 to 80°C | 0.5 Hz (2s) | $4.00 - $6.00 |
| SHT31-D (Upgrade) | I2C | ±2% RH | -40 to 125°C | Fast (ms) | $8.50 - $11.00 |
Verdict: The DHT11 is only suitable for basic classroom demonstrations. For any meaningful DIY weather station, greenhouse monitor, or HVAC project, the DHT22 (AM2302) is the minimum viable sensor. If your budget allows, the I2C-based SHT31-D eliminates the single-bus timing headaches entirely.
Wiring the DHT22 to Arduino Uno R3/R4
The DHT22 typically comes in two form factors: a bare 4-pin component or a 3-pin PCB module. We highly recommend the 3-pin PCB module for beginners, as it includes an onboard 10kΩ pull-up resistor and a filtering capacitor.
The Pull-Up Resistor Trap
The single-bus protocol relies on the microcontroller and the sensor pulling the data line LOW, and a pull-up resistor bringing it HIGH. According to Arduino's official digital pins documentation, internal pull-up resistors are typically between 20kΩ and 50kΩ. This is far too weak for the DHT protocol's fast edge transitions.
Expert Warning: If you are using a bare DHT22 sensor without a PCB module, you must solder a 4.7kΩ external resistor between the VCC (Pin 1) and DATA (Pin 2). Relying on the Arduino's internal
INPUT_PULLUPwill result in a 90% failure rate due to signal rise-time degradation.
Step-by-Step Pinout
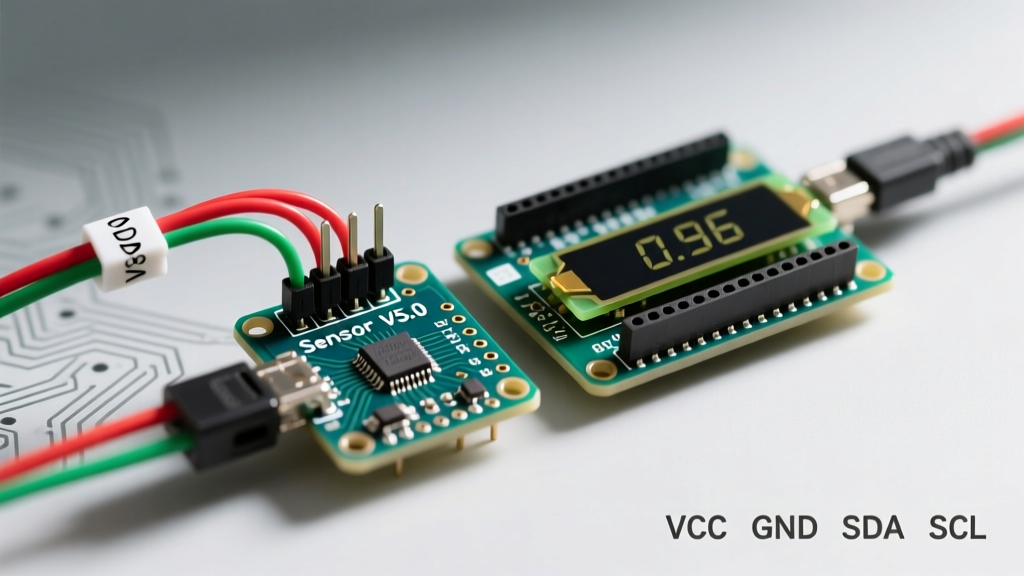
- VCC (Pin 1): Connect to 5V on Uno R3. Note: If using an Uno R4 or ESP32, connect to 3.3V, but ensure your specific DHT22 module supports 3.3V logic thresholds.
- DATA (Pin 2): Connect to Digital Pin 2 on the Arduino.
- NC (Pin 3): Leave unconnected.
- GND (Pin 4): Connect to Arduino GND.
Deep Dive: The Single-Bus Timing Protocol
To truly master the humidity sensor Arduino integration, you must understand how the DHT22 communicates. It is not a standard protocol like I2C or SPI; it is a strict, timing-based handshake.
- Host Start Signal: The Arduino pulls the DATA line LOW for at least 18ms, then HIGH for 20-40µs.
- Sensor Response: The DHT22 detects the start, pulls the line LOW for 80µs, then HIGH for 80µs.
- Data Transmission: The sensor sends 40 bits (16-bit RH, 16-bit Temp, 8-bit Checksum). A '0' bit is represented by 50µs LOW + 26µs HIGH. A '1' bit is 50µs LOW + 70µs HIGH.
Because this relies on microsecond-level timing, any interrupt (like the Arduino's internal Timer0 for millis()) firing during the 40-bit read will corrupt the checksum, resulting in the dreaded NaN error.
Robust C++ Implementation (DHTNEW Library)
While the legacy Adafruit DHT library is popular, it is highly blocking and prone to checksum failures on newer, faster microcontrollers. For 2026 projects, we recommend the DHTNEW library by Rob Tillaart, available via the Arduino Library Manager. It includes automatic checksum retries and interrupt handling.
#include

// Initialize sensor on Digital Pin 2
DHTNEW sensor(2);

unsigned long lastReadTime = 0;
const unsigned long READ_INTERVAL = 2500; // DHT22 needs min 2 seconds

void setup() {
  Serial.begin(115200);
  Serial.println("DHT22 Humidity Sensor Arduino Tutorial");

  // Prevent interrupts from breaking the microsecond timing
  sensor.setDisableIRQ(false);
  // Add an offset if your sensor reads consistently high/low
  sensor.setHumOffset(0.0);
  sensor.setTempOffset(0.0);
}

void loop() {
  // Non-blocking delay using millis()
  if (millis() - lastReadTime >= READ_INTERVAL) {
    lastReadTime = millis();

    int16_t result = sensor.read();

    if (result == DHTLIB_OK) {
      Serial.print("Humidity: ");
      Serial.print(sensor.getHumidity(), 1);
      Serial.print(" % RH | Temp: ");
      Serial.print(sensor.getTemperature(), 1);
      Serial.println(" °C");
    } else {
      Serial.print("Read Error Code: ");
      Serial.println(result);
    }
  }

  // Other non-blocking code can run here
}
Edge Cases: Troubleshooting 'NaN' and Checksum Errors
When your Serial Monitor outputs NaN (Not a Number) or -999, it means the 8-bit checksum sent by the sensor did not match the sum of the RH and Temperature bytes. Here is how to fix the most common physical layer failures:
1. The Wire Capacitance Problem
Standard unshielded breadboard jumper wires act as tiny capacitors. If your DHT22 is located more than 1 meter away from the Arduino, the wire capacitance combined with the 4.7kΩ pull-up resistor creates an RC low-pass filter. This rounds off the sharp digital square waves, causing the Arduino to misread the microsecond bit timings.
The Fix: For runs between 1m and 5m, drop the pull-up resistor to 1kΩ to charge the wire capacitance faster. For runs over 5m, abandon the DHT series and use an RS485 temperature/humidity probe.
2. Power Supply Sag
During the conversion phase, the DHT22 can draw up to 1.5mA. While this sounds small, if you are powering the Arduino via a weak USB port or a 3.3V LDO regulator on a custom PCB, this sudden current spike can cause a localized voltage brownout, resetting the sensor mid-transmission.
The Fix: Ensure a 100nF decoupling capacitor is placed as close to the sensor's VCC and GND pins as possible.
3. Frost and Condensation
The DHT22 uses a polymer capacitor to measure humidity. If the sensor is placed in an environment where the temperature drops below the dew point, liquid water condenses on the sensing membrane. This will peg the reading at 99.9% RH and can permanently degrade the sensor's accuracy until it is baked out at 50°C for several hours.
Upgrading to I2C: The SHT31-D Alternative
If you are building a commercial-grade product or a high-reliability home automation node, the single-bus DHT protocol is a liability. Upgrading to an I2C-based sensor like the Sensirion SHT31-D solves the timing issues entirely. I2C utilizes dedicated clock (SCL) and data (SDA) lines, hardware ACK/NACK acknowledgments, and is immune to the microsecond interrupt vulnerabilities of the DHT series. If you are unfamiliar with the I2C bus architecture, SparkFun's comprehensive I2C tutorial is an excellent prerequisite read.
Summary
Building a reliable humidity sensor Arduino project requires moving beyond simple copy-paste code. By understanding the physical limitations of the DHT22's single-bus protocol, implementing proper pull-up resistors, managing wire capacitance, and utilizing non-blocking libraries like DHTNEW, you can transform a frustrating, error-prone beginner circuit into a robust environmental monitoring tool. Whether you stick with the $4.50 DHT22 or upgrade to an I2C SHT31-D, mastering these hardware-software interactions is what separates novice tinkerers from competent embedded engineers.