
The Hardware Landscape: Legacy vs. Silent Drivers in 2026
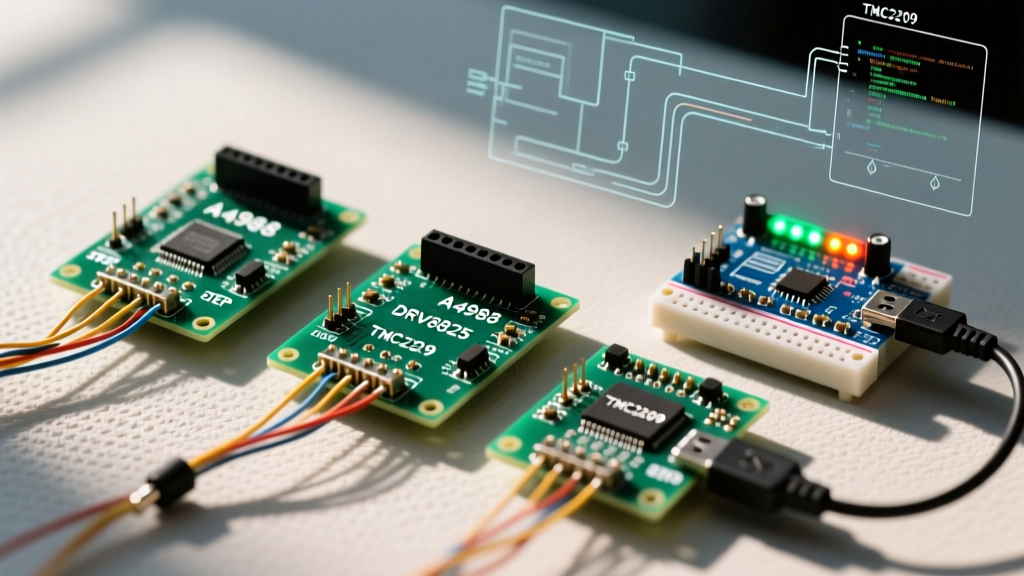
When building CNC routers, 3D printers, or automated camera sliders, the stepper motor driver is the critical bridge between your microcontroller's logic and the physical movement of the motor. While the Arduino stepper driver code for legacy chips like the Allegro A4988 and Texas Instruments DRV8825 relies on simple pulse-and-direction signals, modern Trinamic TMC2209 drivers introduce a paradigm shift: UART serial communication.
As of 2026, the maker and prosumer markets have heavily pivoted toward silent stepper drivers. However, understanding the code differences between these three dominant chips is essential for avoiding missed steps, overheating, and software interrupt conflicts.
Component Comparison Matrix
| Feature | Allegro A4988 | TI DRV8825 | Trinamic TMC2209 |
|---|---|---|---|
| 2026 Avg Price | $1.50 - $2.00 | $2.50 - $3.50 | $5.50 - $8.00 |
| Max Continuous Current | 1.0A (w/o heatsink) | 1.5A (w/o heatsink) | 2.0A (w/o heatsink) |
| Max Microstepping | 1/16 | 1/32 | 1/256 |
| Control Interface | STEP/DIR + Hardware Pins | STEP/DIR + Hardware Pins | STEP/DIR + UART (Optional but recommended) |
| Acoustic Noise | High (Whine) | Medium | Virtually Silent (StealthChop2) |
The Baseline: AccelStepper for A4988 and DRV8825
For the A4988 and DRV8825, the Arduino stepper driver code is entirely dependent on sending precise timing pulses to the STEP pin while setting the DIR pin for rotation. The built-in Arduino Stepper.h library is inadequate for these chips because it blocks the main loop and lacks acceleration profiles. Instead, we use the industry-standard AccelStepper library.
Standard STEP/DIR Implementation
#include <AccelStepper.h>

// Define pins
const int stepPin = 3;
const int dirPin = 4;

// Initialize AccelStepper for a standard driver interface
AccelStepper stepper(AccelStepper::DRIVER, stepPin, dirPin);

void setup() {
  // Set maximum speed and acceleration
  stepper.setMaxSpeed(1000);      // Steps per second
  stepper.setAcceleration(500);   // Steps per second squared

  // Move to a specific position (e.g., 1 full rotation on a 1/16 microstep setup = 3200 steps)
  stepper.moveTo(3200);
}

void loop() {
  // Must be called continuously to generate pulses
  stepper.run();
}
Hardware Pin Mapping vs. Code Abstraction
A critical detail often missed by beginners is that microstepping is configured in hardware, not in the code for these legacy drivers. To set the DRV8825 to 1/32 microstepping, you must wire the MS1, MS2, and MS3 pins to HIGH. The Arduino code remains completely blind to this setting; it simply blindly fires 3200 pulses for what it "thinks" is one revolution. If your hardware jumpers are misconfigured, your physical movement will be drastically out of sync with your code's positional tracking.
Pro-Tip for Current Limiting: Never rely on code to set current limits on an A4988 or DRV8825. You must manually tune the Vref potentiometer. For the DRV8825, the formula is Vref = Imax / 2. For a 1.5A motor, tune the potentiometer until the Vref pin reads 0.75V. Failing to do this will result in melted motor windings or skipped steps due to thermal shutdown.
The Paradigm Shift: TMC2209 and UART Communication
The Trinamic TMC2209 changed the landscape by introducing StealthChop2 (silent operation) and CoolStep (dynamic current scaling). While you can wire a TMC2209 exactly like an A4988 and use the exact same AccelStepper code above, doing so leaves 80% of the chip's capabilities disabled. To unlock silent operation and software-defined current limits, your Arduino stepper driver code must incorporate UART serial communication using the TMCStepper library.
UART Code Implementation
Unlike the simple pulse generation of the A4988, the TMC2209 requires a serial handshake. Below is the code to initialize the TMC2209 via Hardware Serial (strongly recommended over SoftwareSerial to prevent missed steps caused by interrupt blocking).
#include <TMCStepper.h>
#include <AccelStepper.h>

#define STEP_PIN 3
#define DIR_PIN 4
#define SERIAL_PORT Serial1  // Use Hardware Serial (e.g., Mega2560 or ESP32)
#define DRIVER_ADDRESS 0b00  // TMC2209 Driver address (set by MS1/MS2 pins)
#define R_SENSE 0.11f        // Match to your driver board (SilentStepStick uses 0.11)

TMC2209Stepper driver(&SERIAL_PORT, R_SENSE, DRIVER_ADDRESS);
AccelStepper stepper(AccelStepper::DRIVER, STEP_PIN, DIR_PIN);

void setup() {
  SERIAL_PORT.begin(115200); // TMC2209 default baud rate

  // UART Configuration
  driver.begin();
  driver.toff(5);            // Enables driver in software
  driver.rms_current(1200);  // Set motor RMS current (mA) - NO POTENTIOMETER NEEDED!
  driver.microsteps(16);     // Set microstepping via code
  driver.en_spreadCycle(false); // false = StealthChop (Silent), true = SpreadCycle (Fast/Torque)
  driver.pwm_autoscale(true);   // Needed for StealthChop

  // AccelStepper Configuration
  stepper.setMaxSpeed(2000);
  stepper.setAcceleration(1000);
  stepper.moveTo(6400);
}

void loop() {
  stepper.run();
}
Why UART Code is Non-Negotiable for TMC2209
Notice the line driver.rms_current(1200);. This is the ultimate advantage of the TMC2209. You define the exact current limit in milliamps within the code. Furthermore, setting driver.microsteps(16); overrides the physical MS1/MS2 jumper pins. This means your Arduino stepper driver code becomes the single source of truth for motor behavior, eliminating hardware configuration errors.
Real-World Failure Modes & Debugging
When transitioning between these drivers, specific failure modes frequently plague DIY builds. Here is a troubleshooting matrix based on field data from 2026 CNC and robotics builds:
- Missed Steps at High Speeds (TMC2209): StealthChop is incredibly quiet but lacks the high-speed torque of SpreadCycle. Fix: In your code, enable
driver.TPWMTHRS(100);to automatically switch from silent StealthChop to high-torque SpreadCycle once the motor crosses a specific velocity threshold. - SoftwareSerial Stuttering (All Drivers): Using the
SoftwareSeriallibrary on an Arduino Uno to communicate with a TMC2209 disables interrupts while transmitting bytes. This halts the STEP pulses, causing the motor to stall. Fix: Always use Hardware Serial (Serial1,Serial2) on boards like the Mega2560, ESP32, or Raspberry Pi Pico. - Thermal Shutdown (DRV8825): The TI DRV8825 is notorious for aggressive thermal throttling if the Vref is set even 10% too high. Fix: Recalculate Vref using the exact sense resistor value on your specific carrier board (often 0.1Ω or 0.2Ω), and ensure active cooling.
- AccelStepper Position Drift: If your code commands 10,000 steps but the motor only moves 9,950, you are exceeding the torque curve. Fix: Lower
stepper.setAcceleration()in your code to give the motor rotor time to overcome inertia without slipping the magnetic field.
Final Verdict: Which Driver Fits Your Project?
If you are building a high-speed, budget-conscious conveyor belt or a basic educational robot, the A4988 remains a viable, ultra-cheap option. The code is simple, and the hardware requirements are minimal.
If you need slightly higher current (up to 1.5A) without a heatsink and finer 1/32 microstepping, the DRV8825 is the logical step up, utilizing the exact same AccelStepper code base.
However, for any 2026 project where acoustic noise is a factor (camera sliders, desktop 3D printers, indoor robotics), the TMC2209 is the undisputed champion. The slight increase in code complexity—adding the TMCStepper UART initialization—is vastly outweighed by the elimination of hardware tuning, the ability to dynamically adjust current via software, and the近乎 magical silence of StealthChop2.