
The HD44780 Standard: Why It Still Matters in 2026
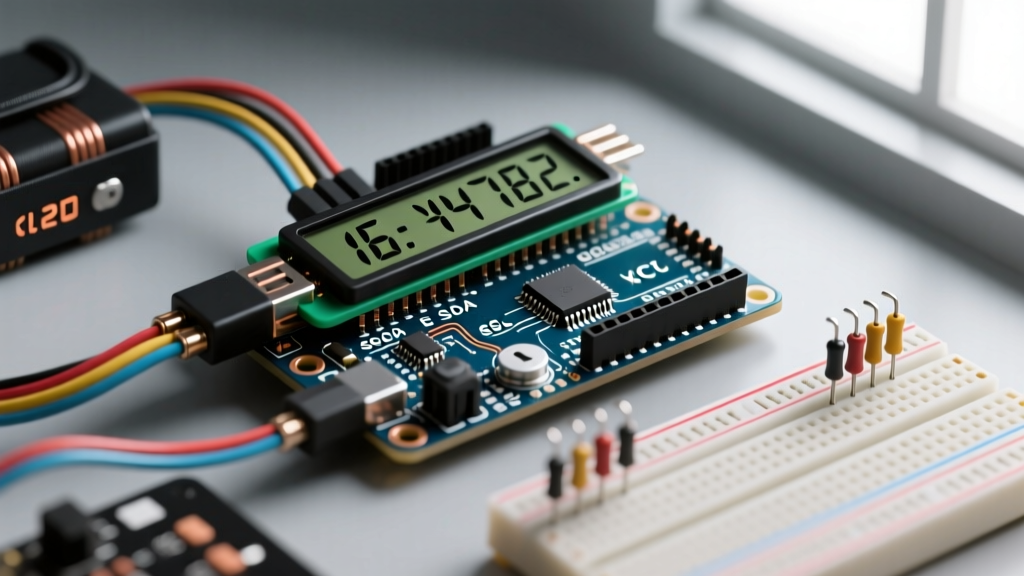
Learning how to connect LCD display to Arduino is a fundamental rite of passage for electronics hobbyists and embedded systems engineers. Despite the proliferation of modern OLEDs and TFT screens, the classic 16x2 character LCD based on the Hitachi HD44780 controller remains a staple in industrial control panels, DIY weather stations, and prototyping labs. In 2026, these modules remain incredibly cost-effective (typically $2.50 to $4.00 USD) and offer unmatched readability in high-ambient light conditions when equipped with an LED backlight.
However, beginners often hit roadblocks regarding pin multiplexing, I2C address conflicts, and contrast voltage thresholds. This comprehensive guide breaks down the two primary methods for interfacing these displays: the modern I2C backpack approach and the traditional 4-bit parallel wiring method. We will cover exact pinouts, hardware requirements, and advanced troubleshooting for edge cases.
Bill of Materials (BOM)
Before wiring, ensure you have the correct components. The table below outlines the standard hardware used in this tutorial, with estimated 2026 market pricing.
| Component | Specification / Model | Est. Cost (USD) |
|---|---|---|
| Microcontroller | Arduino Uno R4 Minima or R3 | $15.00 - $27.50 |
| LCD Module | 16x2 Character LCD (HD44780 compatible, 5V) | $2.50 - $4.00 |
| I2C Backpack | PCF8574T or PCF8574AT (4-pin header) | $1.00 - $1.50 |
| Potentiometer | 10kΩ Linear (B10K) - For parallel mode only | $0.20 |
| Jumper Wires | 22 AWG Dupont Male-to-Female / Male-to-Male | $3.00 / pack |
Method 1: I2C Backpack Interfacing (The Modern Standard)
Wiring a raw LCD requires up to 12 connections, which consumes valuable GPIO pins on your microcontroller. The I2C backpack solves this by utilizing a PCF8574 I/O expander chip, reducing the interface to just four wires: VCC, GND, SDA, and SCL. According to the NXP PCF8574 datasheet, this chip translates I2C serial data into 8-bit parallel outputs to drive the LCD.
I2C Wiring Pinout
Connect the backpack to your Arduino using the following mapping. Note the distinction between the older Uno R3 and the newer Uno R4 architectures regarding I2C bus routing.
- GND: Connect to Arduino GND.
- VCC: Connect to Arduino 5V. Warning: Standard HD44780 modules require 5V. Do not use the 3.3V pin, or the backlight will be dim and the logic may fail.
- SDA: Connect to Arduino A4 (Uno R3) or the dedicated SDA pin on the 8-pin SPI/I2C header (Uno R4 / Mega2560).
- SCL: Connect to Arduino A5 (Uno R3) or the dedicated SCL pin (Uno R4 / Mega2560).
The I2C Address Trap: 0x27 vs 0x3F
The most common failure point when learning how to connect LCD display to Arduino via I2C is an incorrect hexadecimal address. Manufacturers use two variants of the expander chip:
- PCF8574T: Default address is
0x27. - PCF8574AT: Default address is
0x3F.
If your display remains blank but the backlight is on, upload an I2C Scanner sketch (available via the Arduino IDE Wire library examples) to poll the bus and identify the correct address. For deeper bus architecture insights, refer to the official Arduino I2C communication guide.
Method 2: 4-Bit Parallel Wiring (The Traditional Route)
If you do not have an I2C backpack, or if you are operating in an environment with high electromagnetic interference (EMI) where I2C open-drain buses might suffer from noise, direct 4-bit parallel wiring is the fallback. This method uses the LiquidCrystal library natively included in the Arduino IDE.
Parallel Pinout Matrix
| LCD Pin | Function | Arduino Uno Connection |
|---|---|---|
| 1 (VSS) | Ground | GND |
| 2 (VDD) | Power Supply | 5V |
| 3 (V0) | Contrast Adjustment | Wiper of 10kΩ Potentiometer |
| 4 (RS) | Register Select | Digital Pin 12 |
| 5 (RW) | Read/Write | GND (Always Write mode) |
| 6 (E) | Enable / Clock | Digital Pin 11 |
| 11 (D4) | Data Bit 4 | Digital Pin 5 |
| 12 (D5) | Data Bit 5 | Digital Pin 4 |
| 13 (D6) | Data Bit 6 | Digital Pin 3 |
| 14 (D7) | Data Bit 7 | Digital Pin 2 |
| 15 (A) | Backlight Anode | 5V (via 100Ω resistor) |
| 16 (K) | Backlight Cathode | GND |
The Contrast Voltage (V0) Secret
Pin 3 (V0) dictates the liquid crystal bias voltage. The HD44780 requires V0 to be approximately 0.5V to 1.0V above VSS (Ground) for optimal contrast. While a 10kΩ potentiometer is the textbook solution, expert engineers often replace it with a fixed 1kΩ resistor tied between V0 and GND. This provides a permanent ~0.6V drop (assuming a standard backlight current draw), saving space and eliminating the need for manual calibration.
Software Implementation
For I2C connections, you must install the LiquidCrystal_I2C library via the Arduino Library Manager. The LiquidCrystal_I2C reference documentation provides the foundational syntax.
#include <LiquidCrystal_I2C.h>
// Initialize with Address 0x27, 16 columns, 2 rows
LiquidCrystal_I2C lcd(0x27, 16, 2);

void setup() {
  lcd.init();
  lcd.backlight();
  lcd.setCursor(0, 0);
  lcd.print('Electrical Flux');
  lcd.setCursor(0, 1);
  lcd.print('LCD Guide 2026');
}

void loop() {}
For parallel wiring, use the native LiquidCrystal library, initializing with the exact digital pins chosen in the matrix above: LiquidCrystal lcd(12, 11, 5, 4, 3, 2);.
Real-World Troubleshooting & Edge Cases
Even with correct wiring, environmental and hardware variables can cause failures. Use this diagnostic framework to resolve common issues.
1. The "Solid White Boxes" Phenomenon
Symptom: The top row displays solid white (or dark blue) blocks; the bottom row is blank. The backlight is on.
Diagnosis: This is exclusively a contrast voltage issue. The V0 pin is floating or receiving too high a voltage.
Fix: Adjust the potentiometer. If using direct wiring without a pot, connect V0 directly to GND via a 1kΩ or 2.2kΩ resistor.
2. I2C Bus Lockups and Ghosting
Symptom: The LCD works initially, but freezes after several hours, or displays random garbage characters.
Diagnosis: I2C is an open-drain bus requiring pull-up resistors. While most cheap backpacks include 4.7kΩ surface-mount pull-ups, running wires longer than 30cm introduces parasitic capacitance, degrading the SDA/SCL rise times.
Fix: Add external 2.2kΩ pull-up resistors to the 5V rail on both the SDA and SCL lines near the microcontroller. Keep I2C wire runs under 50cm, or use twisted-pair cabling to reject common-mode noise.
3. 3.3V Logic Microcontrollers (ESP32 / Arduino Due)
Symptom: Intermittent data corruption when using a 3.3V MCU with a 5V LCD.
Diagnosis: The HD44780 logic high threshold (VIH) is typically 2.2V minimum when VDD is 5V. A 3.3V MCU output *might* barely trigger it, but noise margins are dangerously low. Furthermore, I2C pull-ups on a 5V bus will feed 5V back into 3.3V MCU pins, risking silicon damage.
Fix: Use a bidirectional logic level shifter (like the BSS138 MOSFET circuit) for the I2C lines, and power the LCD VDD with 5V. Alternatively, purchase specialized 3.3V HD44780 modules, though these are rare and more expensive.
Frequently Asked Questions
Can I connect multiple 16x2 LCDs to one Arduino?
Yes. For I2C, you can alter the address of each backpack by soldering closed the A0, A1, and A2 jumper pads on the PCF8574 board, allowing up to 8 unique addresses on the same bus. For parallel mode, you can wire the data pins (D4-D7) and Enable pins in parallel, but use a separate RS (Register Select) pin for each LCD to write to them independently.
Why does my LCD backlight flicker when motors turn on?
Standard LED backlights draw between 80mA and 150mA. If you are powering the LCD and a DC motor from the same 5V Arduino rail, voltage sag will cause flickering. Always power motors from a separate buck converter or battery pack, sharing only the GND reference with the Arduino and LCD.
Is it possible to use custom characters on the HD44780?
Absolutely. The controller features a Custom Character Generator RAM (CGRAM) that stores up to eight 5x8 pixel custom symbols. You can define byte arrays in your Arduino sketch and push them to memory addresses 0-7 using the lcd.createChar() function, which is highly useful for rendering custom battery icons or progress bars.