
The Reality of Out-of-the-Box PIR Sensors in 2026
While mmWave radar modules like the HLK-LD2410 have surged in popularity for presence detection, Passive Infrared (PIR) sensors remain the undisputed kings of ultra-low-power, battery-operated Arduino nodes. However, any engineer who has deployed a standard HC-SR501 or AM312 module in the field knows the frustration of 'ghost triggers.' In 2026, with global supply chains utilizing various BISS0001 clone ICs that exhibit wider manufacturing tolerances, factory-default calibration is virtually non-existent. To build a reliable security node or automated lighting system, you must manually calibrate your PIR detector Arduino setup.
This guide bypasses basic wiring tutorials and dives deep into the hardware tuning, optical masking, and software debouncing required to achieve zero false positives and maximum thermal sensitivity.
The Physics of False Triggers: Why Calibration Matters
PIR sensors do not 'see' motion; they detect rapid changes in infrared radiation (typically peaking at the 9.4µm wavelength emitted by the human body) across a grid of pyroelectric elements. False triggers usually stem from three distinct failure modes:
- Thermal Drift: As ambient temperatures approach human body temperature (approx. 37°C / 98.6°F), the delta-T shrinks, causing missed detections or erratic latching.
- RF Rectification: The high-gain operational amplifiers inside the BISS0001 IC can accidentally act as RF envelope detectors, interpreting 2.4GHz Wi-Fi or Bluetooth bursts from nearby ESP32s as IR spikes.
- Optical Noise: Uncalibrated Fresnel lenses allow distant HVAC vents or sunlight shifts to cross multiple sensor zones simultaneously, mimicking human motion.
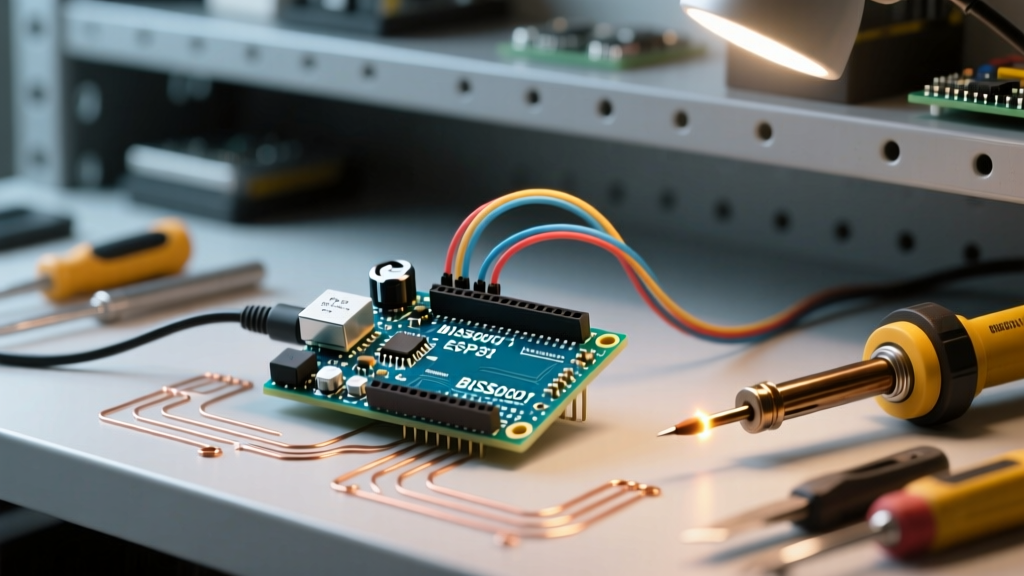
Hardware Calibration: Tuning the BISS0001 IC
The ubiquitous HC-SR501 relies on the BISS0001 signal conditioning chip. Beneath the white dome, you will find two trimpots and a jumper. Here is how to calibrate them for precision applications.
1. Sensitivity (Sx) and Time Delay (Tx)
Out of the box, these potentiometers are often set to mid-range. For a controlled indoor environment, you must map their physical rotation to actual distances and timings.
- Time Delay (Tx): Turning the pot fully counter-clockwise yields the minimum delay of roughly 0.3 seconds. Clockwise pushes it to ~200 seconds. Pro Tip: For Arduino-driven logic, set the hardware delay to the absolute minimum (0.3s) and handle all extended timing logic in your microcontroller code. This prevents the sensor from locking the Arduino into a prolonged HIGH state.
- Sensitivity (Sx): Counter-clockwise reduces the detection range to ~3 meters; clockwise extends it to ~7 meters. If your Arduino node is mounted in a small room, maxing out the sensitivity will cause the sensor to trigger off heat sources through drywall. Dial it back until the trigger zone matches your physical room boundaries.
2. Trigger Mode Selection
The jumper on the HC-SR501 selects between 'L' (Non-repeatable) and 'H' (Repeatable) modes. Always use H mode for Arduino integration. In H mode, the output stays HIGH as long as motion is continuously detected, allowing your microcontroller to track sustained occupancy rather than just isolated events.
Component Comparison Matrix
Not all PIR modules are created equal. Depending on your power budget and spatial constraints, you may need to pivot from the classic HC-SR501. Below is a comparison of the most common modules used in Arduino ecosystems today.
| Module | IC / Core | Quiescent Current | Calibration Method | Approx. Price (2026) |
|---|---|---|---|---|
| HC-SR501 | BISS0001 | ~50µA | Manual Trimpots (Sx/Tx) | $1.50 - $2.20 |
| AM312 | Integrated SoC | ~12µA | Fixed (Hardware tuned) | $2.50 - $3.50 |
| RCWL-0516 | Microwave Radar | ~3mA | Resistor/Capacitor mods | $1.80 - $2.50 |
Note: If you are building a battery-powered node using an Arduino Nano ESP32 or a Nordic nRF52840, the AM312 is highly recommended due to its fixed, factory-optimized lens and significantly lower quiescent current, though it lacks the manual tuning range of the HC-SR501.
Optical Masking and Fresnel Lens Calibration
The white polyethylene dome is a multi-faceted Fresnel lens that focuses IR energy onto the pyroelectric sensor's two slots. If your Arduino is triggering when the sun hits the floor, or when an AC unit cycles on, you need to optically mask the lens.
Field Technique: Use opaque electrical tape or heat-shrink tubing to cover specific facets of the Fresnel lens. If a sensor is mounted in a corner and you want to ignore a nearby window, tape over the lower-left facets of the dome. This physically blocks IR energy from that vector from reaching the sensor grid, creating a custom 'blind spot' without altering the electronic sensitivity.
For deeper technical insights into how these lenses map detection zones, refer to the Adafruit PIR Sensor Guide, which details the internal dual-element slot geometry.
Software Debouncing: Eliminating RF Ghost Triggers
Even with perfect hardware calibration, environmental RF noise can induce microsecond voltage spikes on the BISS0001 output pin. A naive Arduino sketch using digitalRead() inside a simple loop will interpret these spikes as human motion.
To solve this, implement a non-blocking software debounce using millis(). Human motion takes time to cross the sensor grid (typically >100ms). RF noise spikes last <5ms.
The 100ms State-Machine Filter
Instead of relying on hardware interrupts which might catch the noise spike, poll the pin at a high frequency and require the signal to remain stable for a set threshold.
const int pirPin = 2;
unsigned long lastTriggerTime = 0;
const unsigned long debounceDelay = 150; // 150ms filter
bool motionConfirmed = false;

void setup() {
  pinMode(pirPin, INPUT);
  Serial.begin(115200);
  // Allow sensor thermal stabilization
  delay(30000);
}

void loop() {
  int currentState = digitalRead(pirPin);

  if (currentState == HIGH) {
    if (millis() - lastTriggerTime > debounceDelay) {
      if (!motionConfirmed) {
        Serial.println("Valid Motion Detected");
        motionConfirmed = true;
      }
    }
    lastTriggerTime = millis();
  } else {
    motionConfirmed = false;
  }
}
This logic ensures that the Arduino only registers an event if the PIR output stays HIGH for at least 150 continuous milliseconds, effectively filtering out Wi-Fi induced ghost triggers. For more on timing functions, consult the official Arduino millis() documentation.
Advanced Troubleshooting Matrix
When your PIR detector Arduino circuit fails in the field, use this diagnostic matrix to identify the root cause rapidly.
| Symptom | Probable Root Cause | Engineering Fix |
|---|---|---|
| Output stays HIGH permanently | Sensor locked in thermal runaway or Tx pot set to max. | Power cycle the module. Turn Tx pot fully CCW. Ensure VCC is exactly 5V (not 3.3V). |
| Random triggers every 3-5 mins | 2.4GHz RF interference from ESP32/Wi-Fi router. | Solder a 0.1µF X7R ceramic capacitor directly across the sensor's VCC and GND pins. Shield IC with copper tape. |
| Fails to trigger in summer | Ambient temp > 32°C reduces Delta-T. | Increase Sx sensitivity. Relocate sensor away from direct sunlight. Consider adding an mmWave fallback. |
| Triggers on boot, then dies | Arduino querying pin during BISS0001 30s initialization. | Add a 30-second blocking delay() in setup() to allow the internal op-amps to stabilize bias voltages. |
Final Calibration Checklist
Before sealing your Arduino project in an enclosure, run through this final validation sequence:
- Thermal Soak: Power the sensor and wait a full 60 seconds. The BISS0001 requires time to adapt to the ambient IR baseline of the room.
- The 'Walk Test': Walk across the sensor's field of view at a normal pace (1 meter per second). Note the exact distance where the Arduino registers the HIGH signal.
- The 'Pet/Heat Test': Turn on a space heater or hair dryer at the edge of the detection zone. If the sensor triggers, dial back the Sx potentiometer by 10% and apply optical tape to the lower lens facets.
- RF Stress Test: Place an actively transmitting Wi-Fi router or ESP32 within 12 inches of the PIR module. Monitor the Arduino serial output for 5 minutes. If ghost triggers appear, apply the 0.1µF decoupling capacitor.
By treating the PIR module not as a plug-and-play toy, but as an analog optical instrument requiring precise tuning, your Arduino motion-tracking projects will achieve commercial-grade reliability. For further reading on sensor integration and enclosure design, the SparkFun PIR Hookup Guide provides excellent supplemental wiring diagrams for 3.3V logic level shifting.