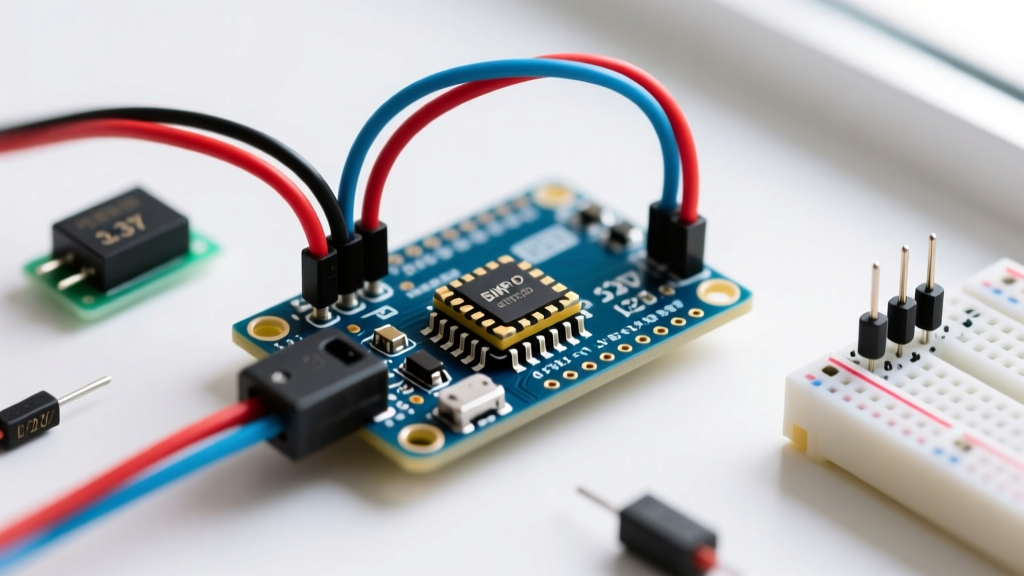

Why the BMP280 Remains the Standard for Barometric Projects
Integrating a pressure sensor Arduino setup is a foundational skill for weather stations, drone altimeters, and indoor navigation systems. Despite the release of newer iterations like the BMP390, the Bosch BMP280 remains the undisputed workhorse for hobbyist and prosumer electronics in 2026. Priced between $2.50 for generic GY-BMP280 clones and $9.95 for premium Adafruit STEMMA QT breakouts, it offers an unmatched balance of cost, low power consumption (2.7 µA at 1 Hz), and high-resolution pressure sensing (0.16 Pa RMS noise in ultra-high-resolution mode).
However, simply plugging the module into a breadboard often leads to silent failures, erratic readings, or permanently damaged silicon. This comprehensive integration guide bypasses generic overviews to deliver exact wiring schematics, logic-level edge cases, and optimized C++ configuration for the Arduino Uno R4 and Nano ecosystems.
Sensor Generational Comparison: BMP180 vs BMP280 vs BMP390
Before soldering, it is critical to verify your exact sensor silicon. The market is flooded with mislabeled breakout boards. According to the official Bosch Sensortec documentation, the architectural differences drastically affect your code and hardware design.
| Feature | BMP180 (Legacy) | BMP280 (Standard) | BMP390 (2026 High-End) |
|---|---|---|---|
| Interface | I2C Only | I2C & SPI | I2C & SPI |
| Absolute Accuracy | ±1.0 hPa | ±1.0 hPa | ±0.5 hPa |
| RMS Noise (Pressure) | 0.06 hPa | 0.0016 hPa (0.16 Pa) | 0.0002 hPa (0.02 Pa) |
| Typical Cost (2026) | $1.50 (Obsolete) | $2.50 - $9.95 | $5.00 - $14.95 |
Recommendation: Use the BMP280 for general weather tracking and indoor floor-level detection. Upgrade to the BMP390 only if you are building FPV racing drone variometers or high-altitude rocketry payloads where sub-meter altitude resolution is mandatory.
Hardware Wiring: I2C Pinout and Power Delivery
The most common point of failure in a pressure sensor Arduino project is improper voltage handling. The Bosch BMP280 silicon operates strictly at 1.71V to 3.6V. Feeding 5V directly to the sensor pins will instantly destroy the internal ADC.
The 3.3V vs 5V Breakout Trap
Most generic 'GY-BMP280' boards sold online feature 6 pins: GND, VCC, SCL, SDA, CSB, SDO. Unlike premium boards from Adafruit or SparkFun, cheap clones often lack an onboard 3.3V LDO voltage regulator and logic level shifters.
⚠ Critical Warning: If your clone board does not have a visible 3-pin LDO chip (like the HT7133) and a BSS138 MOSFET near the sensor, you must power it from the Arduino's 3.3V pin and use a bidirectional logic level shifter for the I2C lines. Alternatively, use an Arduino Uno R4 Minima and configure it for native 3.3V I2C operation.
I2C Wiring Matrix (Arduino Uno R4 / Nano)
| BMP280 Breakout Pin | Arduino 5V Pin (With LDO Board) | Arduino 3.3V Pin (Bare Clone) | Function |
|---|---|---|---|
| VIN / VCC | 5V | 3.3V | Power Supply |
| GND | GND | GND | Common Ground |
| SCL | A5 (via Level Shifter) | A5 (Direct) | I2C Clock |
| SDA | A4 (via Level Shifter) | A4 (Direct) | I2C Data |
| SDO | GND (Addr 0x76) | GND (Addr 0x76) | Address Select |
| CSB | VCC (Tie High) | VCC (Tie High) | Forces I2C Mode |
Pull-up Resistors: Premium boards include 4.7kΩ pull-up resistors on SDA and SCL. If you are using a bare sensor IC on a custom PCB, you must add 4.7kΩ resistors tied to the VCC rail to ensure clean I2C square waves, as detailed in the Arduino Wire Library reference.
Arduino Code: Optimizing Oversampling and IIR Filters
Raw pressure data is inherently noisy due to thermal fluctuations and acoustic vibrations. The Adafruit BMP280 Learning System recommends specific oversampling ratios to balance noise reduction with power draw.
Below is the optimized C++ implementation using the Adafruit BMP280 library. Notice the deliberate asymmetry in oversampling settings.
#include <Wire.h>
#include <Adafruit_BMP280.h>

Adafruit_BMP280 bmp;

void setup() {
  Serial.begin(115200);

  // Initialize with specific I2C address (0x76 for most clones)
  if (!bmp.begin(0x76)) {
    Serial.println(F("Could not find a valid BMP280 sensor, check wiring!"));
    while (1) delay(10);
  }

  /* Configure the sensor for 'Weather Monitoring' profile */
  // Pressure x16: High resolution, reduces RMS noise to 0.16 Pa
  bmp.setSampling(Adafruit_BMP280::MODE_FORCED,
                  Adafruit_BMP280::SAMPLING_X1,  // Temperature x1
                  Adafruit_BMP280::SAMPLING_X16, // Pressure x16
                  Adafruit_BMP280::FILTER_X16,   // IIR Filter Coefficient
                  Adafruit_BMP280::STANDBY_MS_500);
}

void loop() {
  // Must call takeForcedMeasurement() in MODE_FORCED
  bmp.takeForcedMeasurement();

  Serial.print(F("Temperature = "));
  Serial.print(bmp.readTemperature());
  Serial.println(F(" *C"));

  Serial.print(F("Pressure = "));
  Serial.print(bmp.readPressure());
  Serial.println(F(" Pa"));

  Serial.print(F("Approx Altitude = "));
  Serial.print(bmp.readAltitude(1013.25)); // Sea level hPa
  Serial.println(F(" m"));

  delay(2000);
}
Understanding the Configuration Parameters
- Temperature Oversampling (x1): Why only x1? The BMP280 uses internal temperature to compensate the pressure reading. However, running the temperature ADC multiple times generates self-heating inside the silicon package. This artificial heat skews the pressure compensation math. Sampling temperature once (x1) prevents this thermal drift.
- Pressure Oversampling (x16): Maximizes the 20-bit ADC resolution, essential for detecting altitude changes as small as 10-20 centimeters.
- IIR Filter (x16): The sensor features an internal Infinite Impulse Response filter. Setting it to 16 smooths out sudden spikes caused by closing a door in the room or wind gusts hitting your enclosure.
- MODE_FORCED: The sensor sleeps between readings, dropping current consumption to nano-amps, making it ideal for battery-powered 2026 IoT nodes.
Calculating Altitude: The Barometric Formula
The bmp.readAltitude(1013.25) function relies on the international barometric formula. It assumes standard sea-level pressure is exactly 1013.25 hPa. In reality, sea-level pressure fluctuates daily between 980 hPa and 1040 hPa due to weather systems.
Pro-Tip for Fixed Installations: If your Arduino project is a stationary weather station, hardcoding 1013.25 will result in altitude errors of up to 300 meters. Instead, fetch your local airport's current METAR QNH (altimeter setting) via an ESP32 WiFi module and pass that dynamic value into the altitude function. For relative altitude tracking (e.g., a stair-climbing robot), call bmp.readAltitude(1013.25) once in setup(), store it as baselineAltitude, and subtract it from all subsequent loop readings.
Real-World Troubleshooting and Failure Modes
Even with perfect wiring, environmental factors can corrupt your data. Use this diagnostic matrix to resolve edge cases.
- Symptom: Sensor fails to initialize (I2C Scanner finds nothing).
Cause: Incorrect I2C address or missing pull-ups.
Fix: Run an I2C scanner sketch. If the sensor responds at0x77instead of0x76, the SDO pin is floating high. Tie SDO explicitly to GND. If no address appears, check continuity on your 3.3V LDO. - Symptom: Temperature reads 2-3°C higher than ambient.
Cause: Thermal coupling to the microcontroller.
Fix: The Arduino's voltage regulator and main MCU generate significant heat. If the BMP280 is mounted on a custom PCB, place it at least 20mm away from any heat-generating ICs and add thermal relief slots (milled cutouts) in the PCB copper beneath the sensor. - Symptom: Pressure readings drift over 48 hours.
Cause: Moisture ingress or soldering flux residue.
Fix: The BMP280's pressure port is a tiny hole on the top of the IC. If water-based flux or conformal coating blocks this hole, the internal vacuum reference is compromised, leading to massive drift. Clean with high-purity isopropyl alcohol and never spray conformal coating directly over the sensor port. - Symptom: Sudden spikes when a motor turns on.
Cause: EMI injection into high-impedance I2C lines.
Fix: Keep I2C traces under 30cm. If routing near brushless ESCs or stepper drivers, use shielded twisted-pair cable for the I2C bus and ground the shield at the Arduino side only.
Final Integration Checklist
Before deploying your pressure sensor Arduino project into the field, verify your logic levels with a multimeter, confirm the IIR filter is active in your code, and calibrate your baseline altitude against a known topographical map or local meteorological data. By respecting the 3.3V limitations and leveraging the sensor's internal DSP filters, the BMP280 will deliver laboratory-grade barometric data for your 2026 embedded applications.


