
Why PWM is the Backbone of Sensor Integration
In the global maker and engineering community, the search for pwm en arduino represents one of the most common hurdles in embedded systems design. Pulse Width Modulation (PWM) is not merely a method for dimming LEDs; it is the critical bridge between digital microcontrollers and the analog physical world. Whether you are reading a PWM-output anemometer, decoding a PC fan tachometer signal, or driving a proportional valve based on thermistor feedback, mastering PWM is non-negotiable for robust sensor integration.
This guide bypasses the basic "blink an LED" tutorials. Instead, we dive deep into the hardware realities of modern microcontrollers, closed-loop sensor actuation, edge-case timer conflicts, and analog signal reconstruction. As of 2026, the landscape of development boards has shifted dramatically, and relying on legacy ATmega328P assumptions will lead to silent failures in modern architectures.
Modern Microcontroller PWM Capabilities (2026 Landscape)
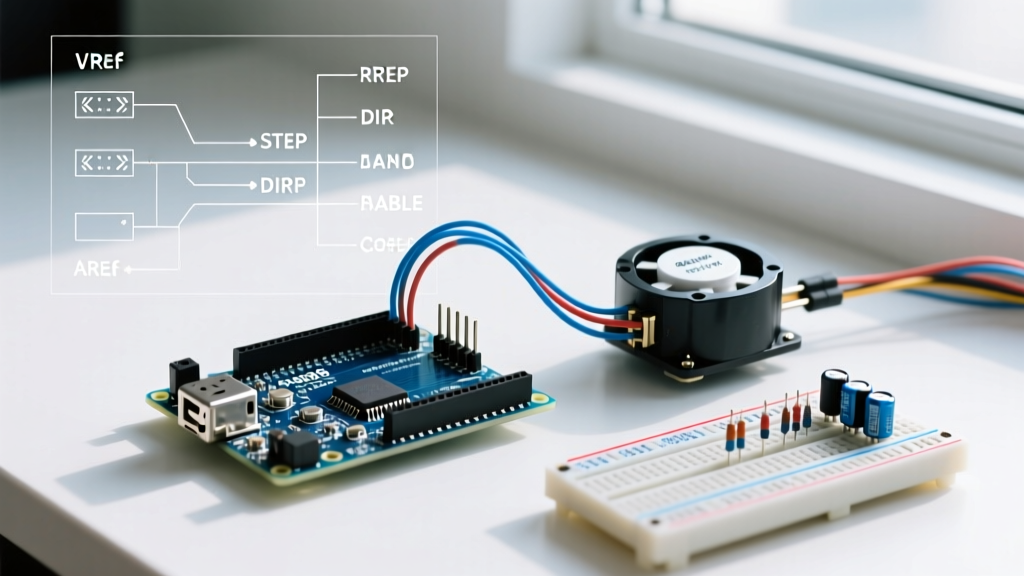
Historically, developers relied on the classic Arduino Uno R3. However, supply chain shifts and the demand for higher-resolution sensor integration have made the Arduino Uno R4 Minima and the Arduino Nano ESP32 the new standards for professional prototyping. Understanding their specific PWM architectures is vital when interfacing with high-frequency sensors or precision motor drivers.
| Board Model | Core MCU | PWM Resolution | Default Frequency | Approx. Price (2026) |
|---|---|---|---|---|
| Uno R3 (Legacy) | ATmega328P | 8-bit (0-255) | 490 Hz (Pins 5,6: 980 Hz) | $15 (Clone) / $27 (Official) |
| Uno R4 Minima | Renesas RA4M1 (Arm Cortex-M4) | Up to 14-bit | Configurable (Default 490 Hz) | $22.00 |
| Nano ESP32 | ESP32-S3 (Dual-core) | Up to 14-bit | Configurable via LEDC API | $24.00 |
When integrating sensors that require high-frequency PWM to avoid audible noise in motor coils (typically >20 kHz), the Renesas RA4M1 on the Uno R4 allows you to reconfigure the General PWM Timer (GPT) peripherals. According to the Arduino analogWrite() Reference, while the standard API defaults to 8-bit resolution, utilizing board-specific core libraries unlocks the 12-bit to 14-bit DAC-like resolution required for precision analog sensor simulation.
Reading PWM-Output Sensors: The pulseIn() Method
Many industrial and automotive sensors do not output I2C or SPI data; instead, they encode their readings into a PWM duty cycle. For example, a digital flow sensor might output a 500 Hz square wave where a 10% duty cycle equals 0 L/min and a 90% duty cycle equals 50 L/min.
Real-World Implementation and Timeout Edge Cases
To read these sensors, developers use the pulseIn() function. However, a critical failure mode occurs when the sensor disconnects or stalls. If you do not specify a timeout, the microcontroller will halt execution indefinitely waiting for a pulse.
- Standard Usage:
pulseIn(sensorPin, HIGH, 1000000);sets a 1-second timeout (in microseconds). - High-Frequency Edge Case: If you are reading a 25 kHz PWM cooling fan tachometer signal, one full cycle takes only 40 microseconds. Using the default 1-second timeout introduces massive latency in your control loop. You must reduce the timeout to
5000(5 milliseconds) to maintain a responsive closed-loop PID system.
Closed-Loop Actuation: Sensor Feedback to PWM Output
The true power of pwm en arduino workflows emerges in closed-loop systems. Consider a temperature-controlled incubator using a 10K NTC thermistor and a PWM-driven Peltier module. Reading the analog voltage via analogRead() is only step one. Step two is applying a PID (Proportional-Integral-Derivative) algorithm to map the sensor error to a PWM duty cycle.
Pro-Tip for 2026: Avoid writing your own PID math from scratch. The Arduino_PID library by Brett Beauregard remains the industry standard. When tuning the Integral (I) windup for thermal sensors, remember that thermal mass introduces severe phase lag. Clamp your I-term limits to prevent the PWM output from saturating at 255 (100%) and overshooting your target temperature by several degrees.
Hardware Driver Selection
Never drive inductive loads (like Peltiers or solenoids) directly from a microcontroller PWM pin. The ATmega328P can source roughly 20mA per pin; the RA4M1 can source up to 50mA, but both will suffer voltage sag and thermal throttling. Use a logic-level MOSFET (like the IRLZ44N) or a dedicated motor driver like the TB6612FNG, which handles continuous currents up to 1.2A per channel and natively accepts PWM frequencies up to 100 kHz.
Critical Failure Modes: Timer Conflicts and Ground Loops
When integrating multiple peripherals, PWM timer conflicts are the most common source of "ghost bugs" that take hours to diagnose. As detailed in SparkFun's Guide to Pulse Width Modulation, microcontrollers group PWM pins under shared hardware timers.
The Servo.h Hijack (ATmega328P)
On the classic Uno R3, pins 9 and 10 are controlled by Timer 1. The ubiquitous Servo.h library also requires Timer 1 to generate its precise 50 Hz pulses. If you attach a servo and subsequently call analogWrite(9, 128) to control a DC fan, the PWM output will fail silently or behave erratically because the Servo library has overwritten the timer registers. Solution: Move your analogWrite PWM outputs to pins 3, 5, 6, or 11 (Timer 0 and Timer 2), or migrate to the Uno R4, which utilizes independent GPT modules for almost every pin.
Mixed-Signal Ground Loops
When reading sensitive analog sensors (like load cells or pH probes) while simultaneously outputting high-current PWM to a motor, the ground plane can experience millivolt-level fluctuations. This noise couples directly into your ADC readings, causing erratic sensor data. Always use a star-ground topology, keeping the high-current PWM ground return physically separated from the analog sensor ground until they meet at a single point near the power supply.
Converting PWM to Analog Voltage for Sensor Simulation
Sometimes, you need your Arduino to act as a sensor, outputting a smooth 0-5V analog signal to a PLC or an industrial data logger. Since standard Arduinos lack a true DAC (Digital-to-Analog Converter) on most pins, you must filter the PWM signal using an RC (Resistor-Capacitor) low-pass filter.
RC Filter Calculation Matrix
The cutoff frequency ($f_c$) of your filter must be significantly lower than your PWM frequency to eliminate ripple. The formula is $f_c = \frac{1}{2\pi RC}$.
| PWM Frequency | Resistor (R) | Capacitor (C) | Cutoff Freq ($f_c$) | Expected Ripple (5V Logic) |
|---|---|---|---|---|
| 490 Hz (Default) | 10 kΩ | 10 µF | 1.59 Hz | ~15 mV |
| 980 Hz (Pins 5,6) | 10 kΩ | 4.7 µF | 3.38 Hz | ~12 mV |
| 32 kHz (Custom) | 10 kΩ | 0.1 µF | 159 Hz | < 2 mV |
Warning: While an RC filter smooths the voltage, it also limits your bandwidth. If you are simulating a dynamic sensor that changes values rapidly (e.g., an audio waveform or a fast-moving accelerometer), a 10 µF capacitor will cause a sluggish rise time. In these cases, increase the PWM frequency to 32 kHz or 64 kHz (using direct register manipulation or the Uno R4's advanced timer API) and drop the capacitor to 0.1 µF to maintain a fast transient response while keeping ripple below 2 mV.
Optocoupler Isolation for Industrial 24V Sensors
When integrating industrial proximity sensors or encoders that output 24V PWM signals, connecting them directly to a 5V or 3.3V Arduino pin will instantly destroy the microcontroller's GPIO clamping diodes. You must use an optocoupler like the 6N137 or a dedicated level-shifting module. The 6N137 supports data rates up to 10 MBaud, ensuring that high-frequency 24V PWM signals are cleanly translated to 5V logic without introducing the severe propagation delays seen in cheaper alternatives like the PC817.
Summary
Mastering pwm en arduino requires moving beyond simple duty cycle adjustments. By understanding the specific timer architectures of modern boards like the Uno R4 Minima, properly calculating RC filter cutoff frequencies for DAC simulation, and respecting the physical realities of ground loops and optoisolation, you can build sensor integration systems that are robust enough for industrial deployment. Always verify your timer allocations, isolate your high-current grounds, and leverage the higher resolution of 2026's ARM-based microcontrollers to achieve precision control.