
Project Overview: The Portable Air Quality Dashboard
When transitioning from basic LED blinking to building real-world diagnostic tools, integrating an Arduino with OLED display modules is a critical milestone. Unlike character LCDs, OLEDs offer high contrast, wide viewing angles, and the ability to render custom bitmaps and graphs. In this guide, we will build a portable, battery-powered Air Quality and Environmental Dashboard.
This isn't just a theoretical tutorial; we will address the actual hardware quirks, memory bottlenecks, and I2C bus failures that engineers face in the field when pairing microcontrollers with high-density pixel displays. By the end of this guide, you will have a robust, flicker-free environmental monitor capable of running for weeks on a single 18650 Li-ion cell.
Hardware Bill of Materials (2026 Market Pricing)
To ensure this project is reproducible and cost-effective, we are utilizing widely available components. Prices reflect average 2026 market rates from major distributors like Adafruit, DigiKey, and verified Amazon storefronts.
| Component | Model / Specification | Est. Cost | Role in System |
|---|---|---|---|
| Microcontroller | Arduino Nano (ATmega328P, 16MHz) | $11.00 | Core processing and I2C master |
| Display | 0.96" 128x64 I2C OLED (SSD1306) | $4.50 | Visual dashboard output |
| Sensor | BME680 Breakout Board | $8.50 | Temp, Humidity, Pressure, VOC Gas |
| Power | 18650 Battery Shield (3.3V/5V out) | $3.50 | Portable power management |
Total BOM Cost: ~$27.50
The SRAM Bottleneck: Choosing the Right Graphics Library
The most common point of failure when wiring an Arduino with OLED display modules isn't the hardware—it's memory exhaustion. The classic ATmega328P features only 2KB of SRAM. A 128x64 pixel monochrome display requires a frame buffer of 1,024 bytes (128 * 64 / 8). If you use a standard full-frame buffer library, you instantly consume 50% of your available SRAM before writing a single line of application logic.
Adafruit_SSD1306 vs. U8g2
While the Adafruit SSD1306 library is excellent for rapid prototyping, its default full-buffer approach can cause stack collisions when combined with sensor libraries that also require RAM. For production-grade real-world applications, we recommend the U8g2 Library by Olikraus.
Expert Insight: U8g2 supports a 'Page Buffer' mode. Instead of storing the entire 1024-byte frame in RAM, it divides the screen into horizontal pages (usually 8 pixels high), rendering and flushing one page at a time. This reduces the display buffer footprint to roughly 128 bytes, freeing up crucial SRAM for BME680 sensor arrays and WiFi stacks if you later upgrade to an ESP32.
Wiring and the I2C Pull-Up Trap
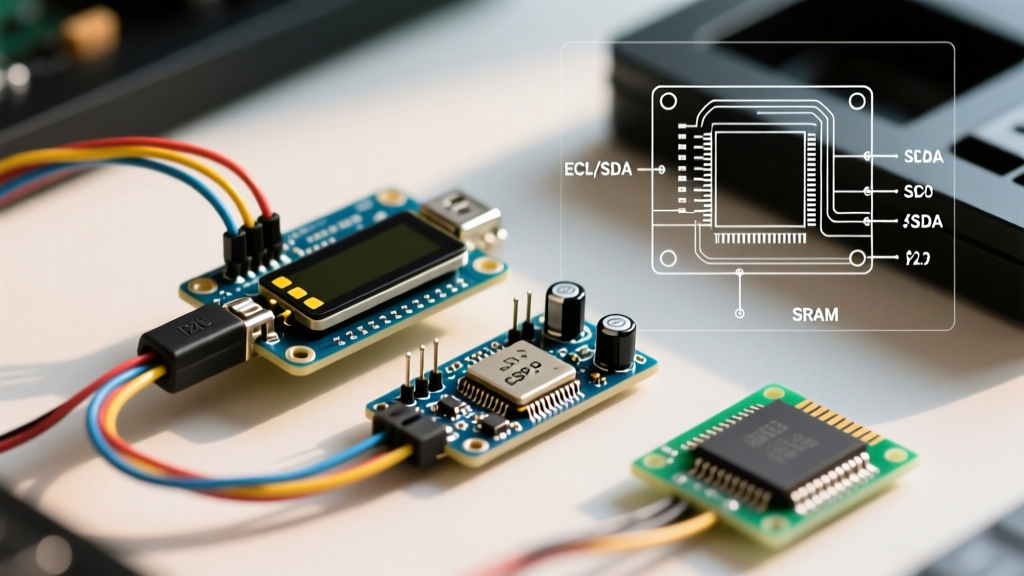
Both the SSD1306 OLED and the BME680 sensor communicate via the I2C protocol. On the Arduino Nano, SDA is on A4 and SCL is on A5. However, simply connecting the pins in parallel often leads to intermittent bus lockups.
The 400pF Capacitance Limit
The I2C specification dictates a maximum bus capacitance of 400pF. Cheap, generic OLED modules from online marketplaces frequently omit the required 4.7kΩ pull-up resistors on the SDA and SCL lines to save manufacturing costs. When you daisy-chain a BME680 sensor onto the same bus, the parasitic capacitance of the wires and traces increases. Without strong pull-ups, the signal rise times degrade, causing the Arduino Wire library to misinterpret bits, resulting in a frozen microcontroller.
- Step 1: Inspect the back of your OLED module. Look for three empty SMD pads labeled R1, R2, or R3. If they are empty, your pull-ups are missing.
- Step 2: Solder two 4.7kΩ through-hole or SMD resistors between the VCC (5V/3.3V) line and the SDA/SCL lines on your breadboard or custom PCB.
- Step 3: Keep I2C wire lengths under 15cm (6 inches) to minimize capacitive load and electromagnetic interference (EMI).
Code Architecture: Preventing Screen Flicker
In environmental monitoring, sensor data fluctuates slightly on every read. If your code clears the screen (u8g2.clearBuffer()) and redraws the entire dashboard every 500ms, the user will experience severe, headache-inducing screen flicker.
To solve this, implement a dirty-rectangle rendering pattern or only update the specific string coordinates that have changed. Furthermore, because the BME680 gas sensor requires a heating period for accurate VOC readings, we decouple the sensor polling rate from the display refresh rate.
// U8g2 Page Buffer Initialization for SSD1306 128x64 I2C
U8G2_SSD1306_128X64_NONAME_1_HW_I2C u8g2(U8G2_R0, U8X8_PIN_NONE);

void loop() {
  // 1. Read Sensors (Non-blocking)
  readBME680Data();

  // 2. Render Page-by-Page to save SRAM
  u8g2.firstPage();
  do {
    drawDashboardUI();
  } while ( u8g2.nextPage() );

  // 3. Deep sleep or delay to save battery
  delay(2000);
}
Real-World Troubleshooting Matrix
When deploying an Arduino with OLED display setups in the field, you will inevitably encounter edge cases. Use this diagnostic matrix to resolve common hardware and software anomalies.
| Symptom | Probable Cause | Engineering Fix |
|---|---|---|
| Display is completely white or shows static noise | Controller mismatch (SH1106 vs SSD1306) | Many 1.3" displays advertise as SSD1306 but use the SH1106 chip. Change your U8g2 constructor to U8G2_SH1106_128X64. |
| I2C Bus hangs randomly after 10-15 minutes | Capacitance overload or missing pull-ups | Add 4.7kΩ pull-up resistors. If the issue persists, lower the I2C clock speed by adding Wire.setClock(10000); in your setup function. |
| OLED displays correct data, but text is cut off on the left | Memory mapping offset | Some cheap 132x64 panels are mapped as 128x64. Use the U8X8_SSD1306_128X64_NONAME variant which includes a 2-pixel hardware offset correction. |
| System resets when OLED turns on | Current spike exceeding USB/Regulator limits | A 128x64 OLED drawing all white pixels can spike to 25mA. Ensure your 3.3V LDO can handle the combined load of the Nano, BME680, and OLED. |
Final Deployment Considerations
When moving this dashboard from a breadboard to a permanent enclosure, consider the OLED's vulnerability to UV degradation and moisture. Standard glass-covered SSD1306 modules are not IP-rated. For outdoor air quality monitoring, you must house the display behind a UV-stable polycarbonate window and use a breathable PTFE membrane vent to allow ambient air to reach the BME680 sensor without letting in humidity or dust.
By mastering the SRAM constraints, respecting I2C electrical limits, and choosing the right rendering library, your Arduino-based OLED projects will transition from fragile prototypes into reliable, real-world diagnostic instruments.