
Bridging the Gap: Hobbyist Modules vs. Industrial Photoelectrics
When beginners search for an Arduino photoelectric sensor, they typically encounter two extremes: fragile $2 IR obstacle avoidance modules that fail in sunlight, or $50 industrial Omron sensors requiring 24V relays and optocouplers. The E18-D80NK sits in the perfect sweet spot for 2026 DIY automation. Priced around $9.50 to $12.00, this 5V-compatible, diffuse-reflective infrared sensor offers an adjustable range of 3 to 80 centimeters. It is the ideal bridge for makers building conveyor belt sorters, robotic limit switches, and automated inventory counters.
E18-D80NK Technical Specifications
Understanding the optical and electrical characteristics of your sensor is critical before writing a single line of code. According to Automation Direct's photoelectric sensing catalog, diffuse-reflective sensors rely on the target object to bounce the light beam back to the receiver. This means highly reflective objects (like white PLA or aluminum) will be detected at further distances than light-absorbing objects (like black rubber).
| Parameter | Specification | Practical Implication |
|---|---|---|
| Operating Voltage | 4.5V - 6V DC | Can be powered directly from the Arduino 5V pin. |
| Detection Range | 3 cm - 80 cm | Adjustable via the rear multi-turn potentiometer. |
| Output Type | NPN Normally Open (NO) | Requires a pull-up resistor; pulls LOW when triggered. |
| Response Time | < 2 ms | Fast enough for high-speed conveyor counting. |
| Current Draw | < 100 mA | Safe for most microcontroller 5V rails. |
Hardware Checklist and 2026 Pricing
- E18-D80NK Sensor: ~$9.50 (Amazon/AliExpress)
- Arduino Uno R4 Minima or R3: ~$25.00 - $27.50
- 10kΩ Resistor (Optional): <$0.10 (Used if avoiding internal pull-ups)
- Jumper Wires (22 AWG): ~$5.00 for a spool
The NPN Open-Collector Output Explained
The most common point of failure for beginners interfacing an Arduino photoelectric sensor is misunderstanding the NPN open-collector output. Unlike standard hobbyist modules that output a clean HIGH (5V) or LOW (0V) signal, the E18-D80NK's black signal wire acts as a switch to ground.
When the infrared beam is unbroken, the internal NPN transistor is OFF. The signal wire is left "floating." If you read a floating pin using standard INPUT mode, ambient electromagnetic interference (EMI) from nearby motors or Wi-Fi routers will cause random, erratic HIGH/LOW triggers. When an object breaks the beam, the transistor turns ON, sinking the current to ground and pulling the signal LOW.
💡 Pro-Tip: To prevent floating pin errors, you must use a pull-up resistor. As detailed in SparkFun's guide on pull-up resistors, you can either wire an external 10kΩ resistor between the signal pin and 5V, or simply enable the Arduino's internal pull-up resistor via software using INPUT_PULLUP.
Step-by-Step Wiring Instructions
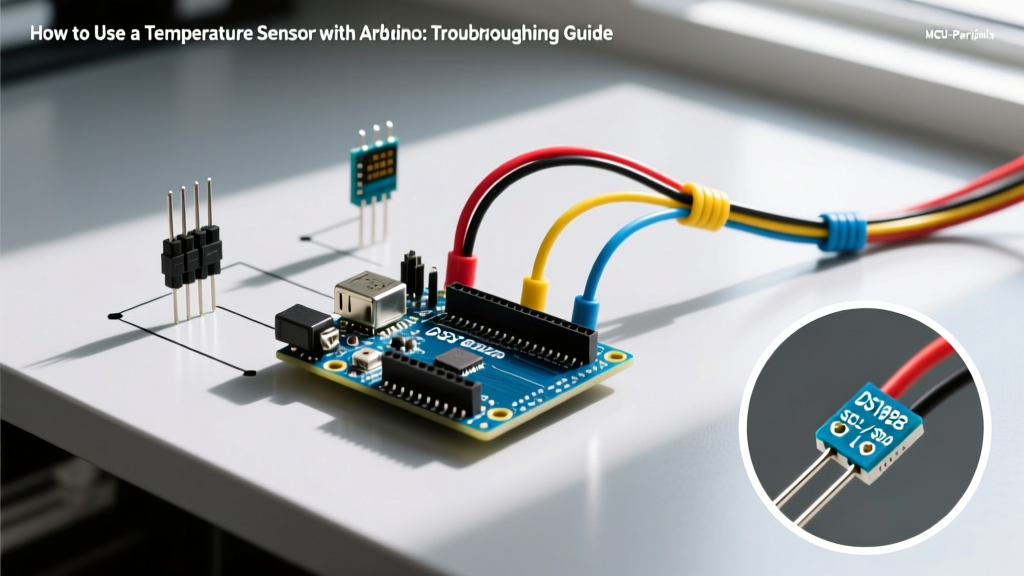
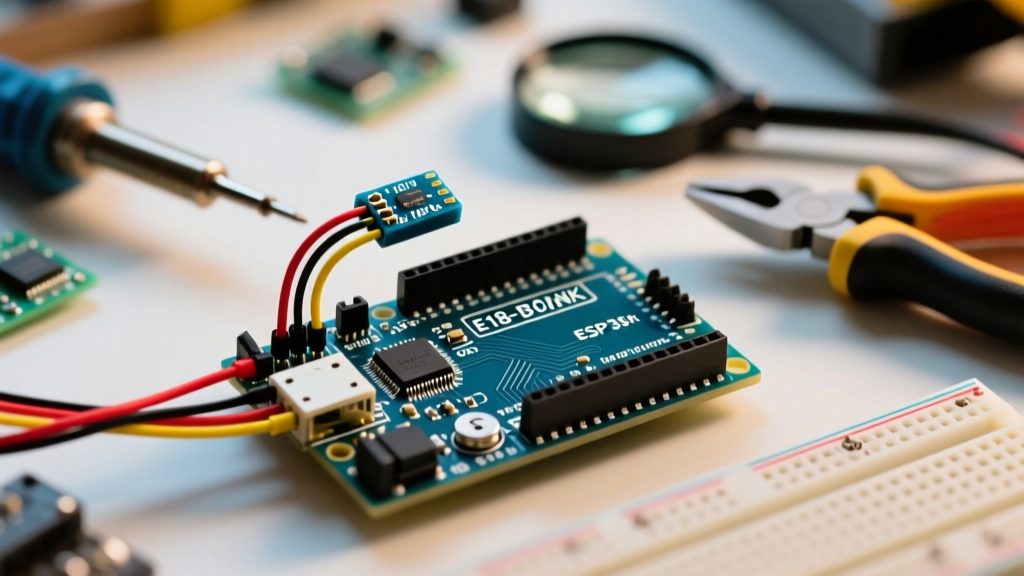
The E18-D80NK features a standard 3-wire pigtail. Strip the ends and connect them to your microcontroller as follows:
- Brown Wire (VCC): Connect to the Arduino 5V pin. (Do not use 3.3V; the IR emitter requires higher voltage to reach 80cm).
- Blue Wire (GND): Connect to the Arduino GND pin.
- Black Wire (OUT): Connect to Arduino Digital Pin 2 (or any digital pin capable of reading interrupts).
Arduino C++ Implementation with Debouncing
Below is the production-ready code for the E18-D80NK. It utilizes the internal pull-up resistor and includes a basic state-change detection to prevent the serial monitor from flooding with repeated messages while an object remains in front of the lens. For deeper pin logic, refer to the official Arduino digitalRead() reference.
const int sensorPin = 2;
int currentSensorState = 0;
int lastSensorState = HIGH; // Starts HIGH because beam is unbroken (pull-up)

void setup() {
  Serial.begin(115200);
  // Enable internal 20k pull-up resistor to prevent floating pin
  pinMode(sensorPin, INPUT_PULLUP);
  Serial.println("E18-D80NK Photoelectric Sensor Initialized.");
}

void loop() {
  // NPN NO outputs LOW when the beam is broken
  currentSensorState = digitalRead(sensorPin);

  // State-change detection (Edge Triggering)
  if (currentSensorState != lastSensorState) {
    if (currentSensorState == LOW) {
      Serial.println("[DETECTED] Beam Broken - Object Present");
    } else {
      Serial.println("[CLEAR] Beam Restored - Object Removed");
    }
    // Basic hardware debounce delay
    delay(50);
  }

  lastSensorState = currentSensorState;
}
Optical Calibration Procedure
Out of the box, the sensor's sensitivity is usually maxed out, meaning it might trigger off your wall from three feet away. To calibrate:
- Remove the small blue plastic cap on the rear of the sensor barrel.
- Insert a small Phillips-head screwdriver into the multi-turn potentiometer.
- Place your target object at the exact distance you want the trigger point to be.
- Turn the screw counter-clockwise slowly until the red LED on the back of the sensor turns off.
- Turn it clockwise very slightly until the LED just flickers on. This sets the precise threshold for your specific material.
Troubleshooting Edge Cases and EMI
Photoelectric sensors are highly reliable, but environmental factors can cause edge-case failures. Use this matrix to diagnose erratic behavior.
| Symptom | Likely Cause | Engineering Fix |
|---|---|---|
| Random triggers when no object is present | Floating signal pin or ambient IR noise | Verify INPUT_PULLUP is active. Shield the sensor from direct sunlight (which contains heavy IR spectrum). |
| Fails to detect black/dark objects | Low diffuse reflectivity | Decrease the distance threshold via the potentiometer, or switch to a retro-reflective sensor with a reflector target. |
| Sensor gets hot and resets Arduino | Overcurrent draw or short circuit | Ensure the Blue (GND) and Brown (VCC) wires are not touching. Measure current draw with a multimeter (should be <100mA). |
| Double-counting fast-moving objects | Software polling delay | Remove the delay(50) and implement hardware interrupts using attachInterrupt() for sub-millisecond accuracy. |
Final Thoughts on Sensor Integration
Mastering the Arduino photoelectric sensor workflow requires moving past simple digital reads and understanding the electrical realities of open-collector outputs. By properly utilizing pull-up resistors and accounting for the optical properties of your target materials, the E18-D80NK provides industrial-grade reliability at a fraction of the cost of legacy automation hardware.