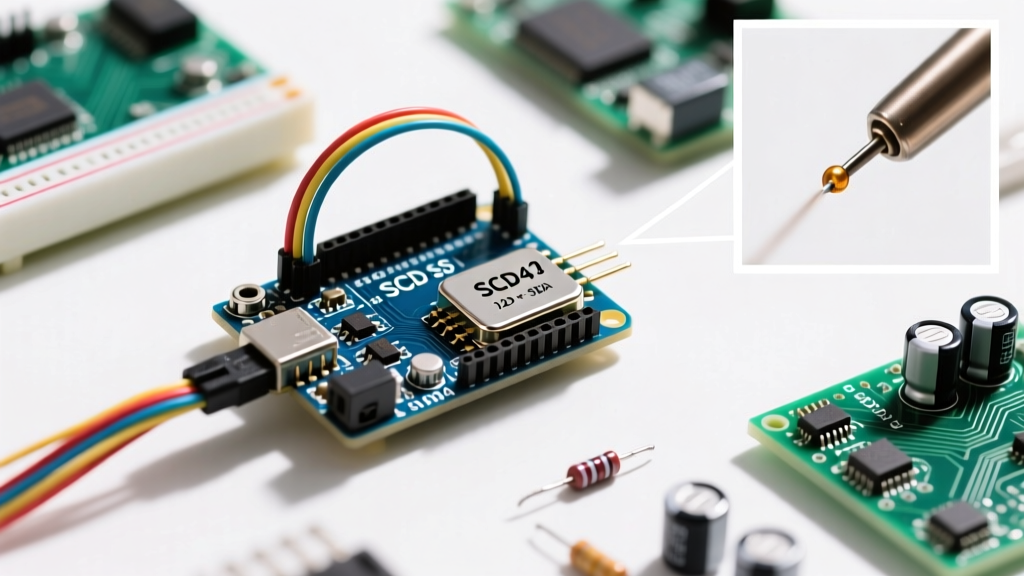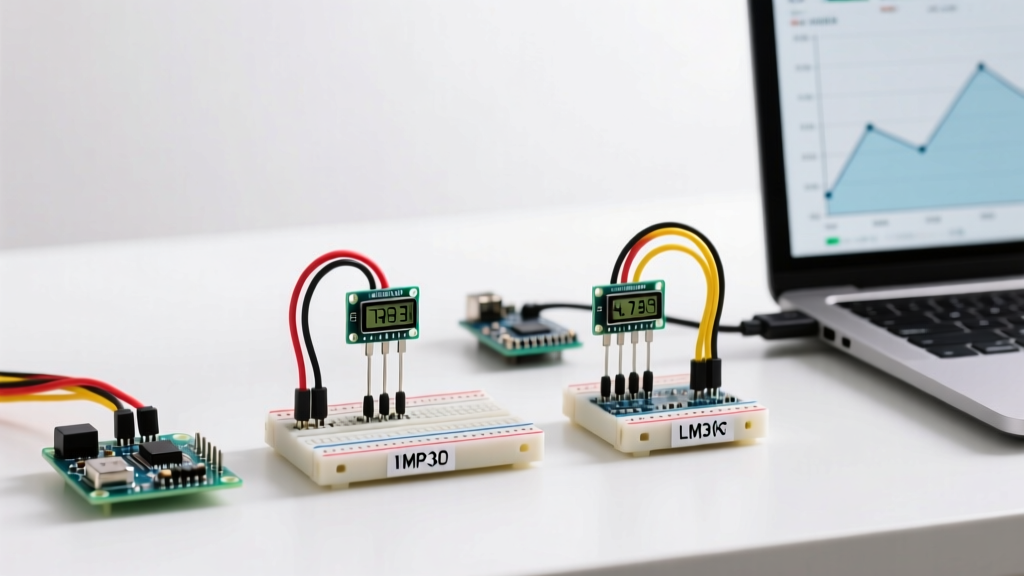

The Legacy of the Arduino TMP36 Temperature Sensor
For over a decade, the Arduino TMP36 temperature sensor has been the default analog thermometer in university labs and hobbyist workbenches. Manufactured by Analog Devices, this low-voltage, precision centigrade sensor outputs a linear voltage directly proportional to Celsius temperature. But as digital alternatives like the DS18B20 dominate the market and supply chain realities shift in 2026, does the analog TMP36 still hold its ground?
In this component comparison, we bypass the basic tutorials and dive deep into the electrical engineering realities of the TMP36. We will compare it directly against the Texas Instruments LM35 and the Maxim/Analog Devices DS18B20, examining ADC noise mitigation, single-supply limitations, thermal mass, and the rampant counterfeit market.
Core Specifications: TMP36 vs LM35 vs DS18B20
Before dissecting the failure modes and edge cases, let us establish the baseline electrical characteristics of these three ubiquitous temperature sensors.
| Feature | TMP36 (Analog Devices) | LM35 (Texas Instruments) | DS18B20 (Maxim/ADI) |
|---|---|---|---|
| Output Type | Analog Voltage (10mV/°C) | Analog Voltage (10mV/°C) | Digital (1-Wire Bus) |
| Zero-Degree Offset | 500mV at 0°C | 0mV at 0°C | N/A (Digital Data) |
| Temperature Range | -40°C to +125°C | -55°C to +150°C | -55°C to +125°C |
| Accuracy (at 25°C) | ±1°C | ±0.5°C | ±0.5°C |
| Supply Voltage | 2.7V to 5.5V | 4V to 30V | 3.0V to 5.5V |
| 2026 Avg. Retail Price | $1.50 - $2.20 | $2.00 - $3.50 | $3.50 - $6.00 (Waterproof) |
The 500mV Offset: Why the TMP36 Beats the LM35 on a Single Rail
The most critical architectural difference between the TMP36 and the Texas Instruments LM35 is the baseline voltage offset. The LM35 outputs exactly 0mV at 0°C. While this makes the math slightly cleaner for positive temperatures, it creates a massive hardware limitation: the LM35 cannot measure sub-zero temperatures on a single positive power supply.
To read negative temperatures with an LM35, you must pull the GND pin up using a resistor network connected to a negative voltage rail, or use a dual-polarity power supply. This is entirely impractical for standard 5V or 3.3V microcontroller setups like the Arduino Uno or ESP32.
The Analog Devices TMP36 solves this elegantly by introducing a 500mV DC offset at 0°C. Because the sensor operates linearly at 10mV/°C, a temperature of -40°C outputs 100mV, and +25°C outputs 750mV. This allows the TMP36 to measure the full -40°C to +125°C range using a single 3.3V or 5V rail, making it vastly superior to the LM35 for battery-powered or standard microcontroller deployments.
Real-World ADC Noise and the Decoupling Fix
The most common complaint regarding the Arduino TMP36 temperature sensor is "jittery" or inaccurate readings. This is rarely a fault of the TMP36 itself; rather, it is a failure in circuit design and power management.
Engineering Insight: The ATmega328P ADC on the Arduino Uno is highly susceptible to USB power ripple and high-frequency digital noise. Because the TMP36 outputs a high-impedance analog signal, long wires act as antennas, coupling EMI directly into your ADC pin.
To achieve the datasheet-specified ±1°C accuracy, you must implement proper hardware decoupling. Do not skip these steps:
- Local Bypass Capacitor: Solder a 0.1µF (100nF) ceramic capacitor directly across the VCC and GND pins of the TMP36. The physical distance between the capacitor and the IC pins must be less than 3mm to minimize trace inductance.
- Signal Line Filtering: If your wire run from the sensor to the Arduino analog pin exceeds 10cm, add a 100Ω series resistor on the Vout line, followed by a 10nF ceramic capacitor to GND at the microcontroller pin. This creates a low-pass RC filter with a cutoff frequency of roughly 160kHz, eliminating high-frequency switching noise without affecting the slow-moving thermal signal.
- Twisted Pair Routing: For runs over 1 meter, use twisted pair shielded cable. Ground the shield at the microcontroller end only to prevent ground loops.
Maximizing Resolution: The 3.3V AREF Trick
By default, the Arduino Uno uses its 5V rail as the Analog Reference (AREF). With a 10-bit ADC, each step represents 4.88mV (5.0V / 1024). Given the TMP36's 10mV/°C scale factor, your temperature resolution is limited to roughly 0.49°C per step.
You can double your resolution by utilizing the 3.3V output pin on the Arduino as an external reference. Connect the 3.3V pin to the AREF pin, and add the following to your setup code:
analogReference(EXTERNAL);This drops the step size to 3.22mV (3.3V / 1024), improving your thermal resolution to 0.32°C per step. Since the TMP36 maxes out at roughly 2.25V at 125°C, it safely fits within the 3.3V AREF ceiling without clipping. Consult the TMP35/TMP36/TMP37 Datasheet PDF for the exact voltage-to-temperature transfer function graphs to verify linear operating regions.
Thermal Mass and Response Time Limitations
Where the digital DS18B20 waterproof probe excels is in liquid or outdoor environments. The standard TMP36 comes in a TO-92 plastic package. Plastic is a thermal insulator, which severely impacts response time.
- Still Air (25°C to 85°C): The TMP36 TO-92 package takes approximately 200 seconds to reach 63% of the final temperature value.
- Stirred Liquid: Response time drops dramatically to roughly 6 seconds.
If you are building a 3D printer enclosure monitor or an ambient room thermostat, the TMP36's slow thermal mass is actually a benefit—it acts as a natural low-pass filter against brief drafts or transient heat spikes. However, if you are measuring rapid fluid temperature changes (like a homebrewing kettle or a cooling loop), the TMP36 in a TO-92 package is the wrong tool. You would need to solder the TMP36 to a flexible PCB and epoxy it to a metal thermal well, or simply switch to a stainless-steel DS18B20 probe.
The 2026 Counterfeit Market: TMP36 vs DS18B20
When sourcing components in 2026, supply chain integrity is a major concern. The DS18B20 market on platforms like AliExpress and Amazon is flooded with sophisticated counterfeits. Fake DS18B20s often contain a cheap thermistor and a microcontroller programmed to emulate the 1-Wire protocol. These fakes fail unpredictably when using parasitic power mode and often crash the Arduino's bus timing.
Conversely, the TMP36 is an analog linear IC. It is significantly harder and less profitable for bad actors to fabricate a fake analog silicon die that perfectly mimics the 10mV/°C slope and the exact 500mV offset. While mislabeled parts (e.g., selling an LM35 as a TMP36) do occur, they are easily caught during bench testing: if your sensor reads exactly -50°C at room temperature, you have been sold an LM35 missing the 500mV offset. This makes the TMP36 a safer, more reliable procurement choice for high-volume or mission-critical educational kits.
Final Verdict: Which Sensor Should You Choose?
Choose the TMP36 If:
- You need to measure sub-zero temperatures on a single 3.3V or 5V supply without complex dual-rail circuitry.
- You are designing a high-volume, low-cost product where a $1.50 analog IC is preferable to a $4.00 digital sensor.
- You want to avoid the software overhead and strict timing requirements of the 1-Wire protocol, preferring a simple `analogRead()`.
Choose the DS18B20 If:
- You need to run cables over long distances (1-Wire is highly robust over 50+ meters; analog voltage drops and noise ruin TMP36 signals over 2 meters).
- You require multiple sensors on a single microcontroller pin without using an analog multiplexer.
- You are measuring liquids and require a pre-packaged, sealed stainless-steel probe.
The Arduino TMP36 temperature sensor remains a highly capable, electrically elegant component. By respecting its analog nature—implementing proper RC filtering, utilizing external AREF, and understanding its thermal mass—you can extract professional-grade data from this legacy silicon.