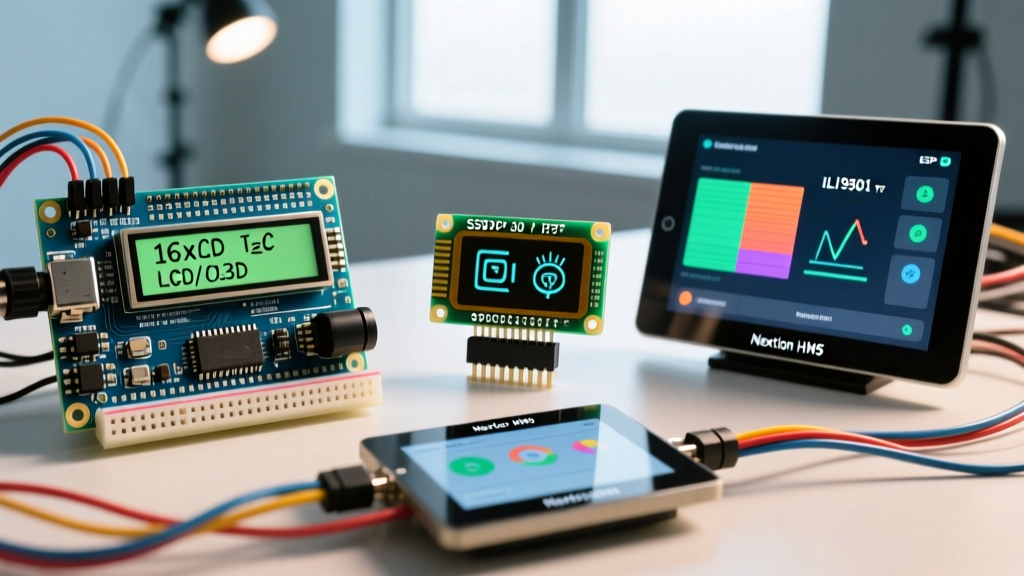

The 2026 Arduino Screen Display Landscape
Choosing the right Arduino screen display is one of the most critical hardware decisions in any embedded project. A mismatched display can drain your battery, exhaust your microcontroller's SRAM, or introduce crippling SPI bus latency. As of 2026, the market has stabilized, and supply chain shortages for common display controllers have largely resolved, meaning pricing and availability are highly predictable. However, the sheer volume of options—from basic character LCDs to intelligent HMI panels—can paralyze makers and engineers alike.
This guide cuts through the marketing fluff. We will compare the four dominant display architectures used in the Arduino ecosystem: the 16x2 I2C Character LCD, the 0.96-inch SSD1306 OLED, the 2.8-inch ILI9341 TFT, and the Nextion HMI series. We will evaluate them based on memory footprint, logic-level compatibility, power consumption, and real-world failure modes.
1. The Baseline: 16x2 I2C Character LCD (HD44780 + PCF8574)
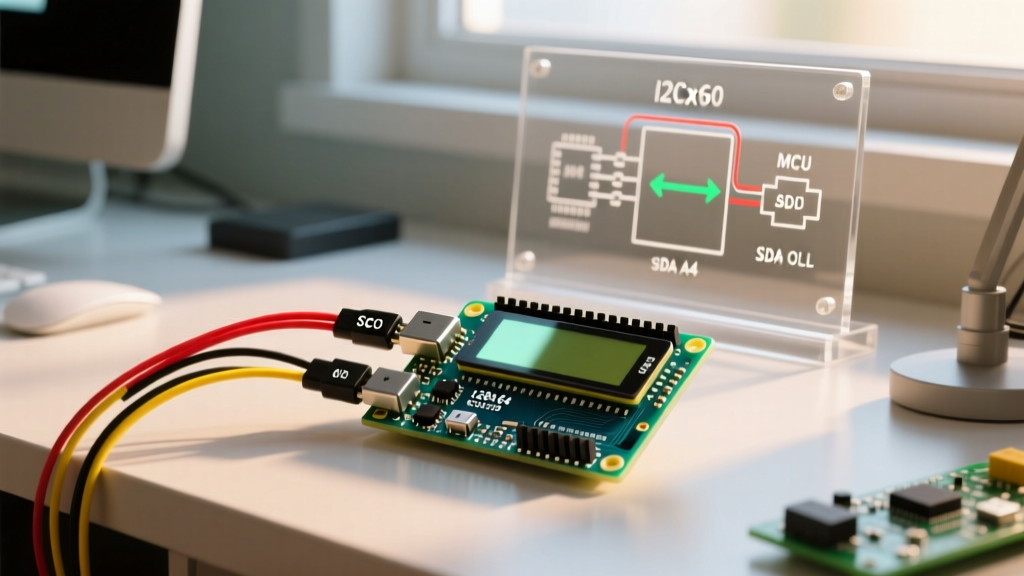
The 16x2 character LCD remains the undisputed workhorse for simple telemetry. Modern iterations almost universally include a PCF8574 or PCF8574A I2C backpack, reducing the wiring from 6+ parallel pins down to just four (VCC, GND, SDA, SCL).
Technical Reality & Edge Cases
- Memory Footprint: Extremely low. Using the LiquidCrystal_I2C library, you will consume less than 2KB of Flash and virtually zero dynamic SRAM, making it ideal for ATtiny85 or heavily constrained ATmega328P projects.
- Power Draw: The LED backlight is the primary power hog, drawing between 20mA and 50mA depending on the color (green is typically most efficient, blue is the least). Always control the backlight via a MOSFET on a PWM pin to reduce average current draw.
- The I2C Address Trap: A common failure mode for beginners is the I2C address mismatch. Boards with the PCF8574 chip default to
0x27, while those with the PCF8574A chip default to0x3F. If your display shows a solid row of white blocks, run an I2C scanner sketch before blaming the wiring.
2. The High-Contrast Standard: 0.96" I2C OLED (SSD1306)
When you need high contrast, wide viewing angles, and pixel-addressable graphics without the bulk of a TFT, the 128x64 SSD1306 OLED is the default choice. Priced between $4.00 and $7.00 in 2026, it offers incredible value for wearable tech and compact sensor nodes.
Memory & Bus Capacitance Warnings
While the screen itself is small, the software overhead is not. According to Adafruit's comprehensive OLED documentation, driving a 128x64 display requires a 1,024-byte (1KB) frame buffer in the microcontroller's SRAM. On an Arduino Uno, which only has 2KB of SRAM total, this single buffer consumes 50% of your available memory. If your project also uses Wi-Fi (ESP8266) or complex string manipulation, you will quickly encounter stack collisions.
Expert Troubleshooting Tip: If your OLED flickers or fails to initialize on a long wire run (over 30cm), you are likely experiencing I2C bus capacitance issues. The standard 4.7kΩ pull-up resistors on the SDA/SCL lines are too weak to pull the signal high fast enough. Swap them for 2.2kΩ resistors to sharpen the I2C rise times.
3. The Color Canvas: 2.8" SPI TFT (ILI9341)
For rich user interfaces, color graphs, and image rendering, the 2.4-inch to 2.8-inch TFT displays driven by the ILI9341 controller are the gold standard. Utilizing a 320x240 resolution, these screens communicate via the SPI bus, allowing for significantly faster refresh rates than I2C alternatives.
The 5V Logic Trap
The most critical edge case with the ILI9341 is logic level mismatching. The ILI9341 controller is strictly a 3.3V device. If you are using a 5V Arduino Uno or Mega, feeding 5V directly into the SPI MOSI, SCK, and CS pins will slowly degrade the silicon. While some cheap modules include an onboard LDO and level-shifting circuitry, many do not. Always verify the module's schematic. If it lacks level shifters, you must use a bidirectional logic level converter (like the BSS138 MOSFET-based modules or the TXS0108E) between your 5V Arduino and the 3.3V display.
Furthermore, software rendering via the Adafruit_GFX library can consume 15KB+ of Flash memory. For complex UI elements, consider offloading the rendering to an ESP32, which can drive the SPI bus at 24MHz or higher, compared to the ATmega328P's practical limit of 8MHz.
4. The Smart Offloader: Nextion HMI (NX3224T028)
Nextion displays represent a paradigm shift. Instead of the Arduino rendering every pixel, the Nextion module contains its own 32-bit ARM processor and flash memory. You design the UI on your PC using the Nextion Editor, upload it to the screen via a MicroSD card, and then control the elements using simple UART serial commands.
UART Bottlenecks and Baud Rates
Because communication relies on standard Serial (UART), the wiring is trivial (TX to RX, RX to TX, plus power). However, the default baud rate is 9600 bps. If you are updating multiple progress bars or text fields in a fast loop, 9600 bps will cause severe UI lag. The official Nextion Instruction Set outlines how to change the baud rate to 115200 bps via a startup command. Be aware that if you use SoftwareSerial on an Arduino Uno, reliable communication drops off sharply above 38400 bps due to CPU interrupt overhead. Always use hardware serial pins (0 and 1) or migrate to an Arduino Mega or ESP32 for high-speed HMI communication.
Head-to-Head Comparison Matrix
| Feature | 16x2 I2C LCD | 0.96" SSD1306 OLED | 2.8" ILI9341 TFT | Nextion HMI 2.8" |
|---|---|---|---|---|
| Controller IC | HD44780 + PCF8574 | Solomon Systech SSD1306 | Ilitek ILI9341 | Proprietary ARM Cortex |
| Interface | I2C (2-wire) | I2C or SPI | Hardware SPI | UART (Serial) |
| SRAM Impact (Uno) | Negligible (< 50 bytes) | High (1024 bytes buffer) | Very High (Requires GFX buffers) | Negligible (String commands) |
| Logic Level | 5V Tolerant | 3.3V / 5V (Module dependent) | Strictly 3.3V | 3.3V / 5V (TTL tolerant) |
| Avg Price (2026) | $3.50 - $5.00 | $4.00 - $7.00 | $12.00 - $18.00 | $28.00 - $35.00 |
| Best Use Case | Simple sensor readouts | Wearables, compact graphs | Color dashboards, image rendering | Complex touch UIs, industrial panels |
Decision Framework: Which Arduino Screen Display Should You Choose?
To finalize your hardware selection, apply this practical decision framework based on your project's primary constraints:
- Choose the 16x2 LCD if: You are building a basic environmental monitor, you are using a low-memory MCU like the ATtiny85, or your project will be housed in an enclosure where only text readouts are necessary. It is the most forgiving display for beginners.
- Choose the SSD1306 OLED if: You need high visibility in dark environments, you are building a battery-powered wearable, or you need to draw simple waveforms and custom fonts without the cost of a color screen. Just ensure you have the 1KB of SRAM to spare.
- Choose the ILI9341 TFT if: Your project requires color-coded alerts, complex geometric rendering, or bitmap images. Caveat: You must be comfortable managing SPI bus contention and implementing 3.3V logic level shifting.
- Choose the Nextion HMI if: You are designing a consumer-facing product with a capacitive touch interface, or your Arduino code is already maxed out handling motor control and sensor fusion. Offloading the UI rendering to the Nextion's internal processor frees up 100% of your Arduino's compute cycles.
References & Advanced I2C Troubleshooting
When integrating multiple I2C displays or sensors on the same bus, bus capacitance and address conflicts become the primary failure points. The official Arduino Wire Library documentation provides essential guidelines on managing I2C timeouts and buffer limits, which are critical when chaining an OLED display alongside BME280 environmental sensors. Always map your I2C addresses on paper before wiring, and utilize a logic analyzer if your SDA line begins to exhibit rounded, degraded square waves.