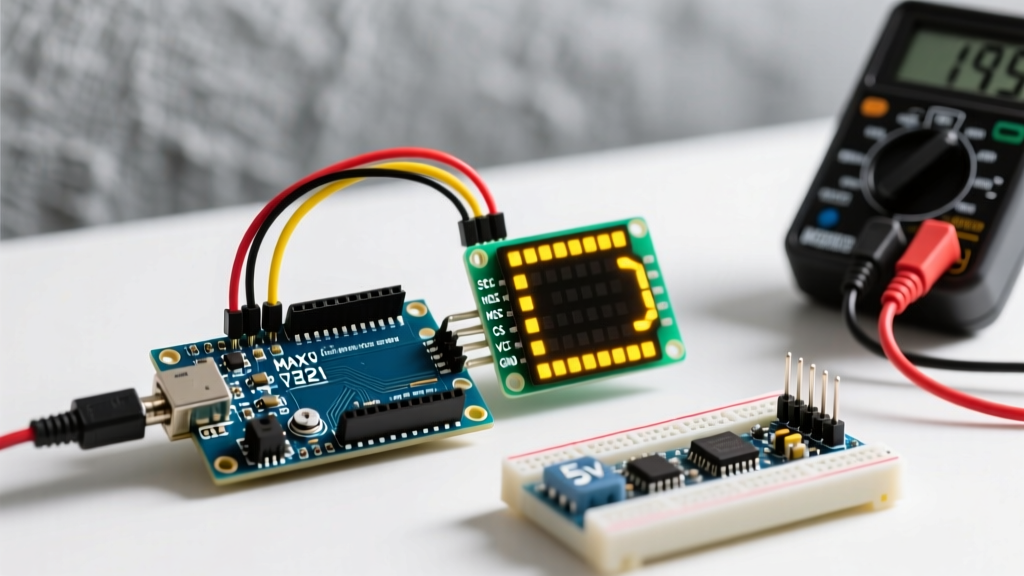

Introduction to MAX7219 Matrix Integration
Interfacing an Arduino with LED matrix displays is one of the most rewarding projects for embedded systems enthusiasts. Whether you are building a scrolling stock ticker, a retro gaming interface, or a real-time sensor dashboard, the MAX7219 IC remains the industry standard for driving multiplexed LED matrices. Unlike shift-register-based matrices that require constant CPU refresh cycles, the MAX7219 handles multiplexing and brightness control via hardware SPI, freeing up your microcontroller for core logic.
In this comprehensive 2026 wiring and code guide, we will bypass the generic tutorials and dive deep into the electrical realities of driving these modules. We will cover SPI bus capacitance traps, power delivery edge cases that cause USB brownouts, and provide a robust, production-ready codebase using the industry-standard MD_Parola library.
Hardware Selection: Module Topologies & Pricing
Before wiring, you must select the right topology. The market is currently saturated with two primary form factors. Note that as of 2026, genuine Analog Devices (formerly Maxim Integrated) MAX7219 chips are rare on cheap hobbyist boards; most modules use functional Asian-market clone ICs that perform identically but may have slightly different internal oscillator tolerances.
| Module Type | Resolution | Typical 2026 Price | Peak Current Draw | Best Use Case |
|---|---|---|---|---|
| FC-113 (Single 8x8) | 8x8 (64 LEDs) | $2.50 - $3.50 | ~120mA | Simple status indicators, Pong clocks |
| 4-in-1 (8x32) | 8x32 (256 LEDs) | $6.00 - $8.50 | ~450mA | Scrolling text, sensor data readouts |
| Flexible PCB Matrix | 8x32 (Custom) | $12.00 - $15.00 | ~450mA | Wearable tech, curved enclosures |
Step-by-Step SPI Wiring Guide
The MAX7219 communicates via a 4-wire SPI interface. While many tutorials suggest using jumper wires directly from the Arduino Uno to the module's DIN header, doing so without understanding SPI bus capacitance is a primary cause of "ghosting" and flickering.
Standard Arduino Uno / Nano Pinout
- VCC: Connect to Arduino 5V. (Do not use 3.3V; the MAX7219 requires 5V for proper logic high thresholds).
- GND: Connect to Arduino GND. Ensure this wire is at least 22 AWG if you are chaining more than two modules to prevent ground bounce.
- DIN (Data In): Connect to Arduino Pin 11 (Hardware MOSI).
- CS (Chip Select / Load): Connect to Arduino Pin 10 (Hardware SS).
- CLK (Clock): Connect to Arduino Pin 13 (Hardware SCK).
Pro-Tip on SPI Routing: Keep your CLK and DIN jumper wires as short as possible and route them away from AC mains or high-current DC motor wires. The SPI clock edges on the MAX7219 are sharp, and long unshielded wires act as antennas, picking up EMI and causing phantom LED illumination.
ESP32 & 3.3V Logic Level Warning
If you are upgrading from an AVR-based Arduino to an ESP32, be aware of the logic voltage mismatch. The ESP32 outputs 3.3V logic, while the MAX7219 datasheet specifies a minimum V_IH (Input High Voltage) of 3.5V for a 5V VCC supply. While many clone chips will accept 3.3V as a "high" due to relaxed tolerances, this is an out-of-spec edge case that leads to data corruption over long daisy chains. Use a bidirectional logic level shifter (like the BSS138 or CD4050) between the ESP32 and the matrix DIN/CLK lines for reliable operation.
Power Delivery: Avoiding the USB Brownout Trap
The most common failure mode when wiring an Arduino with LED matrix arrays is the "USB Brownout." A standard 8x32 (4-module) matrix drawing maximum brightness can pull upwards of 450mA. If all LEDs illuminate simultaneously (e.g., during a full-screen wipe animation), the current spike can exceed the 500mA limit of a standard USB 2.0 port, or overwhelm the Arduino Uno's onboard AMS1117-5.0 linear regulator if you are feeding power via the barrel jack.
The Dedicated Power Injection Method
For arrays larger than two 8x8 modules, bypass the Arduino's 5V rail entirely for the matrix power:
- Use a dedicated 5V 2A (or higher) buck converter or wall adapter.
- Connect the adapter's 5V directly to the VCC pin on the first matrix module.
- Connect the adapter's GND to the matrix GND and the Arduino GND. (A common ground is strictly required for the SPI data signals to reference the same voltage plane).
- Solder a 100µF electrolytic capacitor and a 100nF ceramic decoupling capacitor across the VCC and GND pins on the last module in the chain to suppress voltage droop during multiplexing peaks.
Code Implementation: Scrolling Text with MD_Parola
For robust text manipulation, we utilize the MD_MAX72XX and MD_Parola libraries by Marco Colli. These libraries handle hardware abstraction, font rendering, and non-blocking scrolling animations.
Arduino Sketch
#include <MD_Parola.h>
#include <MD_MAX72xx.h>
#include <SPI.h>

// Define hardware type and pins
#define HARDWARE_TYPE MD_MAX72XX::FC16_HW
#define MAX_DEVICES 4
#define CS_PIN 10

// SPI hardware interface
MD_Parola P = MD_Parola(HARDWARE_TYPE, CS_PIN, MAX_DEVICES);

void setup() {
  // Initialize the SPI bus and Parola library
  P.begin();

  // Set intensity (0-15). Start low to protect USB power limits.
  P.setIntensity(5);

  // Configure scrolling text parameters
  P.displayText("ElectricalFlux 2026", PA_CENTER, 50, 2000, PA_SCROLL_LEFT, PA_SCROLL_LEFT);
}

void loop() {
  // Animate returns true when the current animation frame is complete
  if (P.displayAnimate()) {
    // Reset the display to loop the text
    P.displayReset();
  }
}
Code Configuration Breakdown
The HARDWARE_TYPE macro is critical. Cheap 4-in-1 modules often use the FC16_HW topology, but older single 8x8 modules use PAROLA_HW. If your text appears mirrored or upside down, toggling this macro in the initialization resolves the physical rotation mismatch without requiring complex bitwise software flipping.
The displayText function parameters define the string, alignment, animation speed (lower is faster), pause time in milliseconds, and the entry/exit effects. According to the Arduino SPI Reference, because the library uses hardware SPI interrupts, the loop() function remains entirely non-blocking, allowing you to poll sensors simultaneously without interrupting the scroll animation.
Advanced Troubleshooting & Edge Cases
Even with perfect wiring, environmental and electrical factors can degrade performance. Here is how to diagnose the three most common matrix anomalies:
1. "Ghosting" or Flickering on the Last Module
Cause: Signal degradation due to SPI bus capacitance. As you daisy-chain modules, the parasitic capacitance of the DIN traces rounds off the sharp clock edges, causing the last MAX7219 IC to misinterpret bits.
Solution: Lower the SPI clock divider. Add SPI.setClockDivider(SPI_CLOCK_DIV8); in your setup() before P.begin(). Alternatively, insert a 74HC14 hex inverter as a signal buffer between the 2nd and 3rd modules to regenerate the square wave.
2. Random LED "Noise" on Boot
Cause: The MAX7219 defaults to an undefined state upon power-up before the CS pin is pulled high and the shutdown register is cleared.
Solution: Wire a 10kΩ pull-up resistor between the CS (Load) pin and 5V. This ensures the IC ignores any garbage data on the SPI bus while the Arduino bootloader is running and before the setup() function initializes the display.
3. Dimming Over Time
Cause: The current-setting resistor (Rset) on the module is typically a 10kΩ surface-mount component. As the board heats up, the thermal drift of cheap clone resistors can alter the segment current.
Solution: If you require photometric stability for a commercial installation, replace the 10kΩ SMD resistor with a 1% tolerance 10kΩ through-hole metal film resistor, or implement a software-side intensity feedback loop using an LDR (Light Dependent Resistor) connected to an analog pin to dynamically adjust P.setIntensity() based on ambient room lighting.
Final Considerations for Enclosure Design
When mounting your matrix, never press the LED faces directly against bare acrylic or glass. The internal reflections will cause severe optical crosstalk, making individual pixels bleed into one another. Always use a smoked polycarbonate diffuser or a 3D-printed PLA grid with 1.5mm walls between each LED to maintain crisp pixel definition. For further electrical specifications and multiplexing timing diagrams, consult the official Analog Devices MAX7219 Datasheet.