
The Default Arduino PWM Frequency Problem
When you call analogWrite(pin, value) on a standard Arduino Uno R3, the microcontroller outputs a Pulse Width Modulation (PWM) signal. For basic tasks like dimming a standard 5mm LED, this works perfectly. However, in real-world power electronics, robotics, and high-speed imaging, the default Arduino PWM frequency (often searched internationally as Arduino PWM Frequenz by European makers) becomes a critical point of failure.
Out of the box, the ATmega328P microcontroller generates PWM signals at roughly 490 Hz or 976 Hz. While adequate for simple prototyping, these low frequencies introduce severe issues in practical applications: audible coil whine in DC motors, visible flicker on high-speed cameras, and inefficient switching in high-power MOSFETs. To build professional-grade peripherals, you must bypass the Arduino abstraction layer and manipulate the hardware timer registers directly.
ATmega328P Timer Registers: The Underlying Mechanics
The Arduino Uno R3 relies on three internal 8-bit and 16-bit Timer/Counters to generate PWM. According to the official Microchip ATmega328P datasheet, these timers are mapped to specific I/O pins and operate with default prescaler values that divide the 16 MHz system clock.
| Timer | Associated Pins | Default Prescaler | Resulting Frequency | Core Dependency |
|---|---|---|---|---|
| Timer 0 (8-bit) | 5, 6 | /64 | ~976 Hz | millis(), delay() |
| Timer 1 (16-bit) | 9, 10 | /64 | ~490 Hz | Servo.h library |
| Timer 2 (8-bit) | 3, 11 | /64 | ~490 Hz | tone() function |
Critical Warning: Never alter the prescaler on Timer 0 unless you fully understand the consequences. Timer 0 is hardcoded into the Arduino core to handle system timing. Changing its frequency will instantly break millis(), micros(), and delay(), causing your entire sketch's timing logic to collapse.
Real-World Application 1: Eliminating DC Motor Coil Whine
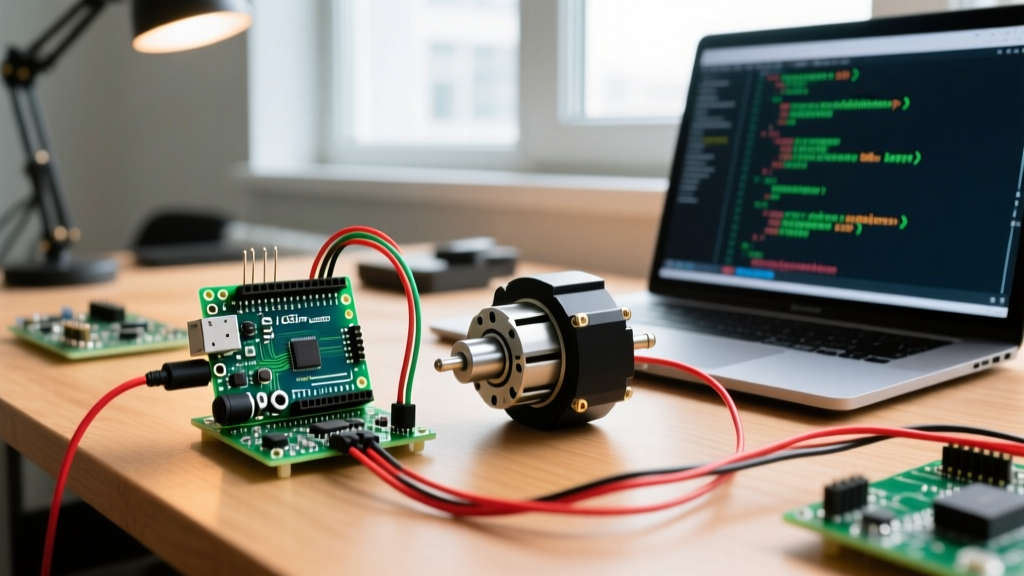
When driving a 12V brushed DC motor through an L298N H-Bridge ($4.50) or a logic-level MOSFET like the IRLZ44N ($1.20), a 490 Hz PWM signal falls squarely within the human hearing range (20 Hz to 20 kHz). The rapid magnetic expansion and contraction of the motor windings—a phenomenon known as magnetostriction—combined with the physical resonance of the stator, generates an irritating, high-pitched whine.
The 31.25 kHz Ultrasonic Fix
To eliminate audible noise, we must push the PWM frequency above human hearing, typically to 20 kHz or higher. By manipulating Timer 1 (Pins 9 and 10), we can achieve an ultrasonic 31.25 kHz frequency. This is done by clearing the prescaler bits in the Timer/Counter Control Register B (TCCR1B) and setting it to a prescaler of 1 (no division).
// Place this in your setup() function
void setup() {
  // Set Pin 9 and 10 as outputs
  pinMode(9, OUTPUT);
  pinMode(10, OUTPUT);

  // Clear Timer 1 prescaler bits and set to 1 (16MHz / 1 / 510 = 31.37 kHz)
  TCCR1B = TCCR1B & B11111000 | B00000001;
}
By shifting the switching frequency to ~31 kHz, the motor operates silently. However, this introduces a new hardware challenge: switching losses.
High-Frequency Switching and Gate Drivers
At 490 Hz, the ATmega328P's GPIO pins (which can source roughly 20mA) can charge the gate capacitance of a MOSFET fast enough. At 31 kHz, the GPIO pin struggles to charge the gate quickly, leaving the MOSFET in its linear (high-resistance) region for a longer percentage of the switching cycle. This results in massive heat dissipation, potentially destroying a $1.20 IRLZ44N in seconds under a 5A load.
The Expert Solution: Insert a dedicated MOSFET gate driver, such as the Microchip TC4427 ($1.60), between the Arduino PWM pin and the MOSFET gate. The TC4427 can source 1.5A of peak current, charging the gate in nanoseconds and ensuring crisp, efficient switching at ultrasonic frequencies.
Real-World Application 2: High-Speed Camera LED Flicker
In machine vision and high-speed photography, illuminating a scene with high-power LEDs driven by 490 Hz PWM results in severe rolling shutter artifacts and banding. Modern industrial cameras often sample at thousands of frames per second. If your illumination source is pulsing at 490 Hz, the camera will capture alternating bright and dark frames.
By utilizing Timer 2 (Pins 3 and 11) and adjusting the TCCR2B register to a prescaler of 1, you can push the LED PWM frequency to roughly 62.5 kHz. This effectively creates a continuous DC-like light output from the perspective of a high-speed sensor, completely eliminating banding without the thermal inefficiency of using linear current regulators.
Arduino Uno R4 vs. R3: A 2026 Hardware Warning
If you have upgraded to the Arduino Uno R4 Minima or WiFi, the underlying architecture has changed entirely. The R4 utilizes the Renesas RA4M1 (Arm Cortex-M4) processor. The ATmega328P bitwise register hacks (TCCR1B) will not compile and will fail silently or throw errors on the R4.
Fortunately, the modern Arduino core for the RA4M1 includes native functions for this. As detailed in the official Arduino PWM documentation, R4 users can simply call:
analogWriteResolution(12); // Set 12-bit resolution (0-4095)
analogWriteFrequency(9, 31250); // Set Pin 9 to 31.25 kHz
This abstraction makes peripheral integration vastly superior on the R4, though the R3 remains the standard for legacy industrial shield compatibility.
Managing EMI and Snubber Circuits
Pushing PWM frequencies into the 30 kHz+ range with inductive loads (like motors or long LED strip wires) generates significant Electromagnetic Interference (EMI). The rapid di/dt (change in current over time) can cause voltage spikes that reset your microcontroller or corrupt I2C sensor data.
Building a Hardware Snubber
To protect your circuit when running high-frequency PWM, implement an RC snubber network across the load terminals. A standard starting point for 12V DC motors is:
- Resistor: 100Ω (1/2W metal film)
- Capacitor: 100nF (ceramic or film, rated for at least 50V)
Place these in series with each other, and wire the combination in parallel with the motor terminals. This absorbs the high-frequency inductive kickback, protecting your MOSFET and keeping the EMI floor low enough to prevent analog sensor noise.
Summary Checklist for Peripheral Integration
- Identify your Timer: Use Pins 9/10 (Timer 1) for motors to avoid breaking
millis()or theServolibrary. - Apply Bitwise Prescalers: Use
TCCR1B = TCCR1B & B11111000 | B00000001;for 31 kHz on the Uno R3. - Upgrade Hardware: Ditch the TIP120 BJT (2V drop, high heat) for an IRLZ44N MOSFET paired with a TC4427 gate driver.
- Suppress EMI: Always use an RC snubber and a flyback diode (1N4007) across inductive loads.
- Check Library Conflicts: Remember that
Servo.hhardcodes Timer 1 to 50Hz. You cannot use ultrasonic PWM on Pins 9/10 while simultaneously using the standard Servo library.
Mastering the Arduino PWM frequency is the dividing line between a blinking prototype and a robust, silent, and efficient embedded system. By understanding the hardware registers and pairing them with the correct power electronics, you unlock the true potential of your microcontroller peripherals.