
Why Out-of-the-Box Readings Fail in Precision Projects
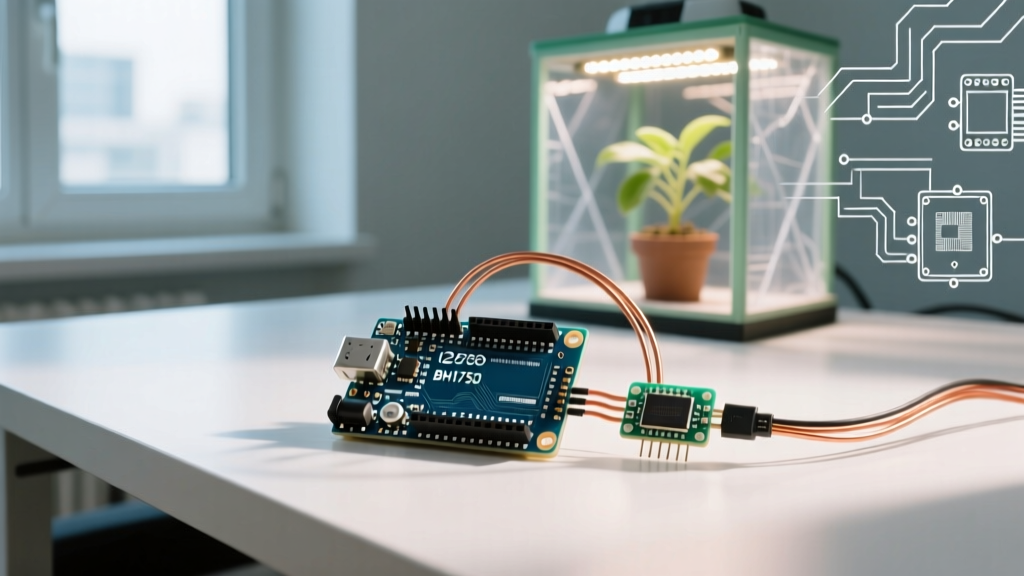
When building a precision environmental monitoring project, integrating a temperature humidity sensor Arduino setup is often the first step. However, relying on factory-default readings for critical applications like indoor agriculture, server room monitoring, or archival storage is a common mistake. Even premium sensors experience manufacturing variances, hysteresis, and environmental drift. As of 2026, while semiconductor fabrication has improved, achieving true laboratory-grade accuracy requires field calibration.
This guide bypasses generic tutorials and dives deep into the physical chemistry and firmware mathematics required to calibrate high-end digital sensors. We will focus on the industry-standard Sensirion SHT31 and the Bosch BME280, applying NIST-traceable calibration principles to your Arduino C++ code.
Baseline Accuracy: DHT22 vs. SHT31 vs. BME280
Before calibrating, you must understand the hardware limits of your sensor. Calibrating a low-resolution sensor will not fix its inherent noise floor or hysteresis. Below is a 2026 market and performance breakdown of the most common Arduino-compatible environmental sensors.
| Sensor Model | Approx. Price (2026) | RH Accuracy | Temp Accuracy | Interface & Resolution |
|---|---|---|---|---|
| DHT22 (AM2302) | $4.50 | ± 2% to ± 5% RH | ± 0.5°C | Single-bus digital, 0.1% res |
| Bosch BME280 | $9.00 | ± 3% RH (typical) | ± 1.0°C | I2C/SPI, 14-bit temp / 16-bit RH |
| Sensirion SHT31-D | $14.50 | ± 2% RH | ± 0.3°C | I2C, 16-bit temp / 16-bit RH |
Expert Takeaway: The DHT22 is prone to severe hysteresis and long-term drift; it is not recommended for calibration-heavy projects. The BME280 is excellent for general weather stations but includes a barometric pressure sensor that generates slight internal heat. The SHT31-D remains the gold standard for pure temperature and humidity accuracy in the Arduino ecosystem.
The Saturated Salt Solution Method (RH Calibration)
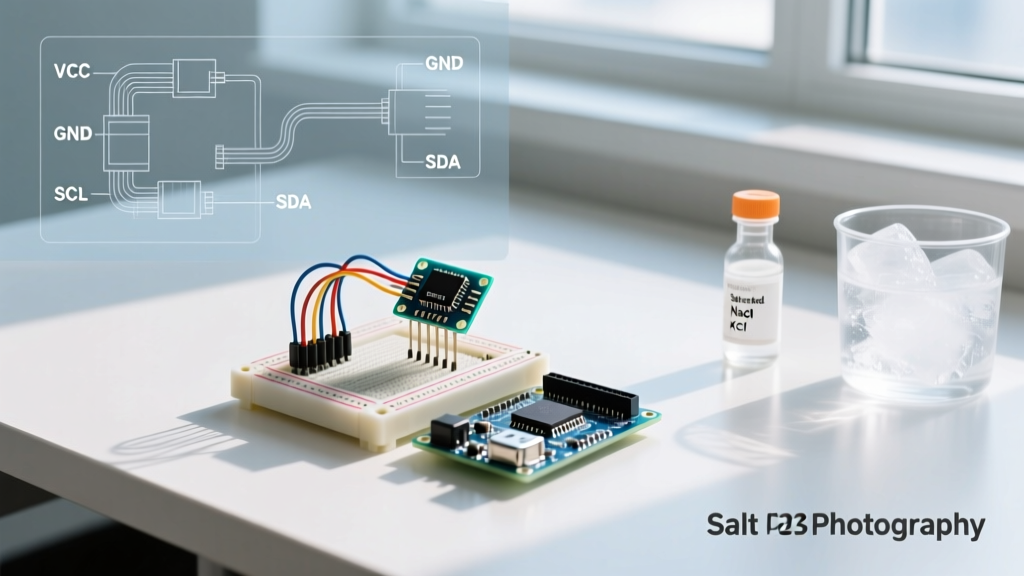
To calibrate relative humidity (RH), you cannot simply compare your sensor to a cheap dial hygrometer. You must create a sealed environment with a known, chemically fixed vapor pressure. This is achieved using saturated salt solutions, a standard practice endorsed by metrology institutes worldwide.
Required Materials
- Sodium Chloride (NaCl): Standard table salt (non-iodized, no anti-caking agents). Creates a fixed 75.3% RH environment at 20°C.
- Magnesium Chloride (MgCl2): Creates a fixed 33.1% RH environment at 20°C.
- Distilled Water: Tap water introduces unknown minerals that alter vapor pressure.
- Airtight Container: A glass mason jar or heavy-duty Tupperware with a rubber gasket.
- Small Platform: To keep the sensor above the salt slurry (e.g., a plastic bottle cap).
Step-by-Step Execution
- Prepare the Slurry: In a small cup, mix the salt with distilled water until it reaches the consistency of wet sand. It must be saturated—meaning some undissolved salt crystals remain visible at the bottom. If all salt dissolves, add more.
- Seal the Chamber: Place the cup of slurry and your sensor (mounted on a breadboard or platform) inside the airtight container. Ensure the sensor does not touch the salt or water directly.
- Wait for Equilibrium: Seal the lid and leave the container in a room with a stable temperature (ideally 20°C to 25°C). Do not open the container. It takes 12 to 24 hours for the air inside to reach the exact equilibrium RH.
- Record the Drift: Power the Arduino via a USB cable routed through a small, sealed hole (or use a battery bank inside the jar). Log the raw sensor readings. If the SHT31 reads 72.5% in the NaCl chamber, your offset at 75% RH is +2.8%.
Critical Warning: Temperature fluctuations inside the chamber will ruin the test. A 1°C swing can alter the equilibrium RH by up to 0.5%. Keep the chamber away from direct sunlight, HVAC vents, and exterior walls.
Temperature Calibration: Ice Bath and Boiling Point
While RH requires chemical equilibrium, temperature calibration relies on the fixed phase-change points of water. For Arduino projects operating in standard ambient ranges, a two-point calibration using an ice bath and boiling water is highly effective.
The Ice Bath (0.0°C Reference)
Do not simply drop the sensor into a glass of ice cubes. The air gaps between cubes create microclimates that are often 2°C to 4°C above freezing.
- Crush the ice into small pieces to minimize air gaps.
- Fill an insulated thermos with the crushed ice and add just enough distilled water to fill the voids, creating a slush.
- Stir thoroughly and wait 15 minutes.
- Submerge the waterproofed sensor probe (or the breakout board, if conformal-coated) into the center of the slush. The true temperature is exactly 0.0°C.
The Boiling Point (Altitude Adjusted)
Water boils at 100°C only at standard sea-level pressure (101.325 kPa). If you live at an elevation, you must adjust your reference point.
- Sea Level: 100.0°C
- 1,000 meters (3,280 ft): ~96.6°C
- 2,000 meters (6,560 ft): ~93.3°C
Use a rolling boil in a deep pot, ensuring the sensor is suspended in the steam and boiling water mixture without touching the heated metal bottom of the pot.
Implementing Two-Point Calibration in Arduino C++
Once you have your raw readings at two known reference points, you must map them in your firmware. A simple additive offset is insufficient because sensor drift is rarely perfectly linear across the entire scale. Instead, use a two-point linear interpolation (y = mx + b).
// Calibration constants derived from physical testing
const float REF_LOW = 33.1;   // MgCl2 Reference
const float REF_HIGH = 75.3;  // NaCl Reference

// Replace these with your sensor's actual raw readings during the salt tests
const float RAW_LOW = 30.5;
const float RAW_HIGH = 71.2;

float calibrateRH(float rawReading) {
  // Calculate slope (m) and y-intercept (b)
  float slope = (REF_HIGH - REF_LOW) / (RAW_HIGH - RAW_LOW);
  float intercept = REF_HIGH - (slope * RAW_HIGH);

  // Apply linear correction
  float calibratedRH = (slope * rawReading) + intercept;

  // Constrain to physical limits
  return constrain(calibratedRH, 0.0, 100.0);
}

void setup() {
  Serial.begin(115200);
  // Initialize your specific sensor library here (e.g., Adafruit_SHT31)
}

void loop() {
  float rawRH = readSensorRH(); // Placeholder for your I2C read function
  float trueRH = calibrateRH(rawRH);
  Serial.print("Calibrated RH: ");
  Serial.println(trueRH);
  delay(2000);
}
Hardware Failure Modes & I2C Edge Cases
Even with perfect mathematical calibration, hardware anomalies will destroy your accuracy. Watch for these specific failure modes:
1. The Self-Heating Error
Digital sensors consume power, which generates internal heat. The BME280, for instance, can read 0.5°C to 1.0°C higher than ambient if polled too frequently. Fix: Increase the delay between readings to at least 2 seconds, or put the sensor into sleep mode between polls using the library's power management functions.
2. I2C Bus Capacitance and Pull-Up Resistors
The I2C specification limits bus capacitance to 400pF. If you run wires longer than 30cm to your SHT31 or BME280, the capacitance increases, rounding off the square wave signals and causing silent data corruption or locked buses. Fix: If using long wires, drop the I2C pull-up resistors from the standard 4.7kΩ to 2.2kΩ to provide more current and sharpen the signal rise times. Alternatively, reduce the I2C clock speed in your setup function: Wire.setClock(100000);.
3. Condensation and the Internal Heater
The SHT31 features an internal resistive heater designed to burn off condensation. If you accidentally leave this heater enabled in your code, it will artificially inflate your temperature readings by +1.5°C to +3.0°C and tank your RH readings. Only pulse the heater for 60 seconds if the sensor is physically submerged in water, then turn it off and wait 5 minutes before taking a calibrated reading.
Frequently Asked Questions
How often should I recalibrate my Arduino humidity sensor?
For industrial-grade sensors like the SHT31, annual recalibration is sufficient. For consumer-grade sensors like the DHT22 or BME280, recalibrate every 6 months, especially if the sensor is exposed to high humidity (>85% RH) or chemical vapors (like solvents or fertilizers in grow tents), which can permanently foul the polymer dielectric layer.
Can I calibrate the sensor using a professional weather station?
Only if the weather station itself is recently calibrated against a NIST-traceable standard. Most consumer weather stations (e.g., Ambient Weather, AcuRite) have their own ±3% to ±5% RH error margins. Calibrating your Arduino against an uncalibrated consumer station merely transfers the error, it does not eliminate it. Stick to the saturated salt method for guaranteed physical references.
Does barometric pressure affect relative humidity readings?
Relative Humidity (RH) is a ratio of the current absolute humidity to the highest possible absolute humidity at that specific temperature. While extreme barometric shifts (like a hurricane dropping pressure by 50 hPa) have a negligible direct effect on the RH percentage (less than 0.1% shift), they drastically affect Absolute Humidity and Dew Point calculations. If your project requires Dew Point tracking, you must pair your SHT31 with a dedicated barometric sensor like the BMP390.