
The Multi-Peripheral Bottleneck: Why Complex Arduino Dashboards Fail
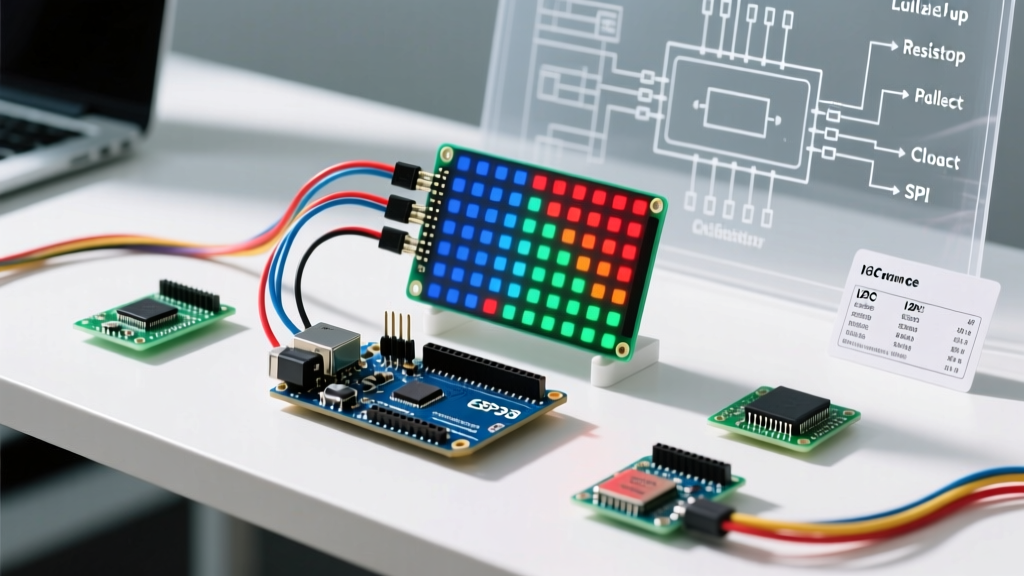
Scaling a project from a single sensor to a full environmental dashboard is where most hobbyists hit a wall. When you integrate an LED screen Arduino setup alongside a MicroSD card, an RTC (Real-Time Clock), and environmental sensors, you are no longer just writing code; you are managing bus capacitance, logic level mismatches, and thermal power limits. In 2026, while microcontrollers like the Arduino Uno R4 WiFi offer vastly superior processing power and 32KB of SRAM compared to older generations, the physical constraints of the I2C and SPI buses remain unchanged.
This guide dissects the exact hardware and software bottlenecks of a 4-peripheral stack and provides actionable engineering solutions to ensure your LED screen Arduino project operates reliably without pin conflicts, bus crashes, or voltage regulator overheating.
Mapping the Protocol Matrix
Before wiring a single jumper, you must map your peripherals by protocol, logic level, and peak current draw. Below is the blueprint for a standard multi-sensor data-logging dashboard.
| Peripheral | Protocol | Default Address / Pin | Logic Level | Peak Current |
|---|---|---|---|---|
| SSD1306 128x64 OLED (LED Screen) | I2C | 0x3C | 3.3V / 5V Tolerant | 20mA |
| BME280 Temp/Humidity/Pressure | I2C | 0x76 or 0x77 | 3.3V Strict | 1.2mA |
| DS3231 Precision RTC | I2C | 0x68 | 5V (with module) | 3mA |
| MicroSD Card Breakout | SPI | CS: Pin 10 | 3.3V Strict | 100mA (Write Spike) |
Resolving I2C Address Collisions and Bus Capacitance
The most common failure in a multi-peripheral LED screen Arduino setup is I2C bus collapse. According to the official Arduino I2C documentation, the I2C bus relies on pull-up resistors to hold the SDA and SCL lines HIGH. Most commercial breakout boards include 4.7kΩ or 10kΩ pull-up resistors onboard.
The Parallel Resistor Trap
When you connect four I2C modules to the same SDA/SCL lines, their pull-up resistors are placed in parallel. If you connect four modules with 4.7kΩ resistors, the total pull-up resistance drops to approximately 1.17kΩ. At 5V, this forces the microcontroller's I2C pins to sink over 4.2mA when pulling the line LOW. This exceeds the standard 3mA sink limit of many I2C transceivers, resulting in corrupted data, frozen LED screens, and phantom sensor readings.
Expert Fix: Use a digital multimeter to measure the resistance between the VCC and SDA pins on each module. Physically scrape off or desolder the SMD pull-up resistors from all modules except one. Alternatively, deploy a TCA9548A I2C Multiplexer to isolate the LED screen and sensors onto separate bus channels, completely eliminating capacitance and address collision issues.
SPI Bus Sharing and the Hardware SS Trap
While your LED screen and sensors likely occupy the I2C bus, a MicroSD card module requires SPI. Sharing the SPI bus (MOSI, MISO, SCK) between multiple devices requires careful Chip Select (CS) management. However, there is a hardware-level trap specific to AVR-based and legacy-compatible Arduino architectures.
The Pin 10 Mandate
On standard Arduino Uno form factors, the hardware SPI controller monitors Pin 10 (the hardware SS pin). If Pin 10 is configured as an INPUT and is pulled LOW by an external source, the Arduino's SPI controller automatically drops out of Master mode and into Slave mode. Your SD card will fail to initialize, and subsequent SPI transactions will hang the microcontroller.
- Rule 1: Even if you use Pin 4 for your SD card CS and Pin 5 for another SPI device, you must explicitly set Pin 10 as an
OUTPUTin yoursetup()function. - Rule 2: Ensure the CS pin of the SD card module is driven HIGH immediately after initialization to release the MISO line, allowing other SPI devices to communicate without bus contention.
For deeper insights into SPI bus timing and hardware registers, refer to the Arduino SPI communication guide.
Power Budgeting: Don't Fry the Voltage Regulator
A critical oversight in multi-peripheral setups is ignoring the thermal limits of the Arduino's onboard linear voltage regulator. Let us calculate the power budget for our dashboard:
- SSD1306 OLED Screen: ~20mA
- BME280 & DS3231: ~5mA combined
- MicroSD Card (Active Write): ~100mA
- Arduino MCU & Peripherals: ~30mA
Total Peak Current: ~155mA on the 5V rail.
The Thermal Throttling Problem
If you power your Arduino via the barrel jack with a 12V wall adapter, the onboard linear regulator must drop 7V (12V - 5V) at 155mA. This dissipates roughly 1.08 Watts of heat. Without active cooling, the regulator will overheat and trigger its internal thermal shutdown within minutes, causing your LED screen to flicker and the Arduino to randomly reboot.
The Buck Converter Solution
Bypass the onboard linear regulator entirely. Use an MP1584EN or LM2596 step-down buck converter module (costing roughly $2.50 in 2026).
- Set the buck converter's output to exactly 5.1V using a multimeter and a small flathead screwdriver before connecting it to the Arduino.
- Wire the 12V input to the buck converter's IN terminals.
- Wire the buck converter's OUT terminals directly to the Arduino's 5V pin and GND pin. Do not use the VIN or barrel jack.
This shifts the thermal burden to the highly efficient switching regulator, keeping your microcontroller cool even during continuous SD card logging and LED screen rendering.
Logic Level Translation: Protecting 3.3V Peripherals
While the Arduino Uno R4 operates at 5V, both the BME280 sensor and the MicroSD card module are strictly 3.3V devices. Feeding 5V logic into their MISO/SDA lines will degrade the silicon over time or cause immediate catastrophic failure. The Adafruit OLED and sensor breakouts often include onboard level shifting, but generic marketplace modules rarely do.
For a robust multi-peripheral LED screen Arduino setup, integrate a BSS138 bidirectional logic level shifter or a CD4050 non-inverting buffer. The BSS138 is preferred for I2C because it is open-drain compatible and will not interfere with the I2C pull-up resistors or bus capacitance, ensuring clean signal edges on the SDA and SCL lines.
Memory Optimization for LED Screen Arduino Buffers
Driving a 128x64 LED screen requires a framebuffer. A full-screen buffer consumes 1,024 bytes of SRAM. While the newer Arduino Uno R4 boasts 32KB of SRAM (making this a non-issue), if you are maintaining legacy code on an Uno R3 or Nano (which only have 2KB of SRAM), a 1KB buffer consumes 50% of your available memory, leaving insufficient room for SD card file buffers and string manipulation.
Implementing Page Buffering
Switch from the standard Adafruit_SSD1306 library to the U8g2 library. U8g2 supports 'page buffering', which renders the LED screen in 8 horizontal slices. This reduces the SRAM requirement from 1,024 bytes down to just 128 bytes, completely eliminating memory fragmentation and allowing complex multi-sensor data parsing to run smoothly in the background.
Frequently Asked Questions
Can I use Software I2C to free up hardware pins for my LED screen?
Yes, but it is not recommended for multi-peripheral setups. Software I2C (bit-banging) relies on precise microsecond timing. If your Arduino is interrupted by an SPI transaction from the SD card or a hardware timer for sensor polling, the Software I2C clock signal will jitter, causing the LED screen to display corrupted pixels or freeze entirely. Always use hardware I2C or an I2C multiplexer.
Why does my LED screen flicker when the SD card writes data?
This is a voltage sag issue. When the MicroSD card initiates a write cycle, it can draw a transient spike of up to 150mA. If your power supply or USB port cannot deliver this instantaneous current, the 5V rail dips. The SSD1306 LED screen is highly sensitive to voltage fluctuations and will reset or flicker. Adding a 470µF electrolytic capacitor across the 5V and GND rails near the SD card module will smooth out these transient spikes.
How do I prevent screen burn-in on the OLED during long-term logging?
OLED screens suffer from phosphor degradation if static elements are left on for weeks. Implement a pixel-shifting algorithm in your code that moves the entire dashboard layout by 2 pixels in a circular pattern every 10 minutes, or use the invertDisplay() function periodically to balance the wear across the organic diodes.