
The Engineering Challenge of DIY HUD Accuracy
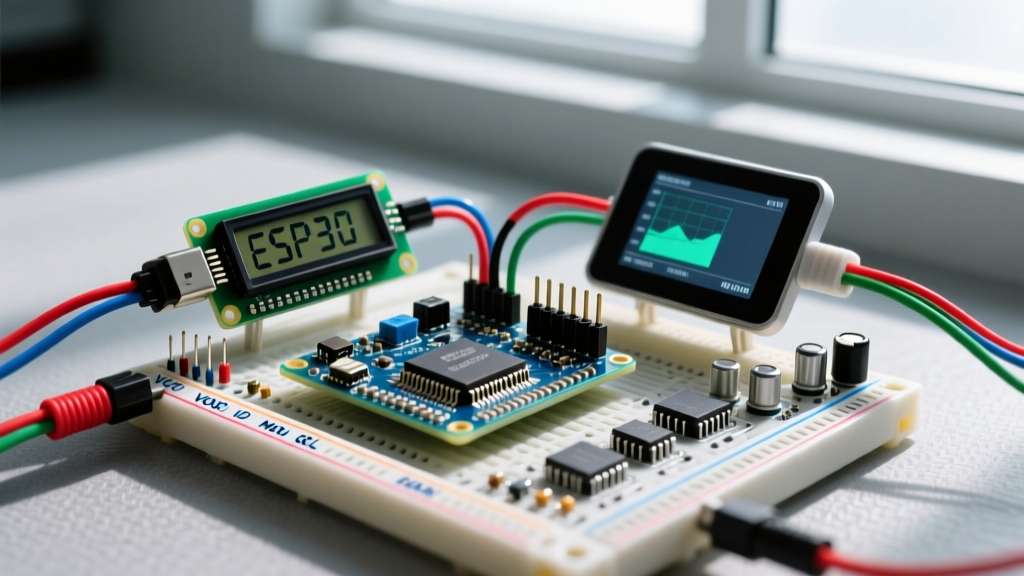
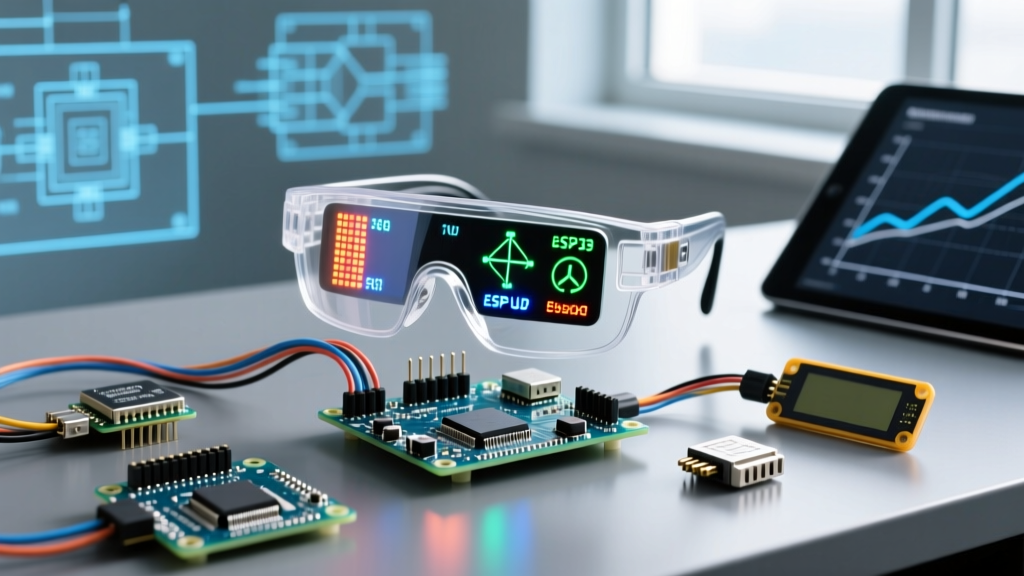
Building an arduino heads up display (HUD) is a masterclass in embedded systems, optics, and real-time data processing. However, a HUD is only as valuable as its accuracy and visual stability. If your speedometer lags by 400 milliseconds, or your artificial horizon drifts during a high-G turn, the display transitions from a helpful telemetry aid to a dangerous distraction. In 2026, with transparent OLED yields improving and the Arduino Nano ESP32 bringing dual-core processing to the Arduino ecosystem, DIY HUDs can now rival OEM automotive systems—provided you implement rigorous calibration protocols.
This guide bypasses basic wiring tutorials and dives deep into the optical alignment, sensor fusion, and latency matching required to achieve a professional-grade Arduino heads up display.
Optical Alignment & Parallax Correction
The primary optical goal of any HUD is to project a virtual image at a focal distance of 2 to 3 meters ahead of the viewer. This prevents the driver's eyes from constantly refocusing between the road and the dashboard, a metric strictly defined by the SAE International J1757 standard for automotive optical performance.
Combiner Glass Selection and Ghosting Mitigation
When using a transparent OLED (such as the Seeed Studio 1.51" SPI Transparent OLED, which now retails for approximately $22-$25), the physical screen sits on the dash, but the brain must perceive the data further away. To achieve this without a complex curved mirror assembly, you must use a tilted combiner glass.
- Material: Use 2mm optical-grade polycarbonate or glass with an anti-reflective (AR) coating.
- Angle: Mount the combiner at a 22° to 25° angle relative to the horizontal dashboard plane.
- Ghosting: Ghosting occurs when light reflects off both the front and rear surfaces of the combiner glass, creating a double image. To eliminate this, apply an index-matching anti-reflective film (like 3M Vikuiti) to the rear surface, or use a wedge-profile glass where the top and bottom surfaces are separated by a 0.5° divergence angle.
Sensor Calibration for Real-Time Telemetry
A modern Arduino heads up display relies on three primary data streams: GPS velocity, OBD-II engine telemetry, and IMU spatial orientation. Each requires distinct calibration techniques to eliminate noise and latency.
1. GPS Velocity: Mitigating Urban Multipath Drift
Standard NMEA sentences from legacy modules like the NEO-6M update at 1Hz and suffer from severe urban multipath errors. For a HUD, this causes 'stuttering' at low speeds. Upgrade to the u-blox NEO-M9N (approx. $55). As detailed in the SparkFun GPS Buyer's Guide, the M9N concurrent reception of four GNSS constellations drastically improves accuracy.
Calibration Protocol:
- Configure the M9N via UBX-CFG-VALSET to output the
NAV-PVTmessage at 10Hz. - Implement a 1D Kalman filter in your Arduino code to smooth the velocity vector.
- Tune the process noise covariance (Q) to
0.1and measurement noise (R) to2.5to account for sudden GNSS jumps in urban canyons.
2. OBD-II CAN Bus: Eliminating Polling Latency
Pulling Engine RPM and Coolant Temp via an ELM327 adapter introduces significant latency if not optimized. Warning: Avoid 'v2.1' ELM327 clones. They lack proper CAN-to-UART buffering and will drop PID responses under high bus loads, causing your HUD RPM gauge to freeze.
Calibration Protocol:
- Use a genuine ELM327 v1.5 or a dedicated CAN-to-UART bridge like the SparkFun OBD-II UART.
- Force the CAN protocol to bypass auto-detection: Send
AT SP 6(ISO 15765-4 CAN 11/500) during setup. - Hardcode headers to eliminate routing overhead: Send
AT SH 7E0andAT FC SH 7E8. - Target PID
0x0C(Engine RPM). Apply the exact formula:RPM = ((A*256)+B)/4. This reduces polling overhead by roughly 15ms per request, bringing CAN latency down to a predictable 20-30ms.
3. IMU Pitch/Roll: Sensor Fusion & EEPROM Profiling
To display an artificial horizon or pitch angle for off-road applications, the Adafruit BNO085 (approx. $45) is the current standard. Unlike raw accelerometers, the BNO085 features an onboard ARM Cortex-M0+ running sensor fusion algorithms, outputting highly stable quaternions.
However, the BNO085 requires a system calibration state of 3 (fully calibrated) before data is reliable. Performing the physical 'figure-8' calibration routine every time you start the car is impractical.
Expert Fix: Write a routine that extracts the 22-byte calibration profile from the BNO085 once it reaches state 3, and saves it to the Arduino's EEPROM or an external I2C FRAM chip. On boot, inject this saved profile back into the sensor. This ensures instant, accurate spatial tracking from the moment the ignition turns on. For a complete breakdown of this process, refer to the Adafruit BNO Sensor Guide.
Data Synchronization & Latency Matrix
The most common failure mode in an Arduino heads up display is visual desynchronization. If the RPM gauge updates in 30ms, but the GPS speed updates in 100ms, the HUD feels 'broken' to the human eye. You must align these streams using a master hardware timer.
| Data Source | Typical Latency | Update Rate | Synchronization Strategy |
|---|---|---|---|
| IMU (BNO085) | 10ms - 15ms | 50Hz - 100Hz | Use as the master clock trigger for display refresh. |
| OBD-II CAN (RPM) | 20ms - 40ms | 25Hz - 50Hz | Interpolate values between CAN frames using IMU delta-time. |
| GPS (NEO-M9N) | 100ms - 200ms | 10Hz | Apply Kalman filter; update speed text only on new valid fixes. |
| Transparent OLED (SPI) | 16ms - 33ms | 30Hz - 60Hz | Use SPI DMA (Direct Memory Access) on ESP32 to prevent CPU blocking. |
Troubleshooting Common HUD Artifacts
Even with perfect code, physical and electrical anomalies can degrade your Arduino heads up display. Use this diagnostic matrix to resolve edge cases:
Symptom: Display Flickering or Tearing
Root Cause: SPI bus contention or insufficient logic voltage. The SSD1309 driver on most transparent OLEDs requires strict 3.3V logic. If you are using a 5V Arduino Uno, the high-state voltage will cause intermittent tearing and eventually destroy the display's shift registers.
Solution: Implement a bidirectional logic level shifter (like the BSS138 MOSFET-based shifter) on all SPI lines (MOSI, SCK, CS, DC). Alternatively, migrate to the Arduino Nano ESP32, which operates natively at 3.3V and supports SPI DMA for tear-free rendering.
Symptom: Speed 'Jumping' at Intersections
Root Cause: GPS multipath errors bouncing off tall buildings or overpasses, causing the raw velocity vector to spike by 10-15 MPH instantaneously.
Solution: Implement a derivative clamp in your Kalman filter. If the calculated acceleration exceeds 3G (approx. 65 MPH/s), flag the data point as an outlier and hold the previous velocity state until the next three GPS fixes confirm the new speed.
Symptom: OBD-II Connection Drops on Engine Start
Root Cause: Voltage sag during engine cranking drops the vehicle's 12V system below 9V, causing the ELM327's internal voltage regulator to reset and drop the UART connection.
Solution: Power your Arduino and ELM327 via a dedicated buck converter (e.g., LM2596) paired with a supercapacitor (10F, 2.7V) on the 5V rail to ride out the 500ms cranking voltage sag without resetting the microcontroller.
Final Thoughts on HUD Engineering
Creating a reliable Arduino heads up display requires looking beyond basic library examples. By treating optical parallax, sensor fusion profiling, and CAN bus latency as an interconnected system, you can build a telemetry display that is not only visually striking but fundamentally accurate and safe for real-world driving environments.