
The Biological Imperative: Why Dissolved Oxygen is Non-Negotiable
In any recirculating aquaculture system (RAS) or aquaponics setup, dissolved oxygen (DO) is the single most critical water quality parameter. While pH and ammonia often steal the spotlight, a sudden drop in DO will kill your fish colony and stall your nitrifying bacteria long before an ammonia spike does. According to the USGS Water Science School, aquatic organisms rely entirely on oxygen dissolved in the water column, and levels below 3.0 mg/L induce severe physiological stress in most commercial fish species like tilapia and trout.
Integrating an Arduino dissolved oxygen sensor into your system transitions you from reactive guesswork to proactive, data-driven environmental control. By continuously polling DO levels and automating your aeration blowers via relay modules, you can maintain the optimal 5.0 to 7.0 mg/L sweet spot required for robust biofiltration and fish health.
Hardware Selection: Industrial vs. Hobbyist Probes
When building a DO monitoring node, the market generally splits into two tiers: budget-friendly galvanic sensors and lab-grade optical/galvanic systems. Choosing the right sensor dictates your wiring topology, calibration frequency, and long-term maintenance costs.
| Feature | DFRobot Gravity SEN0237 (Analog) | Atlas Scientific EZO-DO (I2C/UART) |
|---|---|---|
| Technology | Galvanic Cell | Galvanic / Optical (Model dependent) |
| Approx. Cost (2026) | $65 - $80 USD | $260 - $310 USD (Probe + Circuit) |
| Output Signal | Analog Voltage (0-3.3V/5V) | I2C, UART, or analog voltage |
| Onboard Temp Compensation | Requires external thermistor & math | Hardware-level automatic compensation |
| Calibration Stability | Drifts every 2-4 weeks | Holds calibration for 3-6 months |
| Best Use Case | Short-term school projects, basic logging | Commercial aquaponics, continuous automation |
For any real-world, unattended aquaponics deployment, the Atlas Scientific EZO-DO circuit paired with their lab-grade probe is the undisputed standard. The onboard microcontroller handles the complex Nernst equation calculations and temperature compensation, outputting a clean, parsed string via I2C directly to your Arduino or ESP32.
Wiring the Arduino Dissolved Oxygen Sensor
I2C Integration (Atlas Scientific EZO-DO)
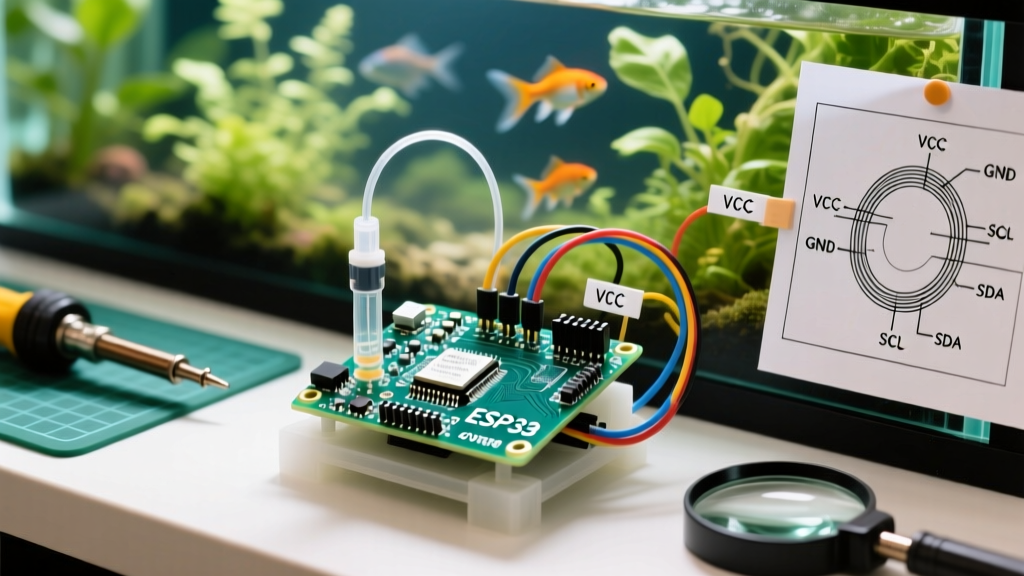
The Atlas EZO-DO operates on an I2C bus with a default address of 97 (0x61). If you are using an Arduino Uno or Nano, connect the SDA pin to A4 and the SCL pin to A5. For 3.3V logic boards like the ESP32 or Arduino Due, ensure you use a bidirectional logic level shifter (like the BSS138) to protect the sensor's I2C pull-up resistors, which are strictly 5V tolerant on older EZO revisions.
- VCC: 5V (Do not power from the Arduino's 3.3V pin)
- GND: Common ground with the Arduino
- TX/RX: Leave floating if using I2C
- PGND: Isolated probe ground (crucial for noise rejection in pump-heavy environments)
The Hidden Variable: Temperature Compensation
Dissolved oxygen is inversely proportional to water temperature. Cold water holds significantly more oxygen than warm water. If you are using the analog DFRobot sensor, you must wire a separate DS18B20 waterproof temperature probe and apply the compensation formula in your Arduino sketch. The EZO-DO handles this internally, but you must send the temperature reading to the EZO chip via I2C commands (T,24.5) if you are using an external high-accuracy PT1000 RTD for precision scientific logging.
Real-World Calibration Protocol
Out of the box, DO sensors are uncalibrated. A two-point calibration is mandatory for accurate readings in nutrient-rich aquaponics water. You will need a bottle of distilled water and a zero-DO calibration packet (typically containing sodium sulfite, costing around $15).
Pro-Tip: Never calibrate a DO sensor in your actual fish tank. The biofilm, suspended solids, and fluctuating temperatures will ruin your baseline reference points. Always calibrate in a clean, isolated beaker.
- Prepare the Zero Solution: Mix the sodium sulfite powder into a beaker of distilled water. This chemical reaction rapidly strips all oxygen from the water, creating a true 0.0 mg/L environment.
- Submerge and Stir: Place the probe in the zero solution. Stir gently for 60 seconds to ensure the galvanic membrane is fully exposed to the depleted water.
- Issue the Zero Command: If using I2C, send the string
Cal,0to the EZO-DO chip. Wait for the LED to flash green, confirming the zero-point is locked. - Rinse Thoroughly: Remove the probe and rinse with clean distilled water. Do not wipe the membrane with a paper towel, as this can generate static charges or scratch the optical layer.
- Saturation Calibration (100%): Suspend the probe in the air (ensure the membrane is dry) OR submerge it in vigorously aerated distilled water. Send the command
Cal(orCal,100depending on firmware). The sensor now knows the exact voltage delta between 0% and 100% saturation at your current barometric pressure.
Failure Modes and Maintenance in Harsh Environments
Aquaponics water is a hostile environment for electronics. It is humid, slightly acidic, and teeming with biological growth. Understanding how your Arduino dissolved oxygen sensor will fail allows you to implement preventative maintenance.
- Membrane Fouling (Biofilm): Within 72 hours, a slimy layer of heterotrophic bacteria will coat the probe tip. This creates a diffusion barrier, causing DO readings to artificially drop. Mitigation: Install a wiper mechanism or schedule a weekly manual rinse with a soft sponge. Never use chemical algaecides on the probe.
- Electrolyte Depletion (Galvanic Probes): Galvanic sensors consume their internal electrolyte as they generate a current proportional to oxygen. Expect to replace the electrolyte solution and PTFE membrane cap every 12 to 18 months in continuous 24/7 operation.
- Electrical Noise from Water Pumps: Submersible AC water pumps introduce massive common-mode noise into the water column. If your Arduino readings are jittering by ±2.0 mg/L, you have a grounding loop. Mitigation: Ensure the sensor's PGND pin is tied to an isolated earth ground, and power your Arduino via an isolated DC-DC converter rather than a shared USB bus.
Automating Aeration with Hysteresis Control
The ultimate goal of integrating an Arduino dissolved oxygen sensor is to automate your aeration system. However, simply turning an air pump on when DO drops below 5.0 mg/L and off when it hits 5.1 mg/L will destroy your relay module through rapid switching (relay chatter).
You must implement hysteresis in your C++ code. Set a lower threshold (e.g., 4.5 mg/L) to trigger a 5V opto-isolated relay module, which switches a 120V/240V regenerative blower. Set the upper threshold to 6.5 mg/L to cut power. This 2.0 mg/L deadband ensures the blower runs in long, efficient cycles rather than pulsing on and off every few seconds.
Code Logic Snippet for Hysteresis:if (do_level < 4.5 && !blower_active) { digitalWrite(RELAY_PIN, HIGH); blower_active = true; }else if (do_level > 6.5 && blower_active) { digitalWrite(RELAY_PIN, LOW); blower_active = false; }
Conclusion
Deploying an Arduino dissolved oxygen sensor in a real-world aquaponics or hydroponic system is an exercise in managing biological and electrical variables. By selecting a temperature-compensated I2C probe like the Atlas Scientific EZO-DO, adhering to a strict two-point sodium sulfite calibration protocol, and implementing hysteresis in your relay automation, you build a resilient life-support system. According to data from the EPA's National Aquatic Resource Surveys, continuous, automated monitoring is the only reliable method to prevent catastrophic hypoxic events in closed-loop aquatic environments. Invest in the right hardware, respect the calibration chemistry, and your aquatic ecosystem will thrive.