
Beyond 'Hello World': Why the 1602 Still Matters
In the rapidly evolving landscape of microcontroller peripherals, modern OLEDs and TFT touchscreens often steal the spotlight. Yet, the classic Arduino 1602 LCD display remains an indispensable workhorse for real-world DIY engineering in 2026. Why? Because for applications requiring high visibility in direct sunlight, extreme temperature tolerance, and ultra-low power consumption, the 16x2 character LCD (based on the ubiquitous Hitachi HD44780 controller) is virtually unmatched. Priced between $2.50 and $4.50 per unit, it offers a rugged, low-cost telemetry solution for homebrewing fermentation monitors, greenhouse climate stations, and industrial control panels.
However, transitioning from a breadboard tutorial to a permanent, enclosed deployment requires a deep understanding of hardware modifications, I2C bus management, and environmental hardening. This guide moves past basic wiring to explore the professional integration of the 1602 module.
The I2C Backpack Paradigm: Saving Pins and Sanity
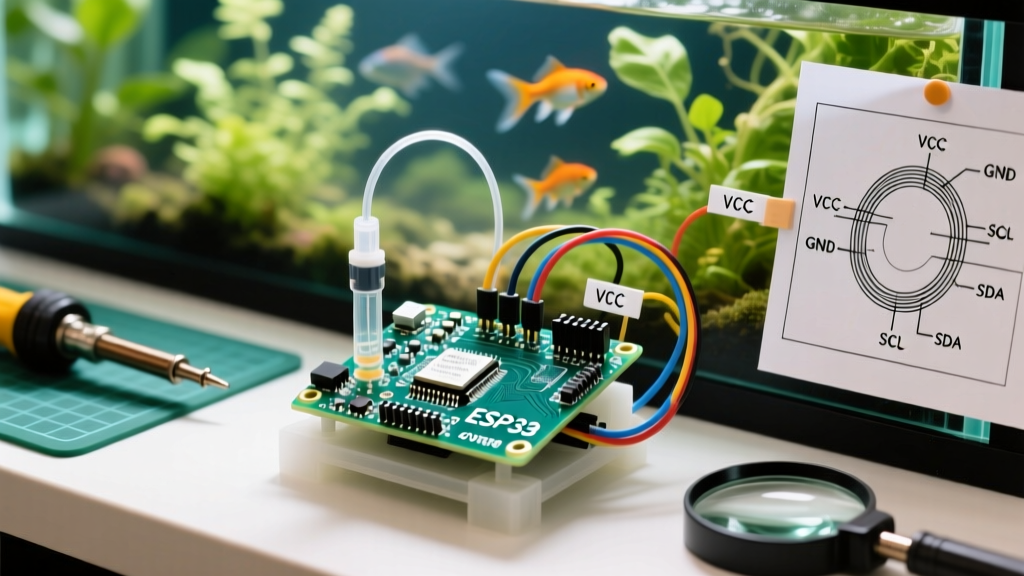
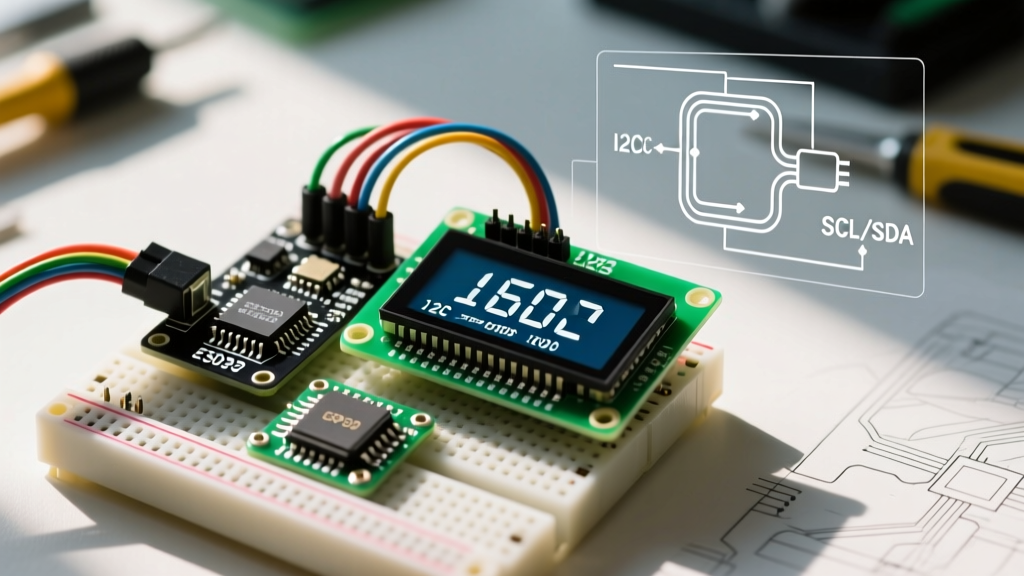
Wiring a raw 1602 display in parallel mode consumes six digital I/O pins on your Arduino, which is unacceptable for complex sensor nodes. In real-world applications, engineers universally adopt the PCF8574 I2C backpack. This small daughterboard solders to the rear of the LCD, reducing the interface to just four wires: VCC, GND, SDA, and SCL.
According to the Texas Instruments PCF8574 Datasheet, this I/O expander translates I2C serial data into the parallel signals required by the HD44780 chip. However, integrating these backpacks introduces a common real-world hurdle: I2C address conflicts.
| Backpack IC Variant | Default I2C Address | Jumper Configuration | Common Use Case |
|---|---|---|---|
| PCF8574T | 0x27 | A0, A1, A2 open (High) | Standard Amazon/AliExpress modules |
| PCF8574AT | 0x3F | A0, A1, A2 open (High) | Alternative batches, often unlabeled |
| PCF8574 (Modified) | 0x20 - 0x26 | Bridging A0-A2 to GND | Multi-display dashboards |
Pro Tip: Always run an I2C Scanner sketch before finalizing your code. Assuming the address is 0x27 without verification is the leading cause of 'blank screen' frustration in community forums.
Real-World Hardware Modifications
Out-of-the-box 1602 modules are designed for indoor, room-temperature testing. Deploying them in a greenhouse or an outdoor weather station requires specific hardware interventions to ensure longevity and readability.
1. Solving the Contrast Drift Problem
The standard module includes a 10KΩ carbon-film trimmer potentiometer on the V0 (contrast) pin. In environments with high humidity or temperature fluctuations, the resistance of this cheap potentiometer drifts, causing the display to fade to white or turn completely black. The Fix: Desolder the trim pot entirely. Measure the optimal resistance at room temperature (usually between 1KΩ and 2.2KΩ) and solder a fixed, high-tolerance metal film resistor between the V0 pin and Ground. This guarantees permanent contrast stability.
2. Backlight Current Limiting
Many budget I2C backpacks drive the LCD backlight LEDs directly from the 5V rail through a basic PNP transistor without adequate current limiting. Over months of continuous operation, this degrades the LEDs, resulting in uneven dimming. If your backpack lacks a visible current-limiting resistor on the Anode (Pin 15) trace, manually splice a 10Ω to 47Ω (1/4W) resistor in series with the 5V backlight feed to extend the LED lifespan indefinitely.
3. Environmental Hardening
For high-humidity applications like hydroponics controllers, apply a thin layer of acrylic conformal coating to the exposed PCB traces on the back of the module. Avoid coating the potentiometer (if retained) or the I2C header pins. Furthermore, use a UV-filtering acrylic bezel over the screen to prevent the polarizing film from degrading and bubbling under direct sunlight.
Optimizing Software and CGRAM
When coding for the Arduino 1602 LCD display, the standard Arduino LiquidCrystal Reference library is sufficient for basic text. However, for I2C backpacks, you must use the LiquidCrystal_I2C library to handle the PCF8574 bit-shifting.
To elevate your project's user interface, leverage the HD44780's CGRAM (Character Generator RAM). The controller allows you to define up to eight custom 5x8 pixel characters. This is heavily utilized in real-world dashboards to render battery capacity bars, custom temperature degree symbols, or directional flow arrows for liquid cooling systems.
Memory Constraint Warning: CGRAM is limited to 64 bytes. If your project requires complex graphical icons or dynamic progress bars that exceed eight custom characters, you must abandon the 1602 and upgrade to a 128x64 I2C OLED or an ST7920-based graphical LCD.
Real-World Application Scenarios
Understanding where the 1602 excels helps in making the right design choices for your 2026 engineering projects.
- Homebrewing Fermentation Monitor: Paired with a DS18B20 waterproof temperature probe and an ESP32, the 1602 displays specific gravity and ambient temperature. The high-contrast green/yellow backlight is easily readable in dim basements or closets where fermentation chambers are typically stored.
- 3D Printer Enclosure Status Panel: Used to display PID tuning parameters and chamber humidity. Unlike TFT screens, the 1602 does not generate excess heat inside the enclosure, nor does it suffer from screen burn-in when left displaying a static 'Heating...' message for 14-hour print jobs.
- Server Rack UPS Telemetry: In IT closets, a 1602 connected to a Raspberry Pi or Arduino via I2C provides instant, at-a-glance battery voltage and load percentage without requiring a network connection or a fragile glass touchscreen.
Real-World Failure Modes and Troubleshooting
Even with perfect wiring, real-world deployments encounter edge cases. Refer to this diagnostic matrix when your display misbehaves in the field.
| Symptom | Probable Cause | Engineering Solution |
|---|---|---|
| Top row shows solid black boxes | Display uninitialised; I2C address mismatch or missing pull-up resistors. | Verify address with I2C Scanner. Add 4.7KΩ pull-up resistors to SDA/SCL lines if cable length exceeds 30cm. |
| Text scrambles after relay switching | EMI (Electromagnetic Interference) from inductive loads resetting the HD44780. | Route I2C wires away from relay coils. Add a 100nF decoupling capacitor directly across the LCD VCC and GND pins. |
| Faint or 'ghost' characters | V0 contrast voltage too high; backlight LED degradation. | Recalibrate fixed V0 resistor. Check backlight current draw with a multimeter (should be 20-50mA). |
| Screen works on USB, fails on battery | Voltage drop below 4.5V under load causing logic failure. | Use a dedicated 5V buck converter (e.g., LM2596) rather than the Arduino's linear onboard regulator. |
Sourcing and Component Selection in 2026
When procuring Arduino 1602 LCD displays for commercial or permanent installations, avoid the absolute cheapest unbranded modules. Look for units that specify an ST7066U or genuine HD44780 controller clone, as these exhibit better timing tolerances with the I2C expander. For applications requiring wider viewing angles, seek out 'Negative' 1602 displays (white text on a black/blue background), which offer superior readability in low-light environments compared to the standard positive green-yellow variants.
For comprehensive hardware teardowns and wiring diagrams, the Adafruit Character LCD Guide remains an exceptional visual reference for understanding the underlying pin mappings of the I2C backpacks.
By treating the 1602 not as a mere beginner toy, but as a robust industrial telemetry component, you can build highly reliable, low-power interfaces that outlast and outperform more fragile modern alternatives.