
The Evolution of Environmental Sensing in 2026
When building a reliable temperature and humidity sensor Arduino project, the hardware landscape has shifted dramatically over the last few years. While the classic DHT11 and DHT22 sensors were once the undisputed defaults for hobbyists, modern embedded designs now heavily favor I2C-based alternatives like the AHT20 and BME280. These newer sensors offer superior accuracy, faster polling rates, and native I2C bus integration, eliminating the fragile timing-dependent 1-Wire protocols of the past.
In this comprehensive integration tutorial, we will dissect the architectural differences between legacy and modern environmental sensors. We will walk through a precise wiring schematic for the AHT20 on an Arduino Uno R4 Minima, provide production-ready C++ code with data smoothing, and explore the critical failure modes that separate amateur prototypes from robust field deployments.
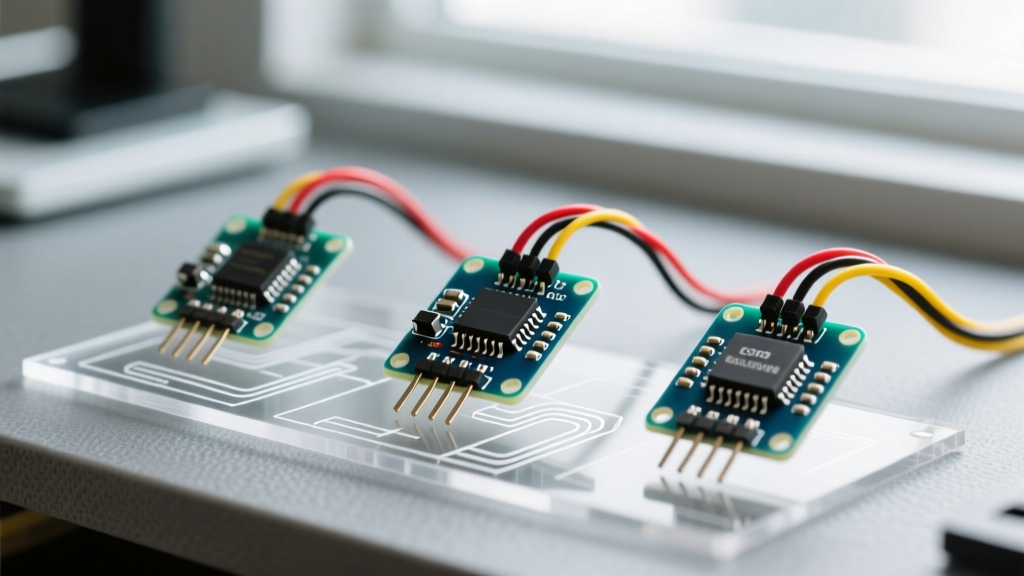
Sensor Comparison Matrix: DHT22 vs. AHT20 vs. BME280
Selecting the right silicon for your microcontroller depends on your environmental constraints, budget, and bus topology. Below is a technical comparison of the three most common sensors used in the Arduino ecosystem today.
| Feature | DHT22 (AM2302) | AHT20 | BME280 |
|---|---|---|---|
| Interface | Proprietary 1-Wire | I2C (Address: 0x38) | I2C / SPI |
| Temperature Accuracy | ±0.5°C | ±0.3°C | ±1.0°C |
| Humidity Accuracy | ±2% RH (10-90%) | ±2% RH (0-100%) | ±3% RH |
| Polling Rate Limit | 0.5 Hz (2 seconds) | ~2 Hz (500ms) | Up to 157 Hz |
| Operating Voltage | 3.3V to 5.5V | 2.0V to 5.5V | 1.71V to 3.6V |
| Average Module Cost | $4.50 - $6.00 | $2.00 - $3.50 | $6.50 - $9.00 |
As the matrix illustrates, the AHT20 provides the best balance of cost, accuracy, and modern I2C compatibility, making it our primary focus for this integration guide.
Hardware Requirements and Bill of Materials (BOM)
To replicate this build, you will need the following components. Prices reflect standard 2026 market rates from major distributors like Adafruit, SparkFun, and DigiKey.
- Microcontroller: Arduino Uno R4 Minima or Nano ESP32 ($22 - $28)
- Sensor Module: AHT20 Breakout Board with onboard 3.3V LDO and pull-ups ($3.00)
- Wiring: 4-pin JST-SH cable or 22 AWG silicone stranded wire ($4.00)
- Pull-up Resistors: 4.7kΩ (Only required if using a raw AHT20 module without a breakout board)
Wiring the AHT20 via I2C (Step-by-Step)
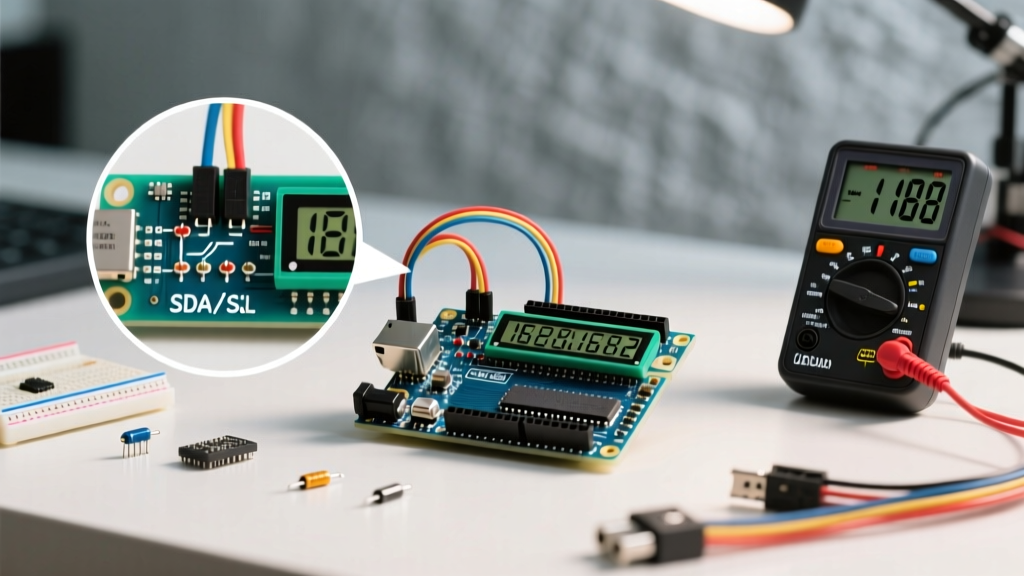
The Inter-Integrated Circuit (I2C) protocol requires two shared lines: Serial Data (SDA) and Serial Clock (SCL). Because the AHT20 operates natively at 3.3V logic, connecting it directly to a 5V Arduino Uno R3 without level shifting can degrade the sensor over time. However, the newer Arduino Uno R4 features native 3.3V I/O tolerance on its I2C pins, simplifying the design.
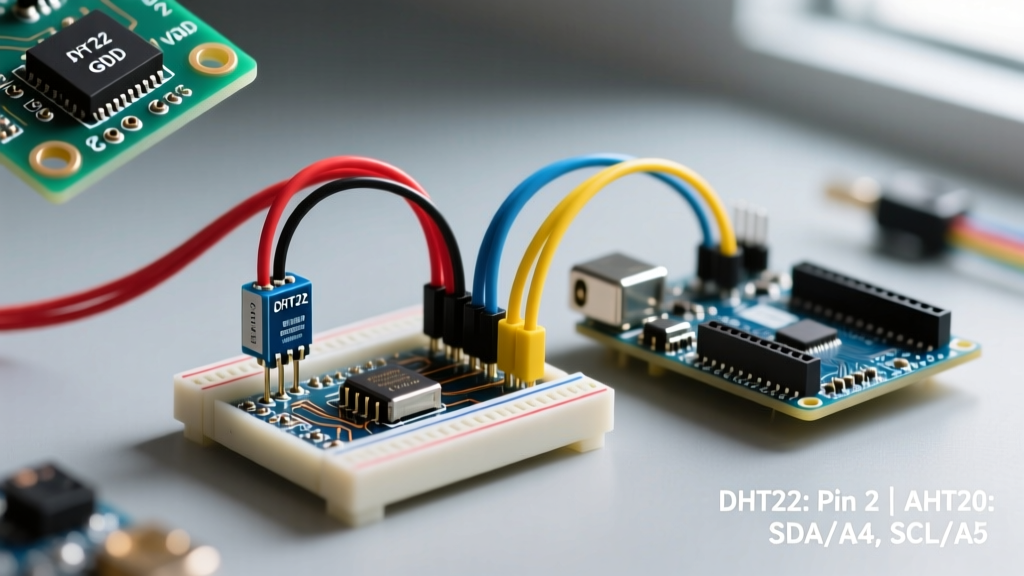
Pinout Configuration
- VCC: Connect to the Arduino 3.3V or 5V pin (if the breakout has an onboard voltage regulator).
- GND: Connect to Arduino GND. Ensure a short, thick ground path to minimize noise.
- SDA: Connect to Arduino A4 (Uno R3) or the dedicated SDA pin on the R4/ESP32 headers.
- SCL: Connect to Arduino A5 (Uno R3) or the dedicated SCL pin.
Engineering Note on Pull-Up Resistors: I2C is an open-drain bus. It requires pull-up resistors to function. Most commercial AHT20 breakout boards include 4.7kΩ pull-ups to 3.3V. If you are designing a custom PCB or using a bare $0.80 raw AHT20 module, you must add 4.7kΩ resistors between the SDA/SCL lines and VCC. For a deep dive into I2C bus capacitance and pull-up calculations, refer to the SparkFun I2C Tutorial.
Arduino C++ Implementation and Data Smoothing
Raw sensor data from capacitive humidity elements often exhibits high-frequency noise due to electromagnetic interference (EMI) or minor thermal fluctuations. Instead of pushing raw readings to a display or MQTT broker, we implement a simple exponential moving average (EMA) filter directly on the MCU.
Ensure you have installed the Adafruit AHTX0 Library via the Arduino Library Manager before compiling.
#include <Wire.h>
#include <Adafruit_AHTX0.h>

Adafruit_AHTX0 aht;

// EMA Filter variables
float tempEMA = 0.0;
float humEMA = 0.0;
const float alpha = 0.15; // Smoothing factor (0.0 to 1.0)
bool isInitialized = false;

void setup() {
  Serial.begin(115200);
  while (!Serial) delay(10);

  if (!aht.begin()) {
    Serial.println("Failed to find AHT20 chip. Check I2C wiring.");
    while (1) { delay(10); }
  }
  Serial.println("AHT20 Initialized Successfully.");
}

void loop() {
  sensors_event_t humidity, temp;
  aht.getEvent(&humidity, &temp);

  if (isnan(temp.temperature) || isnan(humidity.relative_humidity)) {
    Serial.println("Read Error: Data corrupted or bus timeout.");
    delay(2000);
    return;
  }

  // Apply Exponential Moving Average
  if (!isInitialized) {
    tempEMA = temp.temperature;
    humEMA = humidity.relative_humidity;
    isInitialized = true;
  } else {
    tempEMA = (alpha * temp.temperature) + ((1 - alpha) * tempEMA);
    humEMA = (alpha * humidity.relative_humidity) + ((1 - alpha) * humEMA);
  }

  Serial.print("Smoothed Temp: ");
  Serial.print(tempEMA, 2);
  Serial.print(" C | Smoothed RH: ");
  Serial.print(humEMA, 2);
  Serial.println(" %");

  delay(2000); // 0.5 Hz polling rate to prevent self-heating
}
Critical Failure Modes and Edge Cases
Integrating a temperature and humidity sensor Arduino setup in a controlled lab environment is trivial. Deploying it in the real world introduces physics and electrical engineering challenges that break poorly designed systems.
1. Thermal Self-Heating Error
Capacitive humidity sensors require active circuitry to measure the dielectric constant of the polymer layer. This draws current, which generates localized heat. If you poll the AHT20 at 10 Hz, the sensor's internal temperature will rise by up to 1.5°C above ambient, severely skewing both temperature and relative humidity calculations (since RH is highly temperature-dependent). Solution: Limit polling to 0.5 Hz (once every 2 seconds) or use the sensor's hardware sleep modes between reads.
2. Condensation and Sensor Saturation
If the ambient environment reaches 100% RH and condensation forms on the sensor's PTFE membrane, the polymer element can become saturated. The sensor will read 99.9% RH and may take hours to dry out and recover. In high-humidity applications (like greenhouse automation or terrariums), you must design a physical enclosure with a hydrophobic PTFE vent and consider integrating a micro-heater element to periodically bake off condensation.
3. I2C Bus Capacitance and Line Length
Running I2C wires over long distances increases bus capacitance. If the capacitance exceeds 400pF (roughly equivalent to 30cm of unshielded ribbon cable), the voltage rise time on the SDA/SCL lines will be too slow, causing the Arduino to miss clock edges and throw I2C timeout errors. For remote temperature and humidity sensor Arduino deployments exceeding 1 meter, you must use an I2C bus extender IC (like the PCA9600) or switch to a differential RS-485 protocol.
PCB Layout Considerations for Custom Shields
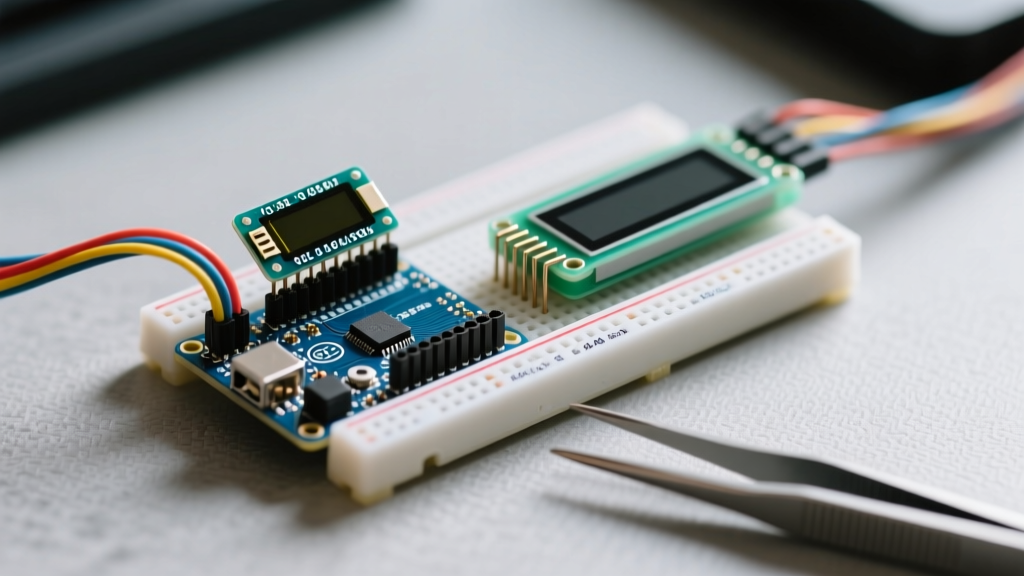
If you are moving from a breadboard prototype to a custom Printed Circuit Board (PCB), component placement is critical for environmental accuracy.
- Thermal Isolation: Place the AHT20 as far away from the Arduino's voltage regulator and microcontroller die as physically possible. Use thermal relief vias sparingly under the sensor pads to prevent the main PCB ground plane from acting as a heatsink that transfers MCU warmth to the sensor.
- Airflow Dynamics: Do not enclose the sensor in a sealed plastic housing. Design the PCB enclosure with passive convection slots (chimney effect) to allow ambient air to naturally wash over the sensing element.
- Conformal Coating: When applying acrylic or silicone conformal coatings to protect your PCB from corrosive environments, meticulously mask the sensor's intake port. Even a microscopic layer of conformal coating over the MEMS vent will permanently destroy the humidity reading capability.
Summary
Building a professional-grade temperature and humidity sensor Arduino monitor requires moving beyond simple plug-and-play wiring. By selecting the I2C-based AHT20, implementing software-based EMA filtering, respecting thermal self-heating limits, and adhering to strict I2C bus capacitance rules, you ensure your environmental data remains accurate, stable, and reliable across years of continuous field operation.