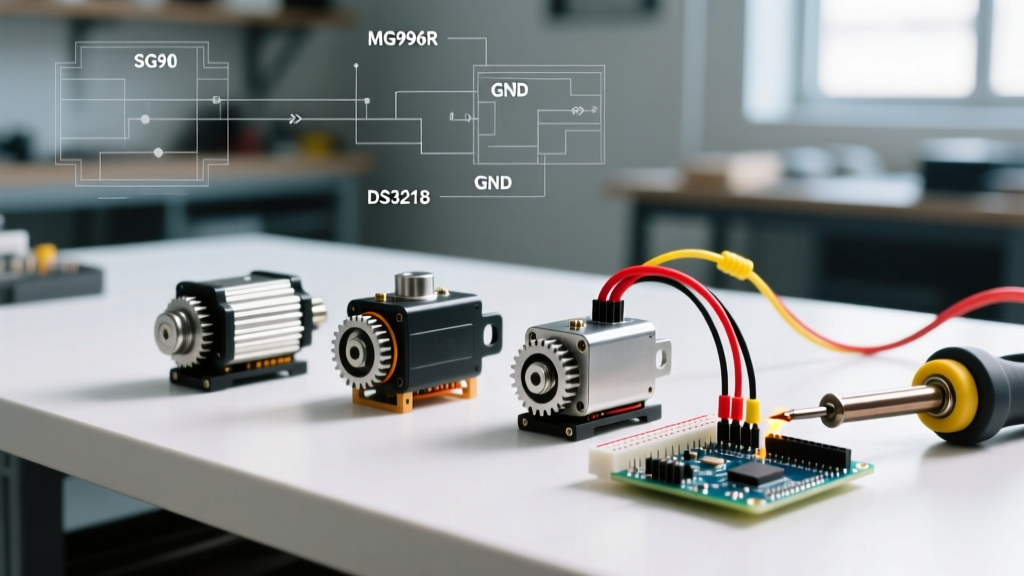

The Core Contenders in Arduino RC Servo Control
Mastering Arduino RC servo control is a rite of passage for robotics and automation enthusiasts. However, treating all RC servos as interchangeable components is a fast track to stripped gears, microcontroller brownouts, and severe PWM jitter. The pulse-width modulation (PWM) signal might be universal, but the internal control loops, gear metallurgy, and current draw profiles vary wildly across different models.
In this component comparison, we dissect three of the most widely used servos in the maker ecosystem: the micro-sized SG90, the standard analog workhorse MG996R, and the high-torque digital powerhouse DS3218. As of 2026, supply chain stabilizations have shifted pricing and availability, making it critical to understand exactly what you are buying and how to wire it safely.
1. SG90 (The Micro Prototyping Standard)
The TowerPro SG90 is a 9-gram micro servo featuring nylon gears. It is the default inclusion in almost every beginner Arduino starter kit. While it operates perfectly on the Arduino's internal 5V regulator for light tasks, its internal potentiometer and analog feedback loop are highly susceptible to mechanical noise and gear backlash.
- Best For: Lightweight pan/tilt camera mounts, small RC toy steering, and proof-of-concept prototyping.
- Failure Mode: Nylon gears strip rapidly under sustained loads exceeding 1.2 kg-cm. The internal potentiometer wipers also wear out quickly, leading to center-position drift.
2. MG996R (The Heavy-Duty Analog Workhorse)
The MG996R is a 55-gram standard servo boasting brass bushings and metal gears. It delivers roughly 10 to 11 kg-cm of stall torque at 6.0V. However, the market is currently saturated with counterfeit MG996Rs that use plastic gears painted silver to mimic metal. Genuine units (and high-quality clones from brands like DSServo) require robust external power delivery due to massive current spikes during stall conditions.
- Best For: Robotic arms, heavy-duty rover steering, and automated latches.
- Failure Mode: Counterfeit gear stripping, and severe voltage sag causing Arduino resets if powered directly from the MCU's 5V pin.
3. DS3218 (The High-Torque Digital Precision Option)
The DS3218 represents the modern standard for high-performance DIY robotics. It utilizes a digital control loop, meaning an internal microcontroller reads the potentiometer and drives the motor with high-frequency PWM, rather than relying on a simple analog comparator circuit. This results in a much tighter deadband, faster transient response, and significantly less jitter under load.
- Best For: Precision CNC camera sliders, heavy-payload robotic joints, and active suspension systems.
- Failure Mode: Overheating the internal digital driver IC if held in a stalled position against a mechanical hard stop for more than a few seconds.
Head-to-Head Specification Matrix
The following table highlights the critical engineering differences you must account for when designing your power delivery and mechanical linkages.
| Feature | SG90 (Micro) | MG996R (Standard Analog) | DS3218 (Standard Digital) |
|---|---|---|---|
| Stall Torque (6.0V) | 1.8 kg-cm | 10.5 kg-cm | 20.0 kg-cm |
| Stall Current Draw | ~200 mA | ~2.5 A | ~3.0 A |
| Gear Material | Nylon (Plastic) | Metal (Brass/Steel) | Metal (Hardened Steel) |
| Control Loop | Analog | Analog | Digital (MCU-based) |
| Deadband Width | ~10 µs | ~8 µs | ~1 - 2 µs |
| Typical 2026 Price | $2.00 - $3.50 | $8.00 - $12.00 | $18.00 - $24.00 |
Power Architecture: The #1 Point of Failure
The most common mistake in Arduino RC servo control is attempting to power an MG996R or DS3218 directly from the Arduino's 5V output pin. The Arduino's onboard linear regulator (often an NCP1117 or similar) typically maxes out between 500mA and 800mA. When an MG996R starts moving a heavy load, it can instantly draw over 2 Amps. This causes the Arduino's voltage to plummet, triggering a brownout reset, corrupting EEPROM data, or permanently frying the onboard regulator.
Expert Rule of Thumb: Never share the Arduino's 5V rail with any servo that exceeds a 500mA stall current. Always use an external power rail.
The UBEC Solution
For standard and digital servos, utilize a UBEC (Universal Battery Eliminator Circuit). A Hobbywing 5V/3A UBEC (priced around $6 in 2026) efficiently steps down a 2S to 4S LiPo battery (7.4V - 14.8V) to a clean, high-current 5V rail.
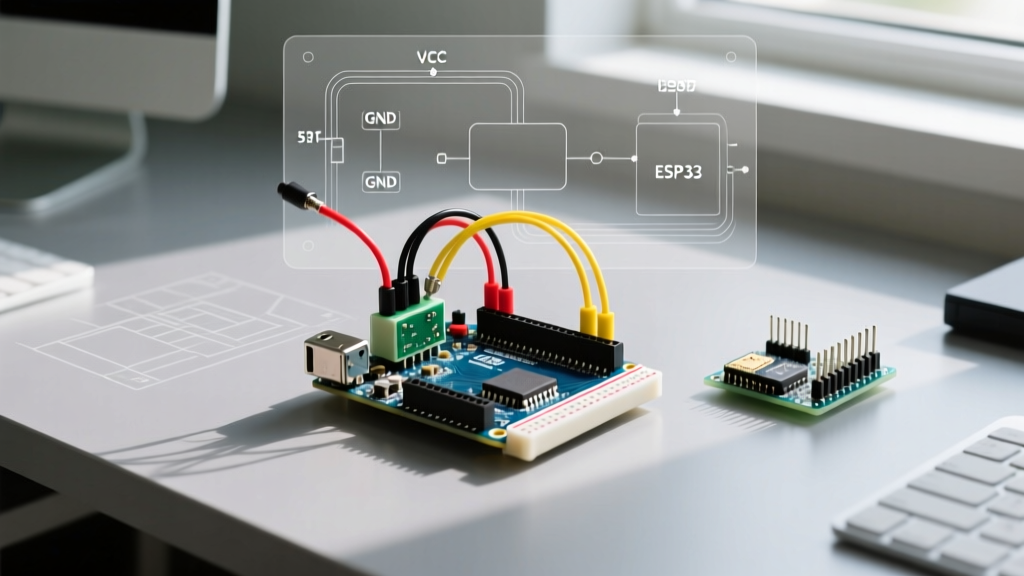
Critical Wiring Step: You must tie the ground (GND) of the external UBEC power supply directly to the Arduino's GND pin. Without a common ground reference, the PWM signal from the Arduino will float, resulting in erratic servo behavior or complete failure to respond. For detailed wiring schematics, refer to the official Arduino servo motor documentation.
Capacitor Sizing for Transient Spikes
Even with a UBEC, long power wires introduce inductance that can cause localized voltage dips at the servo terminals during sudden direction reversals. To mitigate this, solder a 470µF 10V electrolytic capacitor directly across the VCC and GND pins of the servo connector. This acts as a local energy reservoir, absorbing transient spikes and smoothing out the current draw.
PWM Signal Nuances: Analog vs. Digital Control Loops
While the standard Arduino Servo library abstracts much of the complexity, understanding the underlying signal requirements is vital for precision applications. According to the Arduino Servo Library Reference, the default pulse width ranges from 544µs to 2400µs. However, true RC standards dictate a 1000µs to 2000µs range for 0 to 180 degrees.
Analog Servos (SG90, MG996R)
Analog servos expect a 50Hz PWM signal (one pulse every 20ms). The internal comparator circuit measures the width of this pulse against the voltage of the internal potentiometer. If the pulse width is 1500µs, the motor drives until the potentiometer reads the center position. Because the analog circuit only updates the motor drive once per 20ms pulse, analog servos exhibit a wider 'deadband' and can chatter or jitter when holding a position under varying loads.
Digital Servos (DS3218)
Digital servos feature an internal microcontroller that processes the incoming PWM signal and drives the internal motor using a much higher frequency (often 1kHz to 5kHz). This allows the DS3218 to correct positional errors hundreds of times per pulse cycle. Furthermore, digital servos can often handle higher PWM frame rates (up to 333Hz / 3ms periods), which reduces latency in high-speed robotic control loops. When programming a DS3218, use the writeMicroseconds() function rather than write() to bypass the library's default analog mapping and achieve sub-degree precision.
Real-World Troubleshooting & Jitter Mitigation
If your servos are twitching, buzzing, or failing to hold position, run through this diagnostic checklist:
- Check the Common Ground: 90% of jitter issues stem from a missing or high-resistance ground connection between the MCU and the servo power supply.
- Signal Wire Length: PWM signals are susceptible to electromagnetic interference (EMI). If your servo signal wires exceed 12 inches, they will act as antennas, picking up noise from the servo's own brushed DC motor. Use twisted-pair wiring or shielded cables for long runs.
- Pin Interruptions: On many Arduino boards (like the Uno/Nano), the Servo library disables hardware PWM on pins 9 and 10 when a servo is attached. If your project relies on analogWrite() for motor drivers on those pins, move your servo control to pins 3, 5, or 6. For advanced multitasking without timer conflicts, consult the Adafruit Motor Selection Guide for alternative I2C PWM driver boards like the PCA9685.
- Mechanical Binding: A buzzing MG996R that isn't moving is likely stalled against a mechanical hard stop. The internal analog circuit will continuously slam the motor against the limit, drawing maximum stall current and generating immense heat. Always design linkages with physical compliance or software limits to prevent stalling.
Decision Framework: Which Servo Should You Choose?
Selecting the right component for your Arduino RC servo control project ultimately depends on your mechanical load and precision requirements.
- Choose the SG90 if you are building a lightweight desktop automaton, a simple radar sweep sensor mount, or teaching a classroom of beginners where budget and simplicity are the primary constraints.
- Choose the MG996R if you need raw holding power for a robotic gripper or a steering mechanism on an outdoor rover, provided you have the space for a dedicated UBEC power supply and can source from a reputable vendor to avoid counterfeit plastic gears.
- Choose the DS3218 if your project demands high torque combined with tight positional accuracy, such as a camera gimbal, a walking biped robot, or an automated manufacturing jig where analog deadband chatter is unacceptable.
By matching the servo's internal architecture to your project's physical demands, and respecting the strict power delivery requirements of high-torque models, you will eliminate the most common pitfalls of servo integration and build vastly more reliable embedded systems.