
Ditching the Default Library for AccelStepper
When beginners search for arduino stepper motor code, they usually land on the official Arduino Stepper library. While functional for basic DC motor shielding, it is fundamentally flawed for precision peripheral interfacing. The default library uses blocking delay() functions, freezing your microcontroller during movement, and lacks hardware acceleration profiles. In 2026, modern CNC, 3D printing, and robotics projects demand non-blocking, trapezoidal motion profiles. This is where the AccelStepper library documentation becomes your most valuable resource. By leveraging hardware interrupt timing and mathematical acceleration curves, AccelStepper allows your Arduino to process sensor inputs and serial commands while the motor smoothly ramps up to speed.
2026 Hardware Bill of Materials
Before writing a single line of code, you need the right peripheral stack. Attempting to drive a stepper motor directly from Arduino GPIO pins will instantly destroy your microcontroller due to current overdraw. You must use a dedicated driver. Below is the standard, cost-effective BOM for a robust beginner setup.
| Component | Recommended Model | Approx. Price (2026) | Purpose |
|---|---|---|---|
| Microcontroller | Arduino Uno R4 Minima | $20.00 | Main logic and pulse generation |
| Stepper Motor | NEMA 17 (42Ncm / 60oz-in) | $13.50 | High-torque bipolar stepper |
| Motor Driver | Pololu A4988 Carrier | $2.95 | Microstepping and current regulation |
| Power Supply | 12V 5A Switching PSU | $14.00 | Dedicated motor power (VMOT) |
| Capacitor | 100µF Electrolytic (25V+) | $0.50 | Voltage spike protection for driver |
Pro-Tip: Never power the A4988 VMOT pin from the Arduino's 5V barrel jack or USB port. Stepper motors draw massive current spikes during coil energization. Always use a dedicated 12V external PSU with a minimum 5A rating to prevent brownouts.
Wiring the A4988 Driver to Arduino Uno
The Pololu A4988 Stepper Motor Driver Carrier translates simple logic-level step and direction signals into complex dual-H-bridge coil energization sequences. Proper wiring is critical to avoid magic smoke.
Logic and Control Connections
- STEP Pin: Connect Arduino Digital Pin 3 to A4988 STEP.
- DIR Pin: Connect Arduino Digital Pin 2 to A4988 DIR.
- Logic Ground: Connect Arduino GND to A4988 GND (bottom right logic side).
- VDD: Connect Arduino 5V to A4988 VDD (powers the internal logic, not the motor).
Power and Motor Connections
- VMOT: Connect 12V PSU Positive to A4988 VMOT.
- Power Ground: Connect 12V PSU Negative to A4988 GND (top right power side).
- Decoupling Capacitor: Solder the 100µF capacitor directly across VMOT and GND on the carrier board.
- Motor Coils: Connect NEMA 17 Coil A (usually black/green) to 1A and 1B. Connect Coil B (usually red/blue) to 2A and 2B.
Microstepping Configuration
By default, the A4988 operates in full-step mode (200 steps per revolution). For smoother operation and reduced resonance, we configure 1/16th microstepping by tying the MS1, MS2, and MS3 pins directly to the 5V VDD logic rail.
The Critical Vref Current Limiting Step
This is where 90% of beginners fail. The A4988 uses a sense resistor to regulate current. If you do not manually tune the Vref (Reference Voltage) potentiometer, you will either starve the motor of torque or overheat the driver chip until it triggers thermal shutdown.
The Formula: Vref = Imax × 8 × Rsense
Standard A4988 clone boards typically use a 0.05Ω sense resistor. If your NEMA 17 motor is rated for 1.5A per phase, the calculation is:
Vref = 1.5A × 8 × 0.05Ω = 0.60V
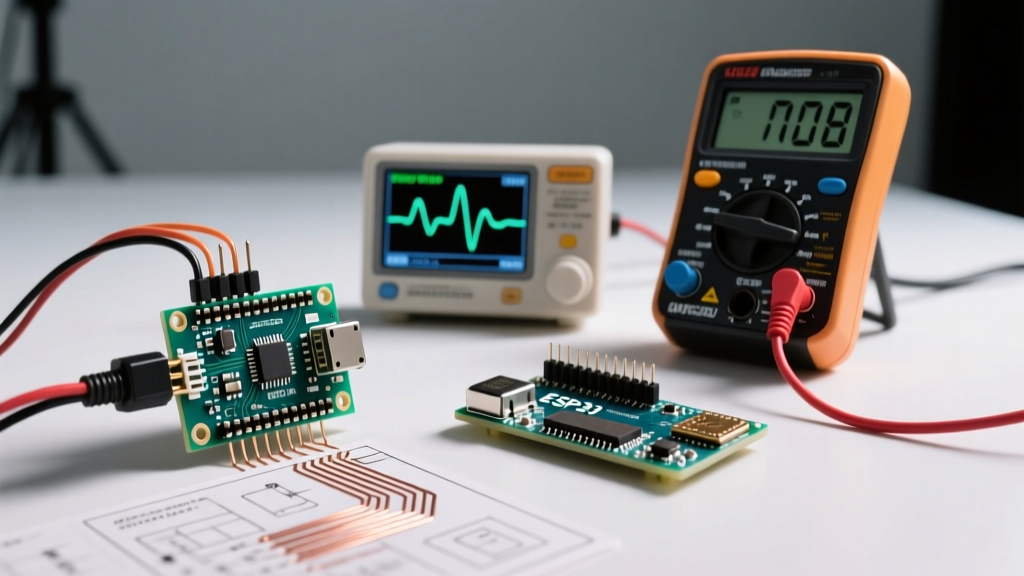
Calibration Procedure: Power up the board with the motor disconnected. Place your multimeter's black probe on the Arduino GND and the red probe on the tiny metal trim-pot on the A4988. Use a ceramic screwdriver to turn the pot until the multimeter reads exactly 0.60V. Do not use a metal screwdriver, as it will short the pins and destroy the driver.
Production-Ready Arduino Stepper Motor Code
Install the AccelStepper library via the Arduino Library Manager. The following code implements a non-blocking, continuously reversing motion profile with smooth acceleration.
#include <AccelStepper.h>

// Define pins: Step = 3, Direction = 2
AccelStepper stepper(AccelStepper::DRIVER, 3, 2);

void setup() {
  // 1/16 microstepping = 3200 steps per revolution
  stepper.setMaxSpeed(1600);      // 0.5 revolutions per second max
  stepper.setAcceleration(800);   // Ramps to max speed in 2 seconds
  stepper.moveTo(3200);           // Move exactly 1 full revolution
}

void loop() {
  // Reverse direction when target is reached
  if (stepper.distanceToGo() == 0) {
    stepper.moveTo(-stepper.currentPosition());
  }

  // Must be called continuously in loop() for non-blocking execution
  stepper.run();

  // You can read sensors or process Serial data here without motor stutter
}
Code Architecture Breakdown
Notice the absence of delay(). The stepper.run() function evaluates the current time, calculates the required trapezoidal velocity, and sends a step pulse only when mathematically necessary. This frees up thousands of CPU cycles per second. The moveTo() function calculates the absolute target position. Because we configured 1/16th microstepping, 3200 pulses equal exactly one 360-degree mechanical rotation.
NEMA Stepper Motor Torque and Speed Matrix
Selecting the right motor is just as important as the code. Here is how common hobbyist and industrial steppers compare in real-world 2026 applications.
| Motor Standard | Typical Torque | Max RPM (Loaded) | Best Use Case |
|---|---|---|---|
| 28BYJ-48 (5V) | 3.5 Ncm | 15 RPM | Camera pans, lightweight blinds |
| NEMA 17 (12V) | 40-60 Ncm | 600 RPM | 3D printers, CNC routers, robotics |
| NEMA 23 (24V+) | 100-300 Ncm | 1000 RPM | Industrial CNC, heavy-duty linear actuators |
Real-World Failure Modes and Troubleshooting
Even with perfect code, physics and electrical noise will test your design. Here are the most common edge cases and how to resolve them.
1. Mid-Band Resonance and Stalling
Stepper motors suffer from a phenomenon called mid-band instability, typically occurring between 200 and 400 RPM. The rotor overshoots the magnetic field, causing severe vibration and missed steps. Fix: Increase your microstepping resolution to 1/16th or 1/32nd, or implement mechanical dampening (like a friction pad on the rear shaft). In code, ensure your acceleration curve pushes through this RPM band quickly rather than cruising within it.
2. Direction Change Missed Steps
If your motor takes one step in the wrong direction when reversing, you are violating the A4988 setup/hold time requirements. The driver requires a minimum 200-nanosecond delay between a DIR pin state change and the next STEP pulse. While raw digitalWrite loops often fail this timing constraint, the AccelStepper library handles this automatically. If you are writing custom timer-interrupt code, insert a delayMicroseconds(1) after flipping the direction pin.
3. Driver Overheating and Thermal Shutdown
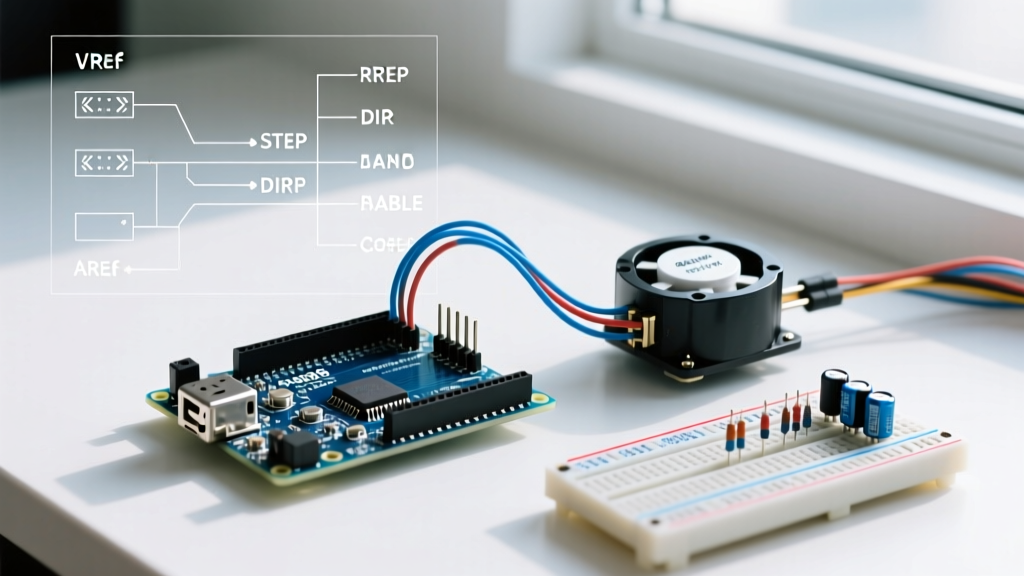
The A4988 silicon shuts down at 165°C. If your motor runs perfectly for three minutes and then begins stuttering or stopping entirely, the driver is thermally throttling. Fix: Re-verify your Vref voltage. Beginners often set Vref to 1.0V+ thinking "more power is better," but this exceeds the 1.2A continuous limit of the chip without active airflow. Attach a self-adhesive copper heatsink and a 5V 40mm cooling fan directly over the driver.
Mastering arduino stepper motor code requires moving beyond simple delay loops and embracing hardware-aware libraries and precise electrical calibration. By combining the AccelStepper library with a properly tuned A4988 driver, your peripheral interfacing projects will achieve industrial-grade reliability and smooth motion control.