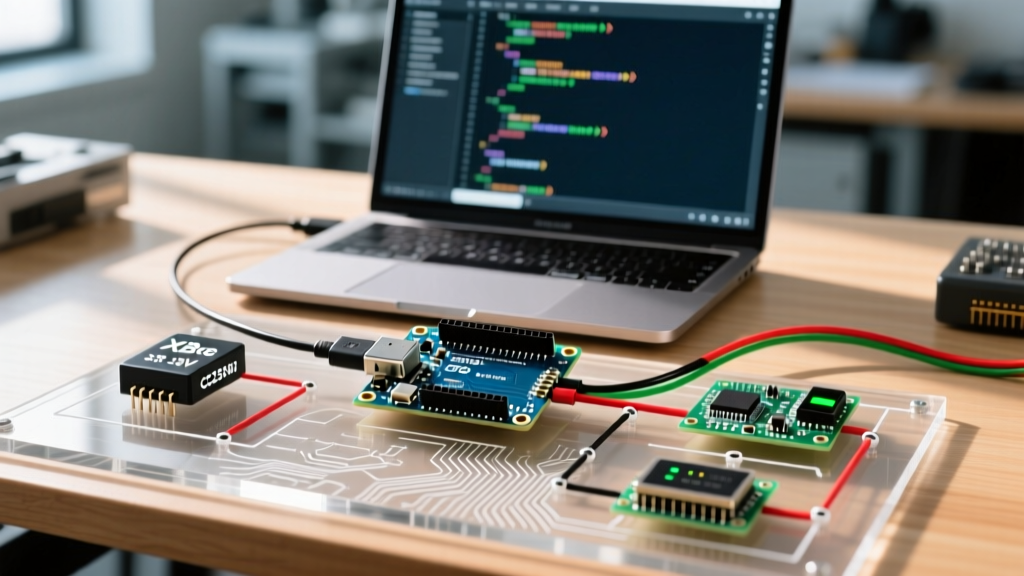

The 3.3V vs 5V Logic Trap: A Critical Compatibility Warning
Integrating a Zigbee Arduino setup is one of the most effective ways to build low-power, mesh-networked IoT sensor nodes. However, the most common point of failure for makers and engineers is ignoring logic level compatibility. Standard Arduino boards like the Uno R3, Mega 2560, and Nano operate at 5V logic. Almost all modern Zigbee RF modules—including the Digi XBee 3 and Texas Instruments CC2530—are strictly 3.3V devices.
CRITICAL HARDWARE WARNING: The absolute maximum voltage rating on the GPIO pins of a CC2530 chip is 3.9V. Connecting a 5V Arduino TX pin directly to a Zigbee module's RX pin will cause silicon latch-up, permanently destroying the module's UART interface in milliseconds. Always use a bidirectional logic level shifter (like the BSS138 MOSFET or TXS0108E) when pairing 5V microcontrollers with 802.15.4 radios.
If you are using 3.3V Arduino-compatible boards like the ESP32, Arduino Nano 33 IoT, or the Adafruit Feather M4, you can connect the UART lines directly, provided the 3.3V voltage regulator on the Zigbee breakout board can supply at least 150mA during peak RF transmission bursts.
Zigbee Arduino Module Compatibility Matrix
Choosing the right module depends on your budget, required range, and firmware ecosystem. Below is a 2026 compatibility breakdown of the most popular Zigbee modules used with Arduino microcontrollers.
| Module / Breakout | Core Chipset | Approx. Price | Arduino Interface | Library Ecosystem | Best Use Case |
|---|---|---|---|---|---|
| Digi XBee 3 (Zigbee 3.0) | Silicon Labs EFR32 | $28 - $35 | UART / SPI / I2C | Digi XBee Arduino Library | Enterprise IoT, reliable mesh |
| Ebyte E18-MS1PA2-PCB | TI CC2530 | $5 - $9 | UART (ZNP API) | Zigbee2MQTT / Custom NP | Budget coordinators, end-devices |
| Arduino Nano 33 BLE | Nordic nRF52840 | $22 - $26 | Native 802.15.4 | Arduino OpenThread/Zigbee | Native Thread/Zigbee edge nodes |
| Seeed Studio Wio-E5 | STM32WLE5 (LoRa) | $12 - $15 | UART (AT Commands) | LoRaWAN (Not Zigbee) | N/A (Often confused with Zigbee) |
Deep Dive: Digi XBee 3 (The Enterprise Standard)
The Digi XBee 3 remains the gold standard for commercial and high-reliability maker projects. Unlike older XBee Series 2 modules that required complex firmware updates via X-CTU just to change network roles, the XBee 3 allows you to switch between Zigbee, DigiMesh, and 802.15.4 protocols on the fly via AT commands.
Configuring API Mode for Arduino
When using the Digi XBee 3 with Arduino, you must avoid Transparent Mode (AT). Transparent mode acts as a simple serial bridge, which means you cannot address specific nodes in a mesh or read RSSI (signal strength) data. You must configure the module to API Mode 2 (Escaped API Mode).
- Connect the XBee to your PC via an XBee Explorer USB board.
- Open Digi XCTU software and read the module's firmware.
- Set the
AP(API Enable) parameter to2. This escapes special characters (like 0x7E, 0x7D, 0x11, 0x13) so they don't interfere with your sensor payload data. - Install the official
DigiXBeelibrary via the Arduino Library Manager.
API Mode 2 ensures that a hex value of 0x7E in your temperature sensor data won't accidentally trigger a frame delimiter reset on the receiving Arduino.
Deep Dive: Ebyte E18 & TI CC2530 (The Budget Route)
The Ebyte E18 module, based on the TI CC2530 chipset, is incredibly popular due to its low cost and integrated PCB antenna. However, it is not a plug-and-play UART module out of the box. The raw CC2530 requires specific firmware to act as a Zigbee coordinator or router.
The Z-Stack Firmware Requirement
To use the E18 with an Arduino, you must flash it with TI's Z-Stack Network Processor (ZNP) firmware using a CC Debugger (which costs an additional $15-$50). Once flashed, the module communicates via a proprietary UART binary protocol, not standard AT commands.
- Pros: Extremely cheap; excellent sensitivity (-96 dBm); supports Zigbee 3.0 routing.
- Cons: Requires proprietary TI compiler (IAR) to modify firmware; steep learning curve for custom end-device code; requires external CC Debugger for initial flashing.
For most Arduino users, the CC2530 is best utilized as a dedicated Coordinator plugged into a Raspberry Pi running Zigbee2MQTT, while the Arduino handles local sensor polling and publishes data via MQTT over Wi-Fi (using an ESP32) rather than trying to talk directly to the CC2530 via UART.
Wiring Topologies and Hardware Flow Control
When building a high-throughput Zigbee Arduino sensor node (e.g., streaming vibration data or high-frequency power monitoring), standard 4-wire UART (VCC, GND, TX, RX) is insufficient. You will experience buffer overflows and dropped packets.
To solve this, implement Hardware Flow Control (CTS/RTS). The XBee 3 exposes CTS (Clear to Send) on Pin 12 and RTS (Request to Send) on Pin 16. By wiring these to the Arduino's digital pins and using software serial interrupt handlers, the Zigbee module can pause the Arduino's data transmission when its internal RF buffer is full, guaranteeing zero packet loss in noisy industrial environments.
Common Failure Modes and Debugging
Even with perfect wiring, Zigbee mesh networks present unique edge cases. Here are the most frequent failure modes encountered in 2026 Zigbee Arduino deployments:
- Floating RX Lines: If the Arduino's TX pin is in a high-impedance state during boot (before
Serial.begin()is called), the Zigbee module's RX pin floats. This causes the module to read noise as garbage baud data, often forcing it into a failsafe bootloader mode. Fix: Add a 10kΩ pull-up resistor to the 3.3V line on the module's RX pin. - Pan ID Collisions: If you have multiple Zigbee Arduino test benches in the same building, they may auto-join neighboring networks. Fix: Hardcode the
OI(Operating PAN ID) andCH(Channel) parameters in XCTU, and disable theJV(Channel Verification) parameter to lock the node to your specific network. - Sleep Mode Wake Latency: When using XBee cyclic sleep modes (SM=4) to save battery on remote Arduino nodes, the first packet sent to the sleeping node is often dropped because it is used as a "wake-up" ping. Fix: Implement a retry logic loop in your Arduino coordinator code with a 2000ms delay between transmission attempts.
Final Verdict: Which Stack Should You Build?
If your project requires robust, commercial-grade reliability and you have the budget ($30+ per node), the Digi XBee 3 paired with an Arduino Nano 33 IoT or ESP32 is the undisputed champion. The API Mode 2 library support is mature, and the hardware flow control prevents data loss.
If you are building a budget smart-home bridge or a massive agricultural sensor mesh where node cost must remain under $10, the Ebyte CC2530 is viable, provided you are willing to invest the time into mastering TI's Z-Stack firmware and the CC Debugger toolchain. Avoid attempting raw AT-command Zigbee implementations; the future of maker IoT relies on structured API frames and MQTT bridging.