
The Reality of DIY Arduino EEPROM Programmers
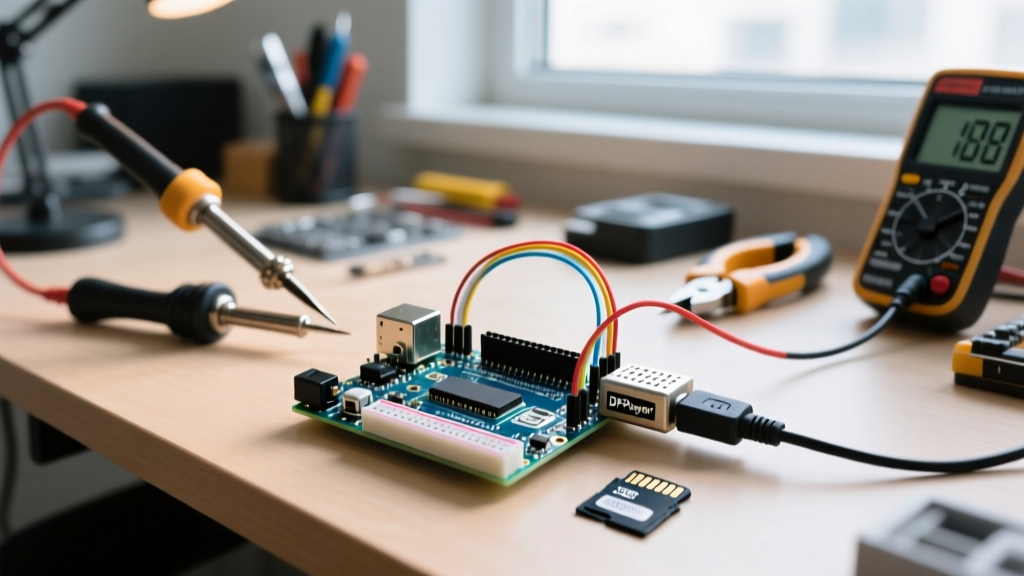
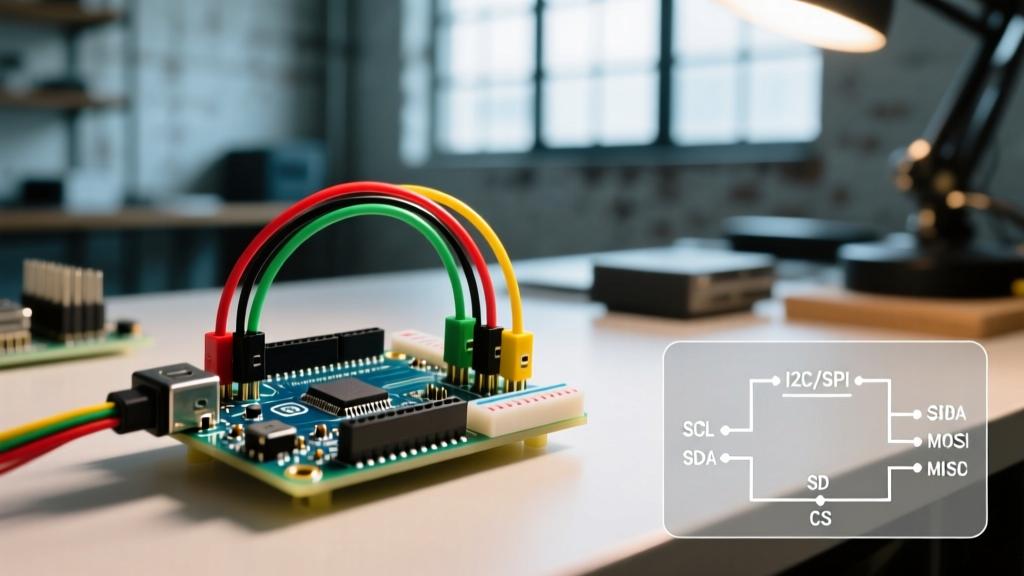
Building a custom Arduino EEPROM programmer is a staple project for embedded systems engineers and advanced hobbyists. Whether you are cloning firmware, backing up calibration data, or reverse-engineering legacy hardware, using an Arduino Uno, Nano, or ESP32 as the host controller is a cost-effective solution. However, the transition from a theoretical breadboard schematic to a reliable, bit-perfect programming tool is rarely seamless. When your Arduino EEPROM programmer fails, the issue is rarely a 'bad chip.' Instead, failures stem from I2C bus capacitance, SPI clock phase mismatches, logic level violations, or a fundamental misunderstanding of EEPROM page-write boundaries. This guide provides a deep-dive troubleshooting matrix and hardware-level fixes for the two most common external EEPROM architectures: I2C (AT24Cxx series) and SPI (25LCxx series).
Troubleshooting Matrix: Symptoms and Exact Fixes
Before grabbing a multimeter, cross-reference your specific failure mode with this diagnostic matrix. These are the most frequent edge cases encountered when programming external memory via Arduino.
| Symptom / Error Code | Protocol | Root Cause | Exact Hardware / Software Fix |
|---|---|---|---|
Wire.endTransmission() returns 2 |
I2C | NACK on Address. The Arduino cannot find the EEPROM on the bus. | Check A0, A1, A2 address pins. Ensure pull-up resistors are present. Verify the I2C address in your sketch matches the pin configuration (e.g., 0x50 vs 0x57). |
| Data overwrites itself at start of block | I2C / SPI | Page Write Boundary Violation. The internal buffer wrapped around. | Limit write chunks to the EEPROM's page size (e.g., 64 bytes for AT24C256). Implement boundary-checking logic in your sketch. |
| Reads return 0xFF or 0x00 randomly | SPI | Chip Select (CS) floating or SPI Mode mismatch (CPOL/CPHA). | Ensure CS has a 10kΩ pull-up to VCC. Verify the EEPROM datasheet for SPI Mode 0,0 vs Mode 1,1 and adjust SPI.beginTransaction() accordingly. |
| EEPROM gets hot / Acknowledgments fail intermittently | I2C | Logic Level Violation. Feeding 5V SDA/SCL into a 3.3V EEPROM. | Insert a BSS138 bidirectional logic level shifter between the 5V Arduino and the 3.3V EEPROM I/O pins. |
| Bus locks up after 3-4 successful writes | I2C | EEPROM is busy executing an internal write cycle (tWR). | Implement a 5ms to 10ms delay() or use Acknowledge Polling after every page write before sending the next I2C command. |
Deep Dive: I2C EEPROM Troubleshooting (AT24Cxx Series)
The Microchip AT24C256 (32KB) is the undisputed king of I2C EEPROMs. When using an Arduino to program this chip, hardware bus physics usually dictate your success or failure.
1. The Pull-Up Resistor Miscalculation
The NXP I2C-bus specification strictly defines the relationship between bus capacitance and pull-up resistor values. The internal pull-ups on an Arduino's ATmega328P (roughly 20kΩ to 50kΩ) are far too weak to pull the SDA/SCL lines high fast enough, resulting in rounded signal edges and corrupted bits.
- 100 kHz (Standard Mode): Use 4.7kΩ pull-up resistors to VCC on both SDA and SCL.
- 400 kHz (Fast Mode): If you use
Wire.setClock(400000);in your Arduino sketch, you must drop the pull-ups to 2.2kΩ or even 1kΩ to overcome bus capacitance, especially if you are using long jumper wires on a breadboard.
2. The Write Protect (WP) Pin Trap
Many makers leave the WP (Write Protect) pin floating, assuming the internal pull-down will keep it disabled. In electrically noisy environments (like near switching regulators or motors), a floating WP pin can momentarily read as HIGH, locking the memory array. Fix: Always tie the WP pin directly to GND with a short jumper wire, or use a 10kΩ pull-down resistor if you need to toggle write protection via software.
3. Acknowledge Polling vs. Blind Delays
After the Arduino sends a page of data, the EEPROM disconnects from the I2C bus to perform the internal flash write (which takes up to 5ms). If your Arduino sketch immediately tries to write the next page, it will receive a NACK. While inserting delay(5); works, it is inefficient. Instead, implement Acknowledge Polling: send a Start condition and the EEPROM's control byte repeatedly until the chip responds with an ACK, indicating the write cycle is complete.
Deep Dive: SPI EEPROM Troubleshooting (25LCxx Series)
SPI EEPROMs like the 25LC640 offer vastly superior write speeds compared to I2C, but they introduce clock phase complexities and stricter pin management requirements.
1. SPI Mode Mismatches (CPOL and CPHA)
Unlike I2C, SPI does not have a universal standard for clock idle states. You must consult the specific EEPROM datasheet. Most 25LC series chips operate in SPI Mode 0,0 (Clock Polarity 0, Clock Phase 0), meaning the clock idles LOW and data is sampled on the leading (rising) edge.
If your Arduino reads garbage data (e.g., shifting bits by one position), you are likely sampling on the wrong edge. Fix this by explicitly defining the SPI settings in your sketch:
SPISettings eepromSettings(10000000, MSBFIRST, SPI_MODE0);
SPI.beginTransaction(eepromSettings);
2. The Chip Select (CS) Floating Hazard
If the Arduino resets or enters the bootloader phase (which happens every time you open the Serial Monitor), the hardware SPI pins may toggle randomly. If the EEPROM's CS pin is floating or driven by an uninitialized Arduino pin, the EEPROM might interpret this noise as a write command, corrupting your data. Fix: Place a 10kΩ pull-up resistor on the CS line to VCC to ensure the EEPROM remains deselected during Arduino boot sequences.
The Silent Killer: Logic Level Shifting
As of 2026, the vast majority of high-density EEPROMs (128KB and above) are strictly 3.3V devices. Connecting a 5V Arduino Uno directly to the SDA/SCL or MOSI/MISO pins of a 3.3V EEPROM violates the absolute maximum ratings of the silicon. While it might 'work' on the bench for a few hours, the 5V logic will slowly degrade the EEPROM's input protection diodes, leading to permanent read failures.
The Fix: Use a BSS138-based bidirectional logic level shifter (available for roughly $2 to $4 on electronics marketplaces). Connect the LV (Low Voltage) side to the EEPROM's 3.3V VCC, and the HV (High Voltage) side to the Arduino's 5V VCC. This ensures clean, safe signal translation without the voltage drop associated with simple diode-resistor level shifters.
Software Edge Case: The Page Write Boundary Bug
This is the most common software bug in custom Arduino EEPROM programmer sketches. EEPROMs do not write byte-by-byte; they write in 'pages' (e.g., 64 bytes for the AT24C256). The internal address counter increments within the page, but when it reaches the end of the 64-byte boundary, it rolls over to the beginning of the same page, not the next page.
Pro-Tip: If you attempt to write 10 bytes starting at memory address 0x003E (decimal 62), the first two bytes will write to 62 and 63. The remaining 8 bytes will wrap around and overwrite addresses 0x0000 through 0x0007, destroying your header data!
To fix this, your Arduino sketch must calculate the remaining bytes in the current page and split the I2C/SPI transmission accordingly. Use this bitwise logic to find the page boundary:
// For a 64-byte page size
int bytesUntilBoundary = 64 - (currentAddress % 64);
int bytesToWrite = min(dataLength, bytesUntilBoundary);
// Write bytesToWrite, then increment address and loop for the remainder
Verifying the Bus: Tools of the Trade
When the Arduino Wire Library throws ambiguous errors, software debugging reaches its limit. You must look at the physical waveforms.
- Logic Analyzer: A $12-$15 clone Saleae logic analyzer running the open-source PulseView or Sigrok software is mandatory. Hook up SDA/SCL (or MOSI/MISO/SCK) and trigger on the Start condition. You will immediately see if the EEPROM is sending an ACK (pulling SDA low on the 9th clock cycle) or a NACK (leaving SDA high).
- Multimeter Voltage Check: Measure the voltage on the SDA line while idle. It should read exactly VCC (either 5.0V or 3.3V depending on your pull-up routing). If it reads 3.8V on a 5V system, your pull-up resistor is missing or the bus is being dragged down by a short circuit.
Summary
Troubleshooting an Arduino EEPROM programmer requires moving beyond basic wiring diagrams. By respecting I2C bus capacitance with correct pull-up resistors, managing SPI chip select lines during boot, enforcing strict logic level shifting, and mathematically handling page-write boundaries, you can transform a frustrating breadboard prototype into a robust, production-grade memory programming tool.