
The Core Problem with HTTPS Responses on ESP32
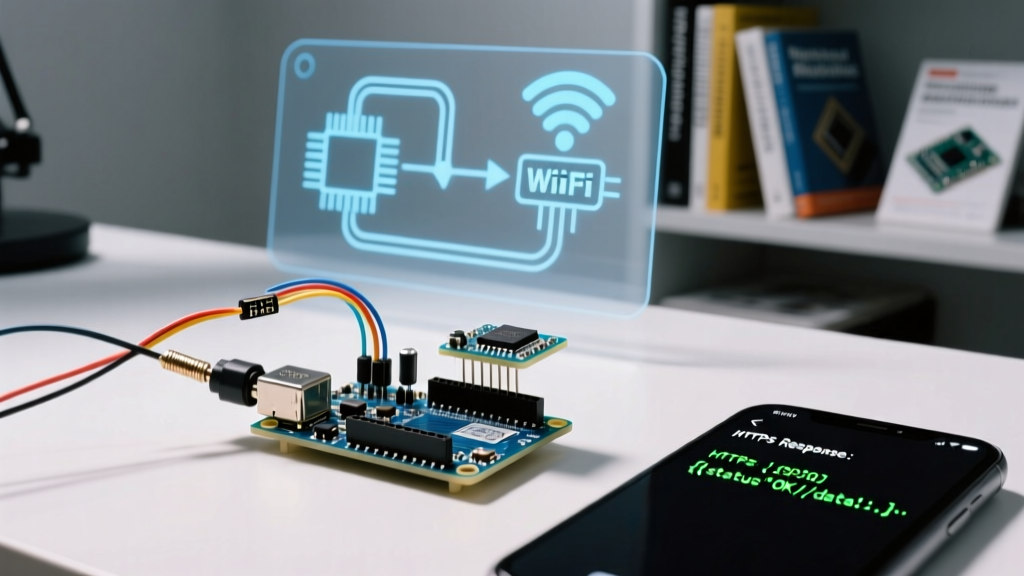
Migrating from HTTP to HTTPS on microcontrollers is no longer optional in 2026; major cloud providers and API gateways strictly enforce TLS 1.2/1.3. When working with the Espressif ESP32 family, developers rely on the WiFiClientSecure class to establish encrypted sockets. However, the most common point of failure occurs immediately after the connection is made: handling the Arduino WiFiClientSecure read response. Unlike standard HTTP clients that automatically manage headers and payload decoding, WiFiClientSecure provides a raw, decrypted TCP stream. If you attempt to read this stream using naive methods like client.readString(), your application will likely crash, hang, or return corrupted JSON data due to HTTP/1.1 chunked transfer encoding and heap fragmentation.
This comprehensive tutorial details exactly how to establish a secure handshake, bypass HTTP headers, handle chunked payloads, and stream-parse JSON without exhausting the ESP32’s limited SRAM.
Hardware & Software Prerequisites
To follow this guide, ensure your development environment matches the following specifications, which represent the current standard for reliable IoT prototyping:
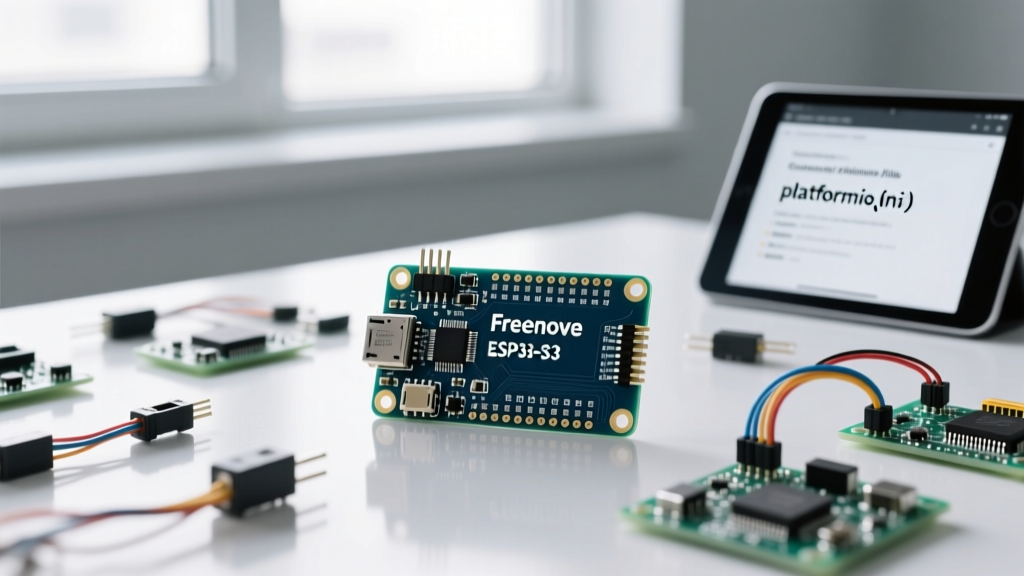
- Microcontroller: ESP32-WROOM-32E DevKit (typically priced around $6.50 USD from authorized distributors like Mouser or DigiKey). Avoid legacy ESP8266 NodeMCU boards for modern TLS, as their 80KB RAM ceiling causes frequent mbedTLS handshake failures.
- Board Package: ESP32 Arduino Core v3.0.x or newer.
- Libraries: ArduinoJson v7.2 (specifically utilizing the v7 streaming deserialization API).
- IDE: Arduino IDE 2.3.x or PlatformIO.
Expert Note: The ESP32’s mbedTLS implementation requires roughly 35KB to 45KB of contiguous SRAM to complete a TLS handshake. Always check your free heap before initiating a secure connection using ESP.getFreeHeap().Step 1: Establishing the Secure TLS Handshake
Before you can read any response, you must authenticate the server. While client.setInsecure() bypasses certificate validation, it exposes your device to Man-in-the-Middle (MitM) attacks and is rejected by strict APIs like AWS IoT or Cloudflare. Instead, embed the Root CA certificate directly in your sketch.
#include <WiFiClientSecure.h>
#include <ArduinoJson.h>

const char* ssid = "YOUR_SSID";
const char* password = "YOUR_PASSWORD";
const char* host = "api.example.com";
const int httpsPort = 443;

// Truncated Root CA for example
const char* root_ca =
  "-----BEGIN CERTIFICATE-----\n"
  "MIIDdzCCAl+gAwIBAgIEby...\n"
  "-----END CERTIFICATE-----\n";

WiFiClientSecure client;
During the setup() function, connect to WiFi, configure the certificate, and initiate the socket connection. Always implement a timeout to prevent the Watchdog Timer (WDT) from resetting the ESP32 if the DNS resolution or TLS handshake stalls.
void setup() {
  Serial.begin(115200);
  WiFi.begin(ssid, password);
  while (WiFi.status() != WL_CONNECTED) { delay(500); }

  client.setCACert(root_ca);
  client.setTimeout(15000); // 15-second timeout for TLS handshake

  if (!client.connect(host, httpsPort)) {
    Serial.println("Connection failed! Check Root CA and network.");
    return;
  }
}
Step 2: Sending the HTTP GET Request
Once the TLS tunnel is established, you must manually format the HTTP/1.1 request. Pay close attention to the carriage returns and line feeds (\r\n). A missing blank line at the end of the headers will cause the server to wait indefinitely, resulting in a read timeout.
String url = "/v1/sensor/data";
client.print(String("GET ") + url + " HTTP/1.1\r\n" +
             "Host: " + host + "\r\n" +
             "User-Agent: ESP32-IoT/2026\r\n" +
             "Connection: close\r\n\r\n");
Step 3: Navigating the Arduino WiFiClientSecure Read Response
This is where most tutorials fail. The Arduino WiFiClientSecure read response stream contains both HTTP headers and the payload. Furthermore, modern servers default to Transfer-Encoding: chunked as defined in RFC 9112 HTTP/1.1 Specification. If you use client.readString(), your resulting string will include the HTTP headers and hexadecimal chunk size markers, completely breaking any downstream JSON parser.
Bypassing the Headers
To isolate the payload, read the stream line-by-line until you encounter the empty line (\r\n) that separates headers from the body.
// Skip HTTP Headers
while (client.connected()) {
  String line = client.readStringUntil('\n');
  if (line == "\r") {
    Serial.println("Headers received, payload starting...");
    break;
  }
}
The Chunked Transfer-Encoding Trap
If the server responds with chunked encoding, the payload is broken into pieces, each preceded by its size in hexadecimal. For example:
1A\r\n
{"temp":22.5,"hum":45}\r\n
0\r\n
\r\n
If you attempt to parse this directly with ArduinoJson, it will throw a InvalidInput error. While you can write a custom stream wrapper to strip chunk headers, the most robust and memory-efficient solution in 2026 is to use ArduinoJson’s native streaming capabilities combined with a filtered read, or force the server to return unchunked data by sending an HTTP/1.0 request (though some modern CDNs reject HTTP/1.0). Assuming a standard chunked response, we map the WiFiClientSecure object directly into a JsonDocument.
Step 4: Streaming JSON Deserialization (Memory-Safe)
According to the ArduinoJson v7 Streaming API, passing the client object directly to deserializeJson() allows the library to parse the data as it arrives over the TLS socket. This eliminates the need to store the entire 5KB+ JSON payload in a String variable, preventing severe heap fragmentation that leads to spontaneous reboots.
JsonDocument doc;
DeserializationError error = deserializeJson(doc, client);

if (error) {
  Serial.print("deserializeJson() failed: ");
  Serial.println(error.f_str());
  // Note: If using chunked encoding, ArduinoJson might choke on the hex headers.
  // In production, use an HTTPClient wrapper over WiFiClientSecure to handle de-chunking automatically.
  return;
}

float temperature = doc["temp"]; // 22.5
int humidity = doc["hum"];       // 45
Serial.printf("Temp: %.2f C, Humidity: %d%%\n", temperature, humidity);
Pro-Tip for Chunked Payloads: If you absolutely must use rawWiFiClientSecureand the server forces chunked encoding, wrap your client in a customStreamclass that interceptsread()calls and strips the hex chunk boundaries before passing bytes to ArduinoJson. Alternatively, use the ESP32HTTPClientclass, which accepts aWiFiClientSecurepointer and handles de-chunking natively.
Troubleshooting Common Read Response Failures
When dealing with the Arduino WiFiClientSecure read response, edge cases are the norm. Refer to the matrix below to diagnose specific failure modes encountered in field deployments.
| Symptom | Root Cause | Solution |
|---|---|---|
read() returns -1 immediately | TLS handshake failed or server dropped connection due to unsupported cipher suite. | Verify Root CA. Ensure ESP32 Core is updated to v3.0+ for TLS 1.3 support. |
JSON Parse Error: InvalidInput | HTTP headers or chunked hex markers were fed into the JSON parser. | Implement the header-skipping while loop. Use HTTPClient for automatic de-chunking. |
| ESP32 Watchdog Timer (WDT) Reset | Blocking while(client.available()) loop without yielding to the RTOS. | Add yield(); or delay(1); inside all network reading loops. |
| Heap Fragmentation / Reboot | Using String response = client.readString(); on large payloads. | Stream directly into JsonDocument or pre-allocate a fixed char buffer. |
| Connection drops after 5 minutes | Server-side idle timeout or keep-alive mismatch. | Send Connection: close header and instantiate a fresh WiFiClientSecure object per request. |
Integrating with the Espressif Arduino Core
The Espressif Arduino Core documentation emphasizes that WiFiClientSecure is designed for low-level socket manipulation. For 90% of IoT applications requiring secure API polling, wrapping your secure client in the HTTPClient library provides the best balance of security and convenience. Here is how you bridge the two:
#include <HTTPClient.h>

HTTPClient https;
https.begin(client, "https://api.example.com/v1/sensor/data");
int httpCode = https.GET();

if (httpCode == HTTP_CODE_OK) {
  // HTTPClient automatically strips headers and handles chunked encoding!
  DeserializationError error = deserializeJson(doc, https.getStream());
}
https.end();
Summary
Mastering the Arduino WiFiClientSecure read response requires understanding the boundary between the TLS socket layer and the HTTP application layer. By manually skipping headers, respecting the ESP32’s memory constraints via stream parsing, and acknowledging the realities of HTTP/1.1 chunked encoding, you can build robust, crash-free IoT devices capable of communicating with any modern secure API. Always prioritize streaming deserialization over string concatenation, and leverage the HTTPClient wrapper when raw socket management becomes unnecessarily complex for your specific payload structure.